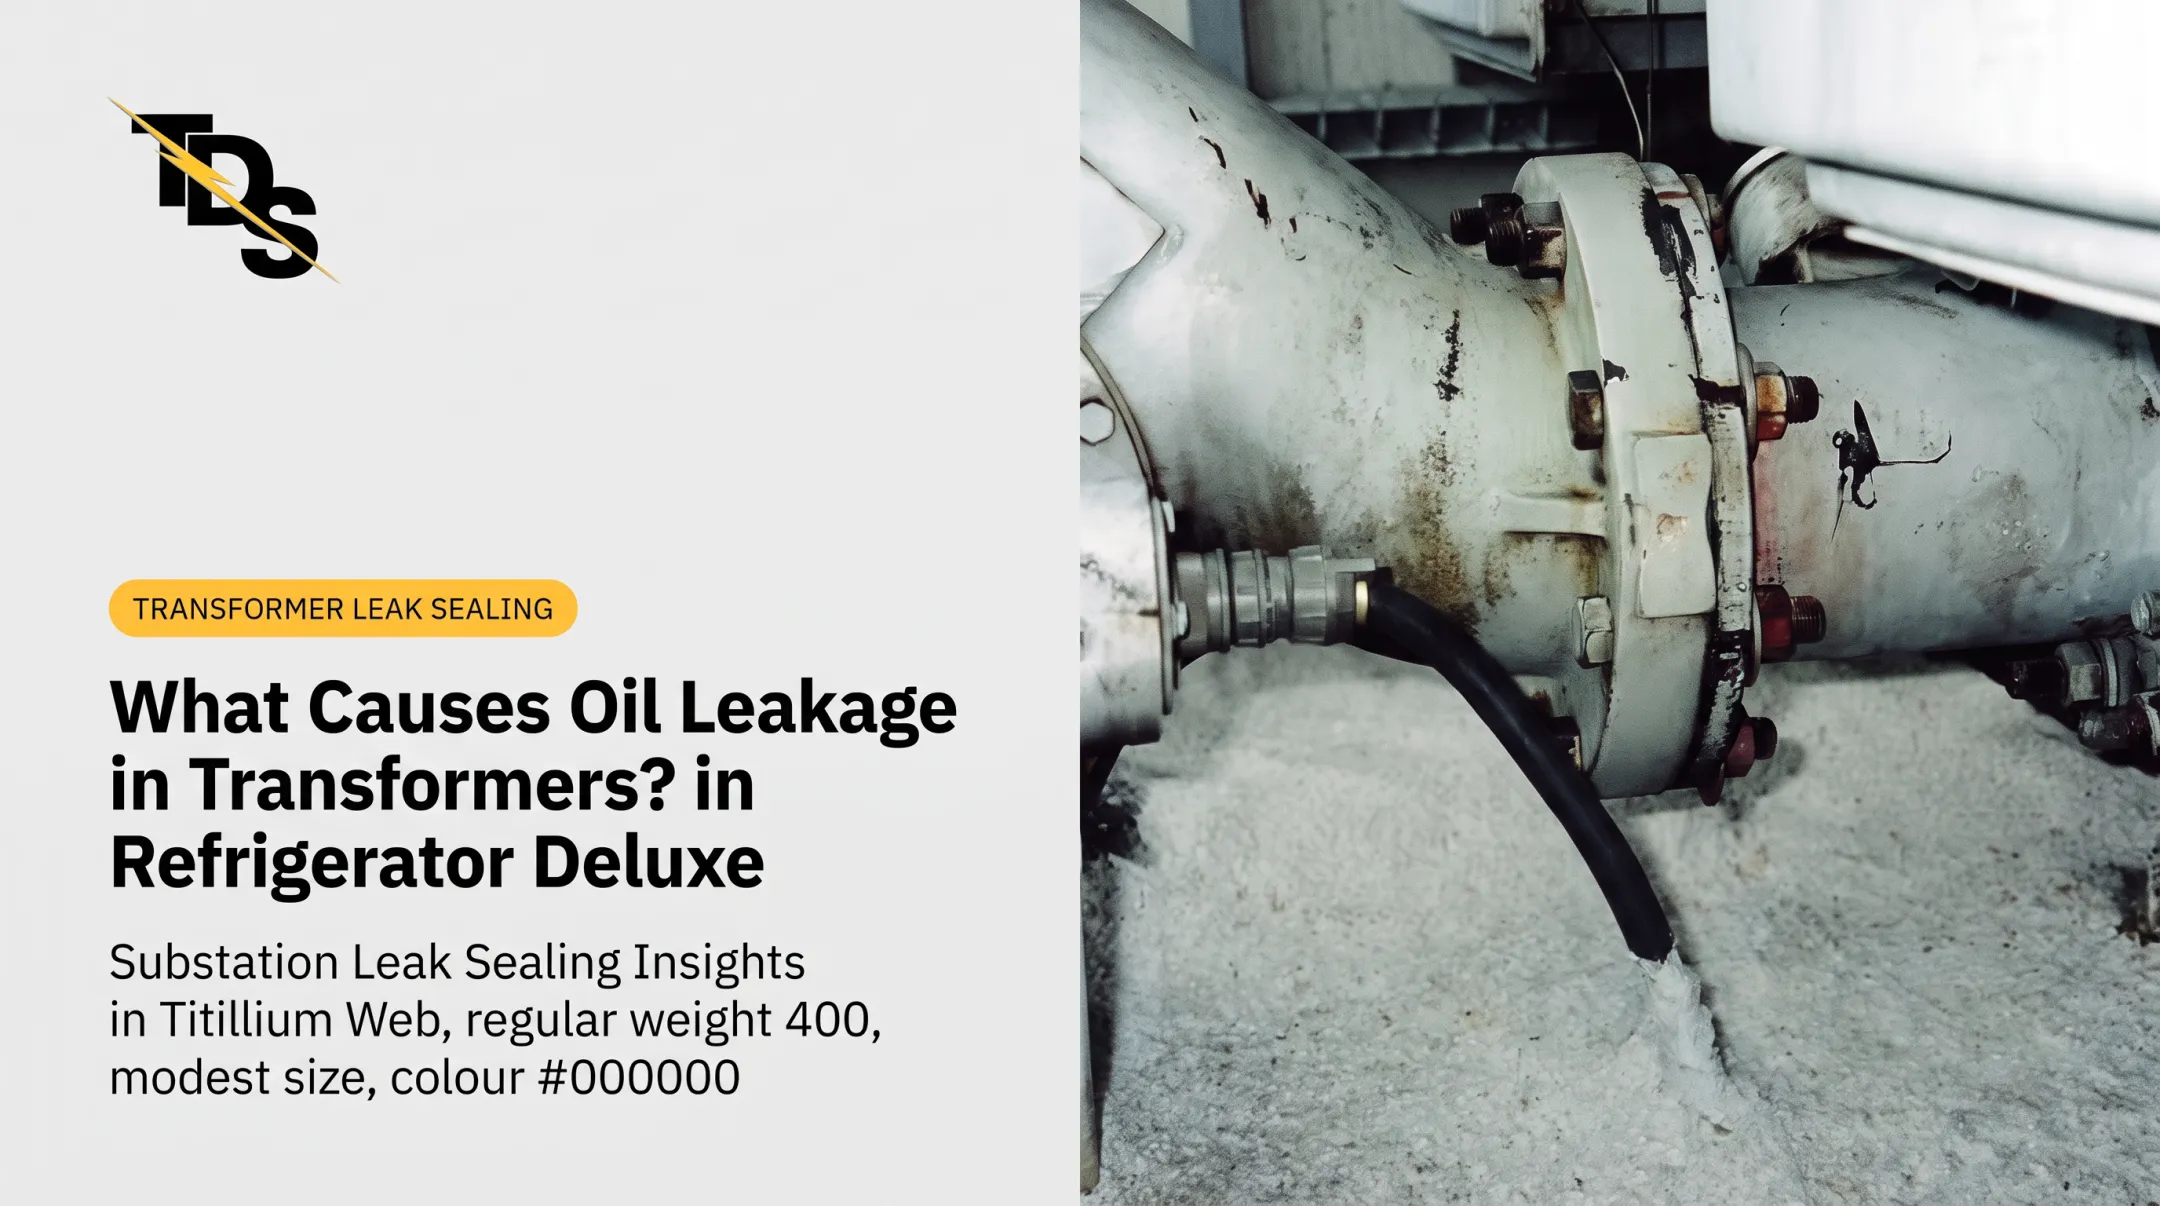

Leaks develop from gasket wear, corrosion, thermal and operating stress, vibration, impact, manufacturing defects, or maintenance gaps. Left alone, they raise fire, safety, environmental, and outage risk.
This article covers the warning signs, root causes, a safe repair process, repair-versus-replacement decisions, and when to bring in a leak-sealing specialist.
Key Takeaways
- Leaks usually start at gaskets, bushings, valves, gauges, radiators, welds, and corroded areas.
- Localized leaks are often repairable; severe tank damage or repeated leakage may call for major work or replacement.
- Safe repair means confirming the leak, controlling spill risk, choosing a compatible method, and validating.
- Active leaks on energized equipment belong with qualified professionals, not improvised fixes.
What Is Transformer Oil Leak Repair? Common Problems and Root Causes
Transformer oil leak repair means locating where insulating fluid escapes, finding out why, sealing or replacing the affected component, and confirming the unit is still fit for service.
Oil does two jobs: electrical insulation and cooling. The U.S. Bureau of Reclamation also lists arc extinguishing. Losing oil erodes those margins and raises fire, worker safety, and soil or water contamination concerns.
Containment, cleanup, and oil removal limit the consequences of a leak. They do not repair the failed gasket, fitting, weld, or tank wall.
Common Problems With Transformer Oil Leaks
Visible oil doesn't always point to the source. Fluid migrates along surfaces, so a puddle at the base may come from a fitting higher up. Watch for:
- Fresh oil, dark residue, streaks, drops, or pooling
- A declining oil level or changing pressure or monitoring readings
- Unusual odors or repeated contamination around the base
Gasket and seal leaks. Bolted interfaces are the usual suspects: bushings, tap changers, inspection covers, gauges, fill plugs, and valves. Reclamation's guidance attributes gasket leaks to:
- Improper torque
- Wrong material or size
- Poor surface preparation
- Compression set from age or temperature extremes
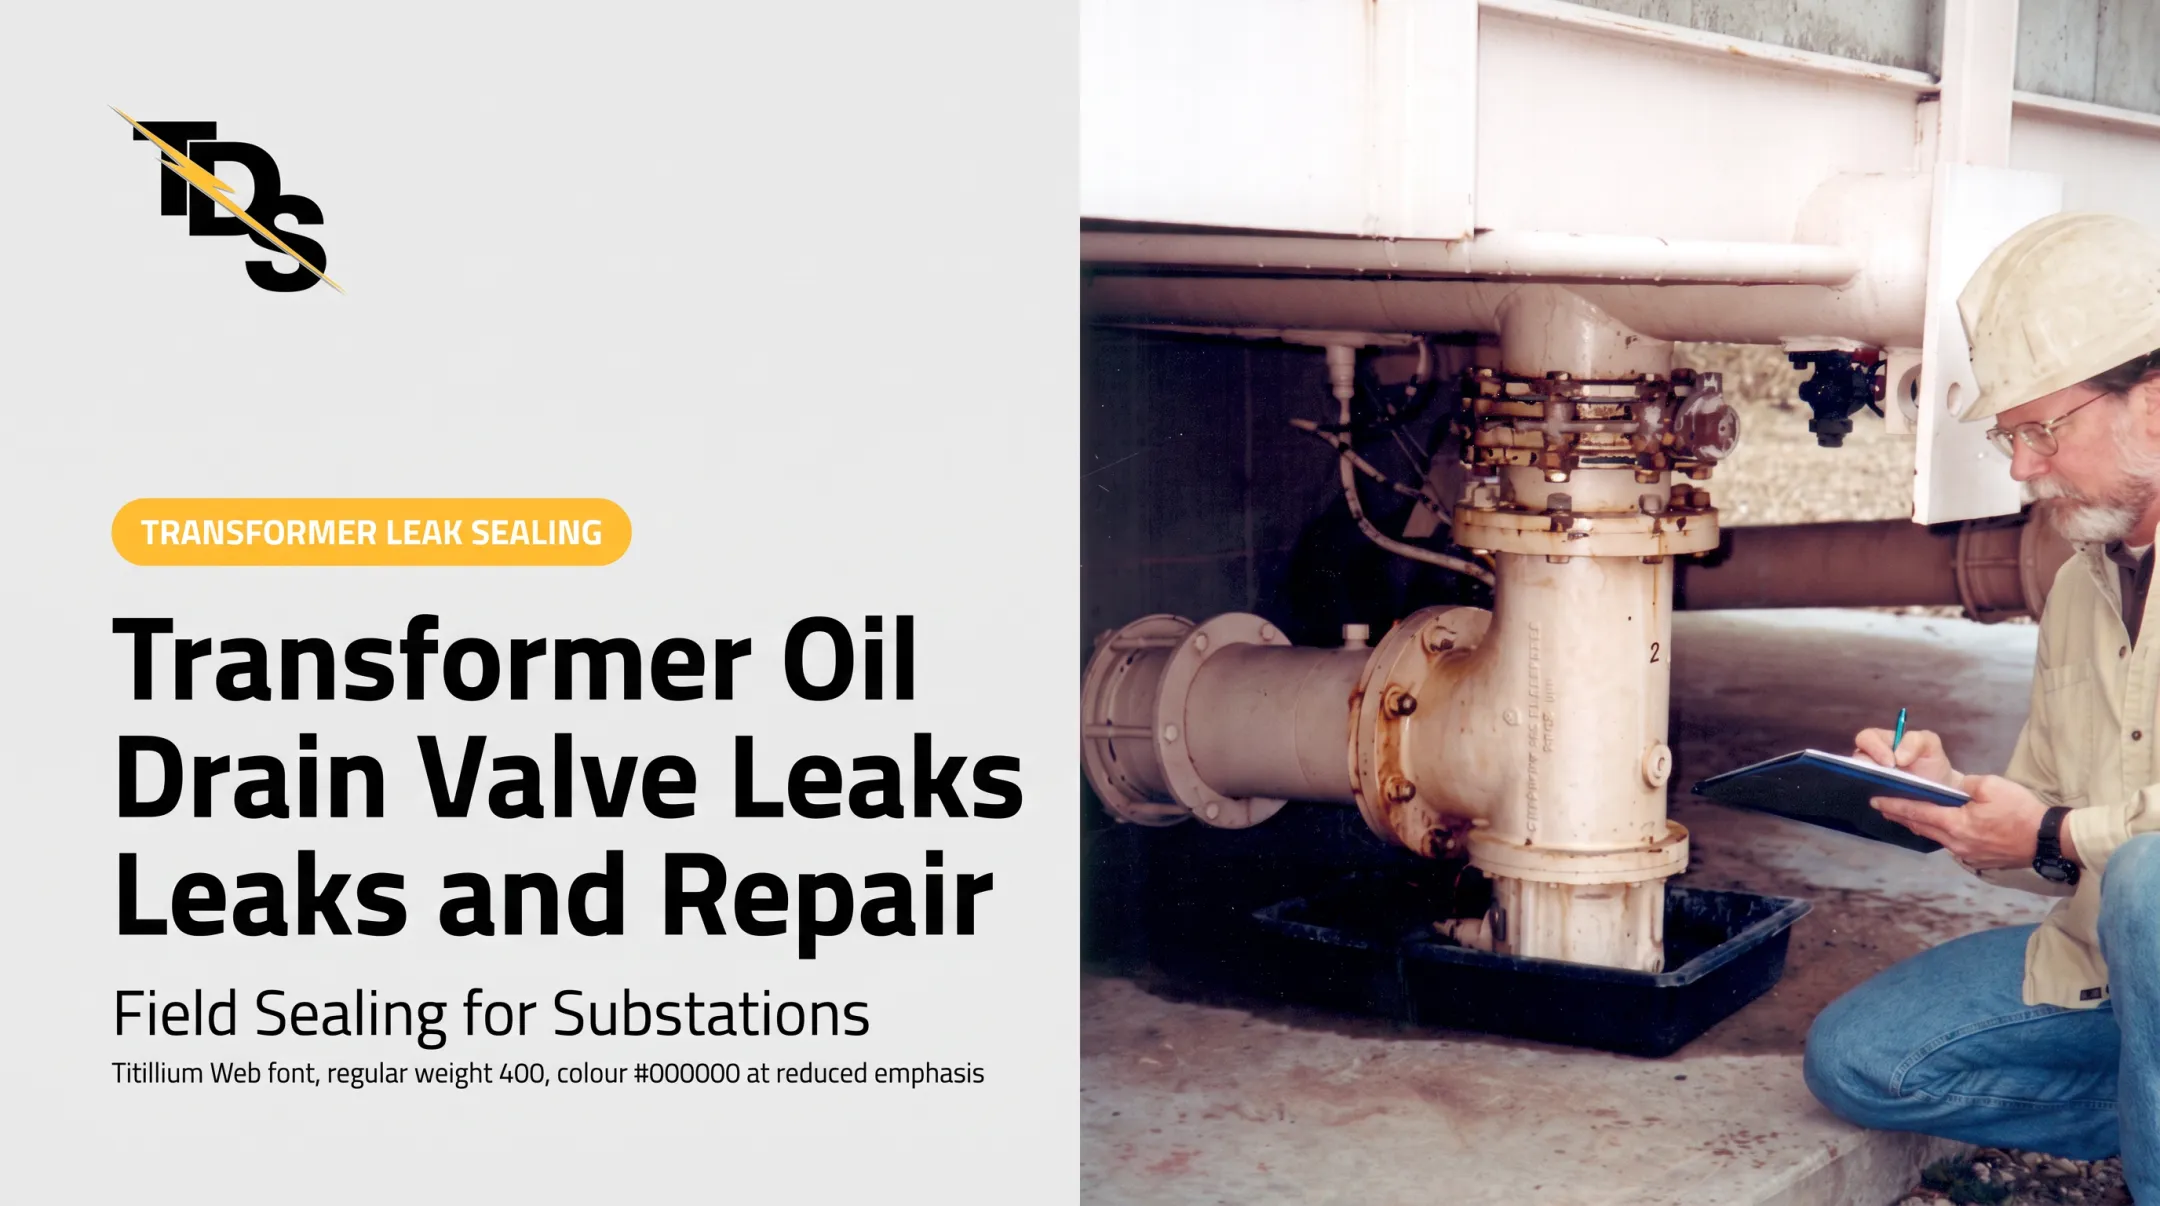
Valves deserve special attention. Flapper and butterfly valve gaskets and deteriorated stem packing are common leak sources. Once packing has deteriorated, tightening the packing nut will not restore compression.
Tank, weld, radiator, and fitting leaks. Corrosion, cracking, defects, vibration, thermal cycling, or impact create harder problems. These may need specialized repair or manufacturer evaluation.
Why Transformer Oil Leaks Happen
Seals and metal wear down from several pressures:
- Age and repeated heating and cooling
- Vibration and overpressure
- Weather and corrosive environments
- Transport damage or vehicle impact
- Deferred maintenance
Before any handling, cleanup, repair, transport, or disposal, identify the oil type, age, service history, and PCB status. Under EPA PCB rules at 40 CFR 761, mineral-oil equipment manufactured before July 2, 1979, with unknown concentration generally must be assumed PCB-contaminated. State and local rules vary, so check yours.
Ignoring a leak invites progressive oil loss, reduced cooling and insulation margin, equipment damage, fire risk, contamination, regulatory exposure, and forced outages. Early repair protects both the asset and the site around it.

How to Fix a Transformer Oil Leak (Step-by-Step)
Don't repair based on the symptom alone. Confirm the source, isolate the root cause, pick a compatible repair, and verify the leak has stopped.
Safety warning: Follow the owner's switching, lockout/tagout, arc-flash, energized-work, spill-response, and site-access procedures. Significant active leaks require qualified professional intervention.
Step 1: Identify the Exact Leak Location and Severity
Document these details before you repair:
- Transformer ID and operating status
- Visible oil path and affected component
- Oil level changes and surrounding contamination
Classify the condition as residue, seepage, dripping, or active flow.
The area may need safe cleaning and observation to separate old residue from a continuing leak. One practical method: clean the flange thoroughly, then spray an oil leak detector.
Oil darkens the powder at the failing flange split line or stem packing. Use only methods approved for your transformer and work environment.
Step 2: Confirm the Root Cause Category
Decide whether the source falls into one of these categories:
- Gasket or bolted-joint failure
- Valve or fitting issue
- Radiator or weld defect
- Corrosion, impact damage, or overpressure
- Internal condition
Rule out migration from a higher component. Review maintenance, inspection, oil-level, temperature, pressure, alarm, and electrical-test records before replacing parts.
Step 3: Control the Oil and Environmental Exposure
Secondary containment, absorbents, collection equipment, access control, and spill documentation may be needed first. Containment doesn't fix the source.
Environmental obligations depend on facts:
- Oil sampling or identification and PCB status come first.
- Federal reporting: EPA's oil discharge rules require immediate National Response Center notification (800-424-8802) for harmful discharges to covered waters or shorelines. There's no universal gallon threshold.
- State rules differ. New York, for example, generally requires notice within 2 hours, with a narrow small-spill exception.
- SPCC applicability depends on facility type, oil capacity, and discharge potential.
Step 4: Apply the Appropriate Repair Method
The method depends on the leaking component, transformer design, oil compatibility, equipment condition, manufacturer requirements, and whether the unit can safely stay energized.
Gaskets and bolted interfaces:
- Follow manufacturer-approved torque values with a torque wrench
- Use compatible gasket material (nitrile or Viton, depending on service)
- Prepare surfaces and compress evenly
- Avoid over-tightening, which can damage the joint
Tanks, radiators, welds, and corrosion: EPRI describes in-place radiator welding with oil inside as very risky, and extensive leakage can require an outage and radiator removal. Expect specialized low-pressure sealing, OEM repair, controlled outage work, component replacement, or removal from service. Skip the improvised patch or torch.
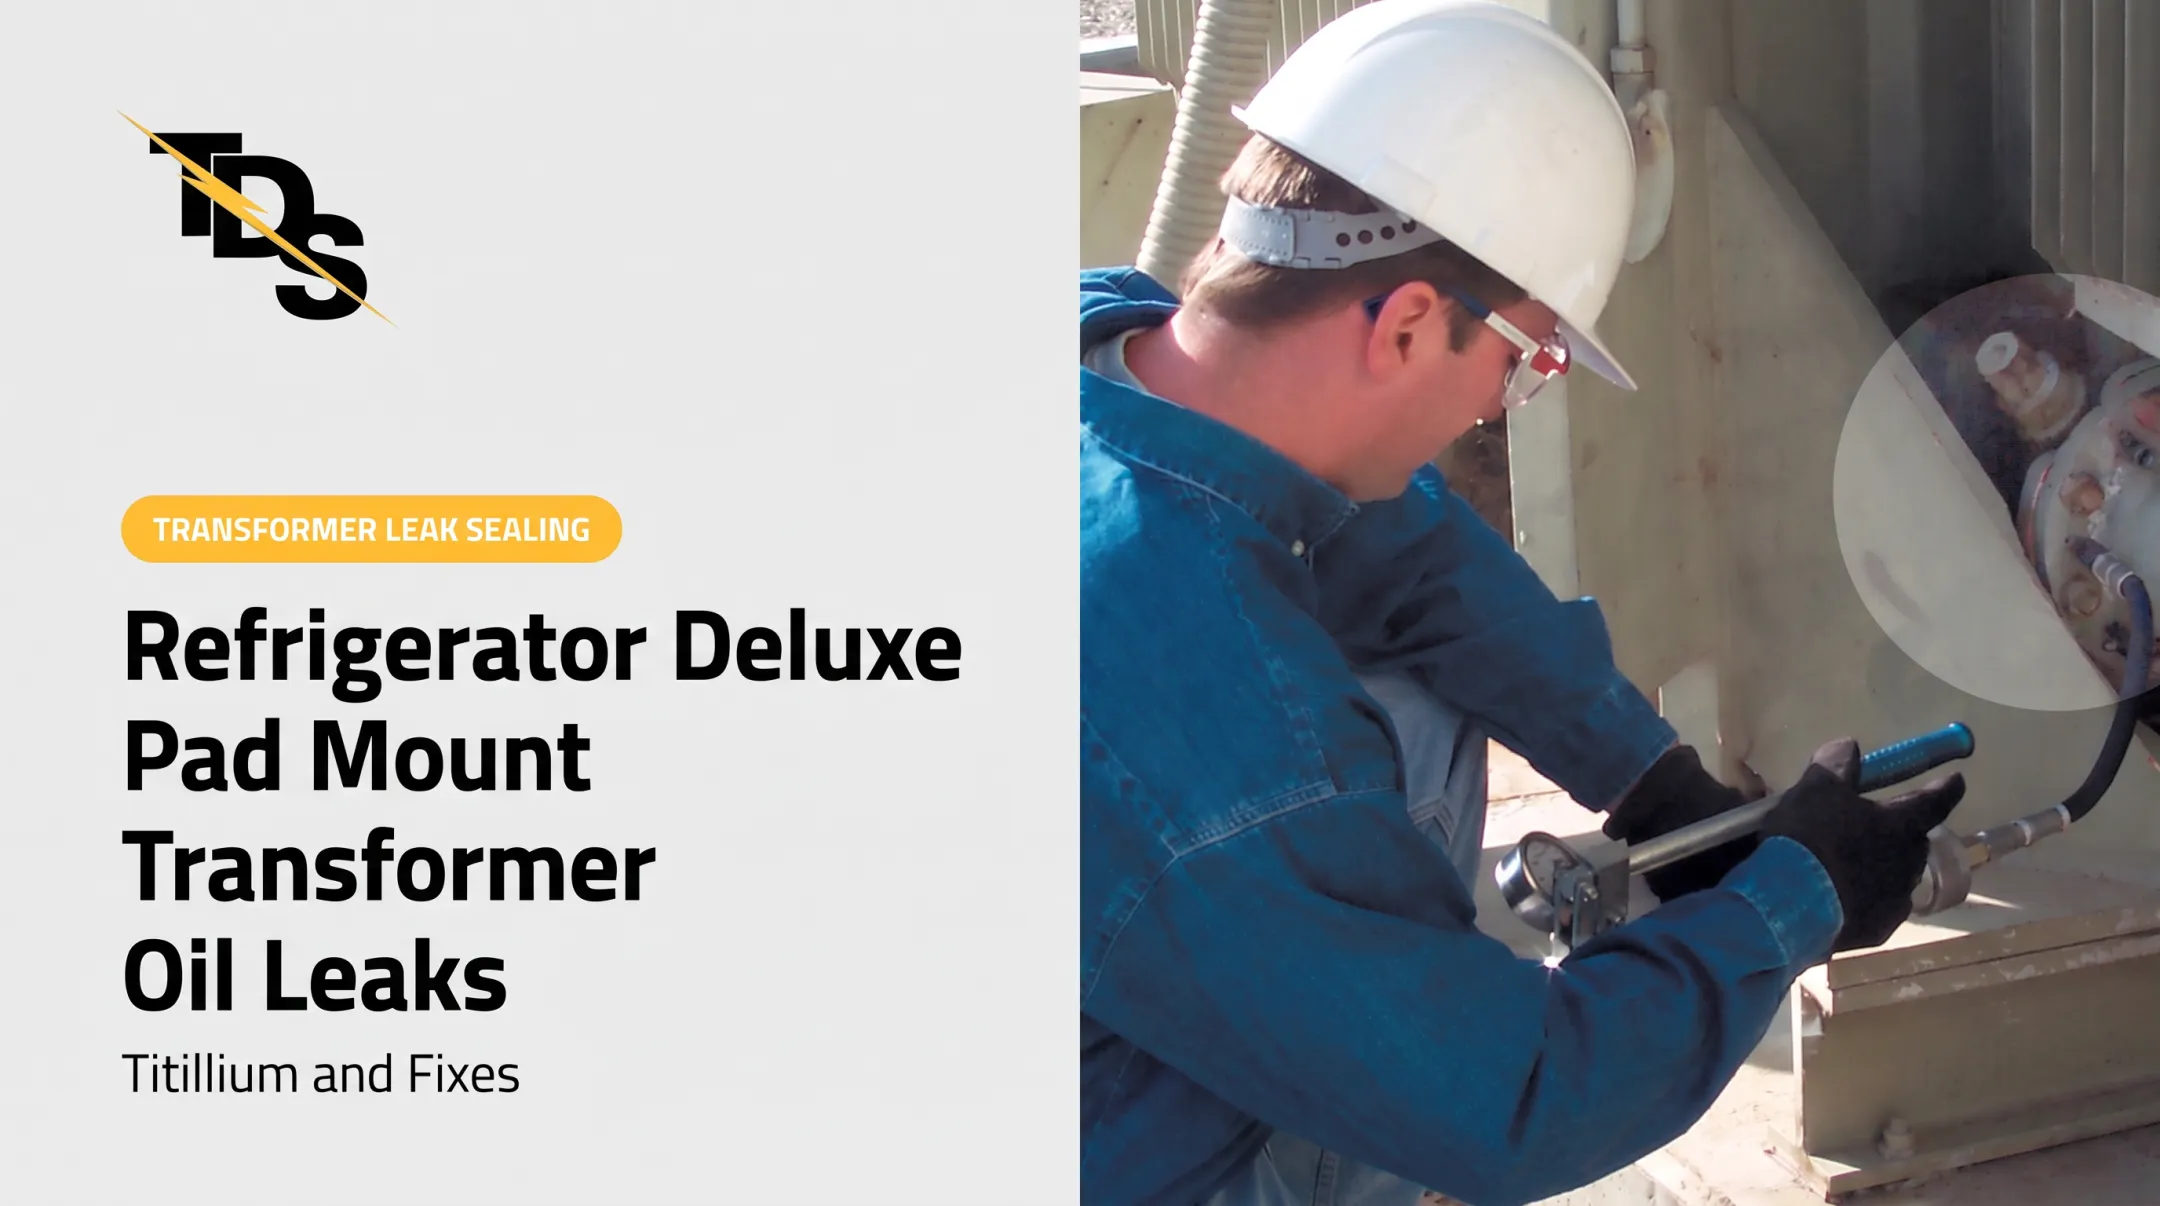
Low-pressure leak sealing. Transmission & Distribution Services (TDS) offers a cured-in-place gasket approach as an alternative to teardown and regasketing when conditions allow. Its proprietary sealant is formulated not to react with transformer oil and replaces OEM gasket material without traditional disassembly.
For example, a 4-bolt flapper valve flange can usually be repaired in about two hours without draining oil. TDS states many repairs can be completed energized, though upper leaks near energized components may require de-energizing and grounding.
TDS provides free equipment surveys that record the equipment, leak location, repair method, and price. It states a four-year warranty on its repairs; confirm the applicable terms and conditions before relying on it.
Step 5: Test and Validate the Repair
Qualified personnel should confirm that:
- The repaired area is dry and stable
- Oil level and alarms are normal
- No new leak path has appeared
Observe under appropriate operating conditions and keep inspecting. An immediate visual check isn't enough. Document the method, materials, test results, photos, oil handling, operating status, follow-up interval, and any manufacturer or owner acceptance requirements.

When Should You Repair vs Replace a Transformer?
The decision balances leak severity, equipment condition, safety, downtime, environmental risk, repair reliability, lifecycle cost, and how critical the unit is. There is no universal cost-percentage cutoff that applies to every unit.
| Situation | Repair when | Replace or do major work when |
|---|---|---|
| Localized gasket, valve, gauge, or fitting leak | Tank is sound, leak is isolated, oil and internal condition are acceptable, and a compatible repair can be verified | Leak recurs, component is beyond practical repair, multiple defects exist, or access can't be made safe |
| Tank, weld, radiator, or corrosion leak | Qualified inspection confirms adequate metal integrity and an approved repair restores containment safely | Corrosion is widespread, tank is cracked or distorted, radiator damage is extensive, or containment won't hold long term |
| Older unit with repeated leaks | History, oil condition, dissolved gas analysis, and electrical tests support remaining service life | Insulation condition, contamination, or lifecycle economics show a repair only postpones bigger failure |
| Critical unit, costly downtime | Owner's qualified staff authorize a specialized repair that reduces disassembly | Leak is severe, equipment can't stay energized safely, or containment is failing |
Replacement carries its own clock. The DOE's 2024 transformer report cites commonly quoted lead times of 36 months for large power transformers, up to 60 months at the maximum. Those are historical figures, not current quotes, but they explain why a sound unit with a fixable leak is often worth repairing.
Internal condition matters as much as the leak. Review dissolved gas trends (IEEE C57.104), oil quality, and power factor and turns-ratio results against prior data before committing.

Common Mistakes and Preventive Measures
Common Mistakes to Avoid When Fixing a Transformer Oil Leak
- Opening or touching energized equipment without authorization
- Using an incompatible sealant
- Over-tightening bolts
- Welding or patching without an approved procedure
- Treating residue as proof of an active leak
- Confusing spill containment with source repair
Before restoring service, complete these steps as well:
- Confirm oil and PCB status
- Follow manufacturer requirements
- Test afterward and document the work
- Wait for qualified personnel to confirm safe operating conditions
Preventive Measures to Avoid Future Issues
Bureau of Reclamation guidance calls for an in-depth inspection after the first month and annually after that, on top of daily and weekly checks. Remote monitoring doesn't replace physical inspection. Build a program around:
- Leak surveys targeting gasketed flanges, bushings, valves, radiators, and the lower tank
- Cleaning followed by re-observation
- Oil-level and alarm reviews
- Corrosion checks and torque or gasket inspections where specified
- Trend-based dissolved gas and electrical testing
Record leak locations, repair materials, operating conditions, photos, test results, and recurrence history. Keep spill-response equipment, training, and environmental plans current. EPA inspections look at whether leaks are documented and whether an action plan is in effect.
Conclusion
Oil leaks come from worn seals, damaged components, corrosion, operating stress, or outside events. Early, accurate diagnosis improves the odds of a practical repair, and detection before repair keeps the work focused on what is actually leaking.
Containment protects people and the environment, but it isn't a fix. Qualified leak-sealing or transformer professionals should decide whether to repair, de-energize, or replace. For utility and plant teams weighing a low-downtime option, TDS's free survey is a reasonable first step.
Frequently Asked Questions
Can transformers be repaired?
Many localized leaks and component issues can be repaired. Structural damage, repeated failures, poor internal condition, or unsafe operating conditions may require major repair or replacement.
What is the average lifespan of a power transformer?
It varies with design, loading, temperature, maintenance, environment, and insulation condition. DOE describes large power transformer design life as on the order of 40 years, but condition assessment is more useful than age.
Why are electrical transformers filled with oil?
Oil provides electrical insulation and carries heat away from internal components. Oil loss can compromise both functions.
What happens when a transformer gets wet?
Moisture degrades insulation, speeds aging, and can cause corrosion, flashover, and equipment damage. Wet equipment needs qualified inspection before re-energization.
Can a transformer oil leak be repaired without taking the transformer out of service?
Some specialized low-pressure sealing repairs can be done in service when conditions permit. Site safety procedures, leak severity, equipment condition, and qualified assessment make the call.
How do you know if a transformer oil leak is active?
Look for fresh oil, continuing drips, residue that returns after cleaning, and changing oil levels or monitoring readings. Approved detection methods beat assuming every stain is active.