
This explanation is for U.S. utility, power-generation, and substation maintenance teams responsible for transformers, circuit breakers, GIS, oil containment, and SF6 management. Controlled leak repair matters for reliability, environmental responsibility, safety, and service continuity. EPRI research links moisture intrusion through leaks to insulation degradation in oil-impregnated-paper bushings, so a leak can be an insulation issue and not just housekeeping.
The term gets used loosely. Few explanations say what is drilled, where sealant goes, how the repair is verified, or when the method is the wrong call. This article covers the process, applications, influencing conditions, and limits.
Key Takeaways
- Drill and inject is a condition-dependent alternative to teardown or regasketing for selected leaks.
- Results depend on accurate leak location, compatible sealant, low-pressure control, and safety planning.
- Transformers, oil breakers, SF6 breakers, and GIS may qualify after equipment-specific assessment.
- Energized work may be possible, but never assume it without utility procedures and technical review.
What Is Drill and Inject Leak Repair, and Why Is It Used in Substations?
What Does Drill and Inject Leak Repair Mean?
Drill and inject leak repair is a targeted leak-sealing method. A technician creates a controlled access point, then delivers compatible sealant into the leaking interface or gasket area. The sealant cures in place and acts as replacement gasket material.
The goal is to stop transformer oil or SF6 gas from escaping and restore containment with minimal disassembly. It is not concrete crack injection, surface caulking, structural repair, or routine fluid top-off.
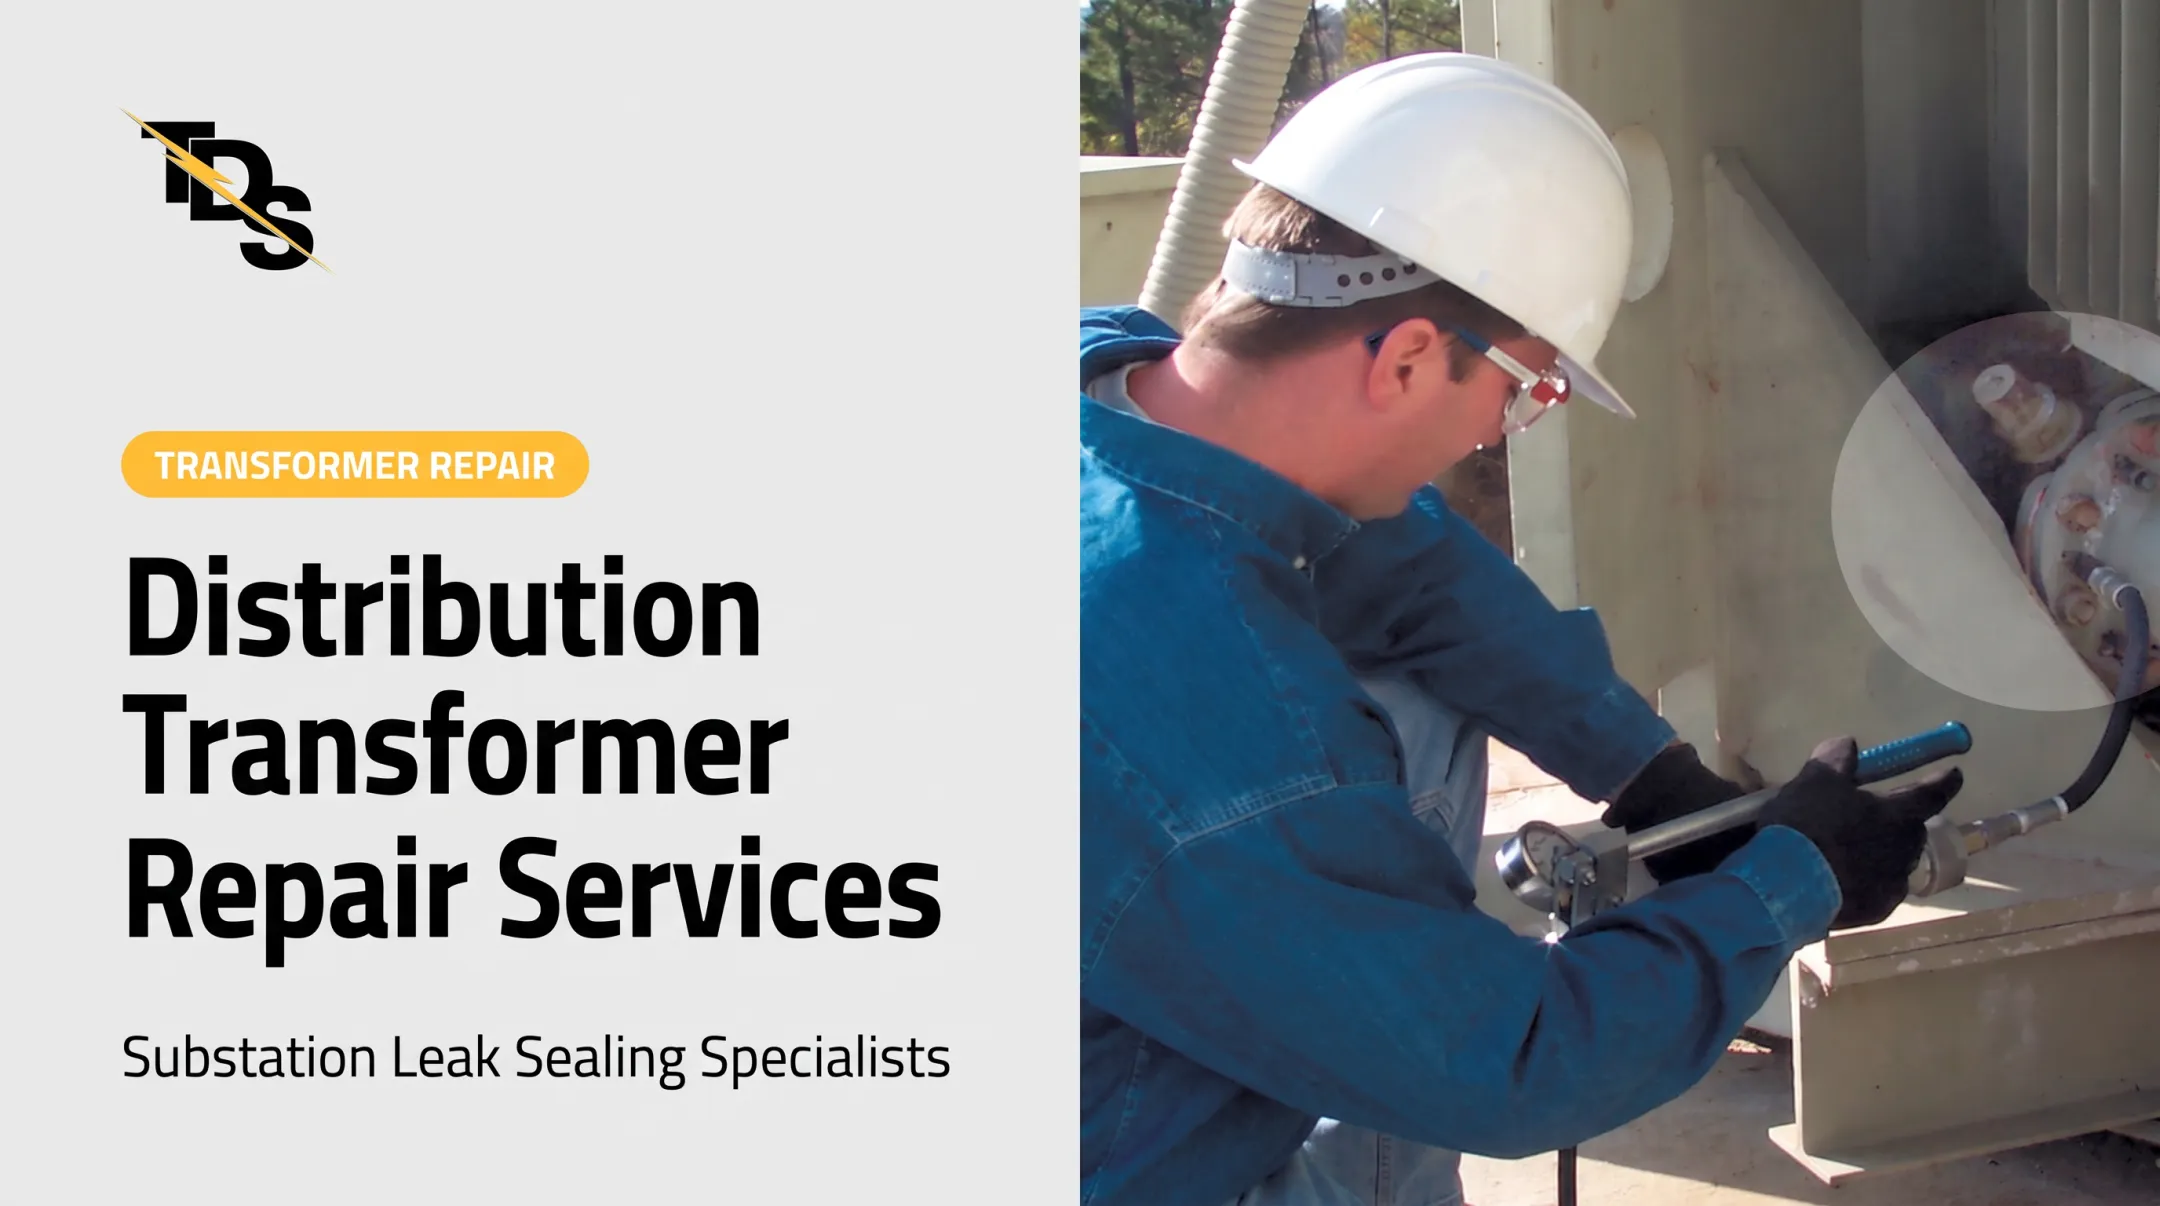
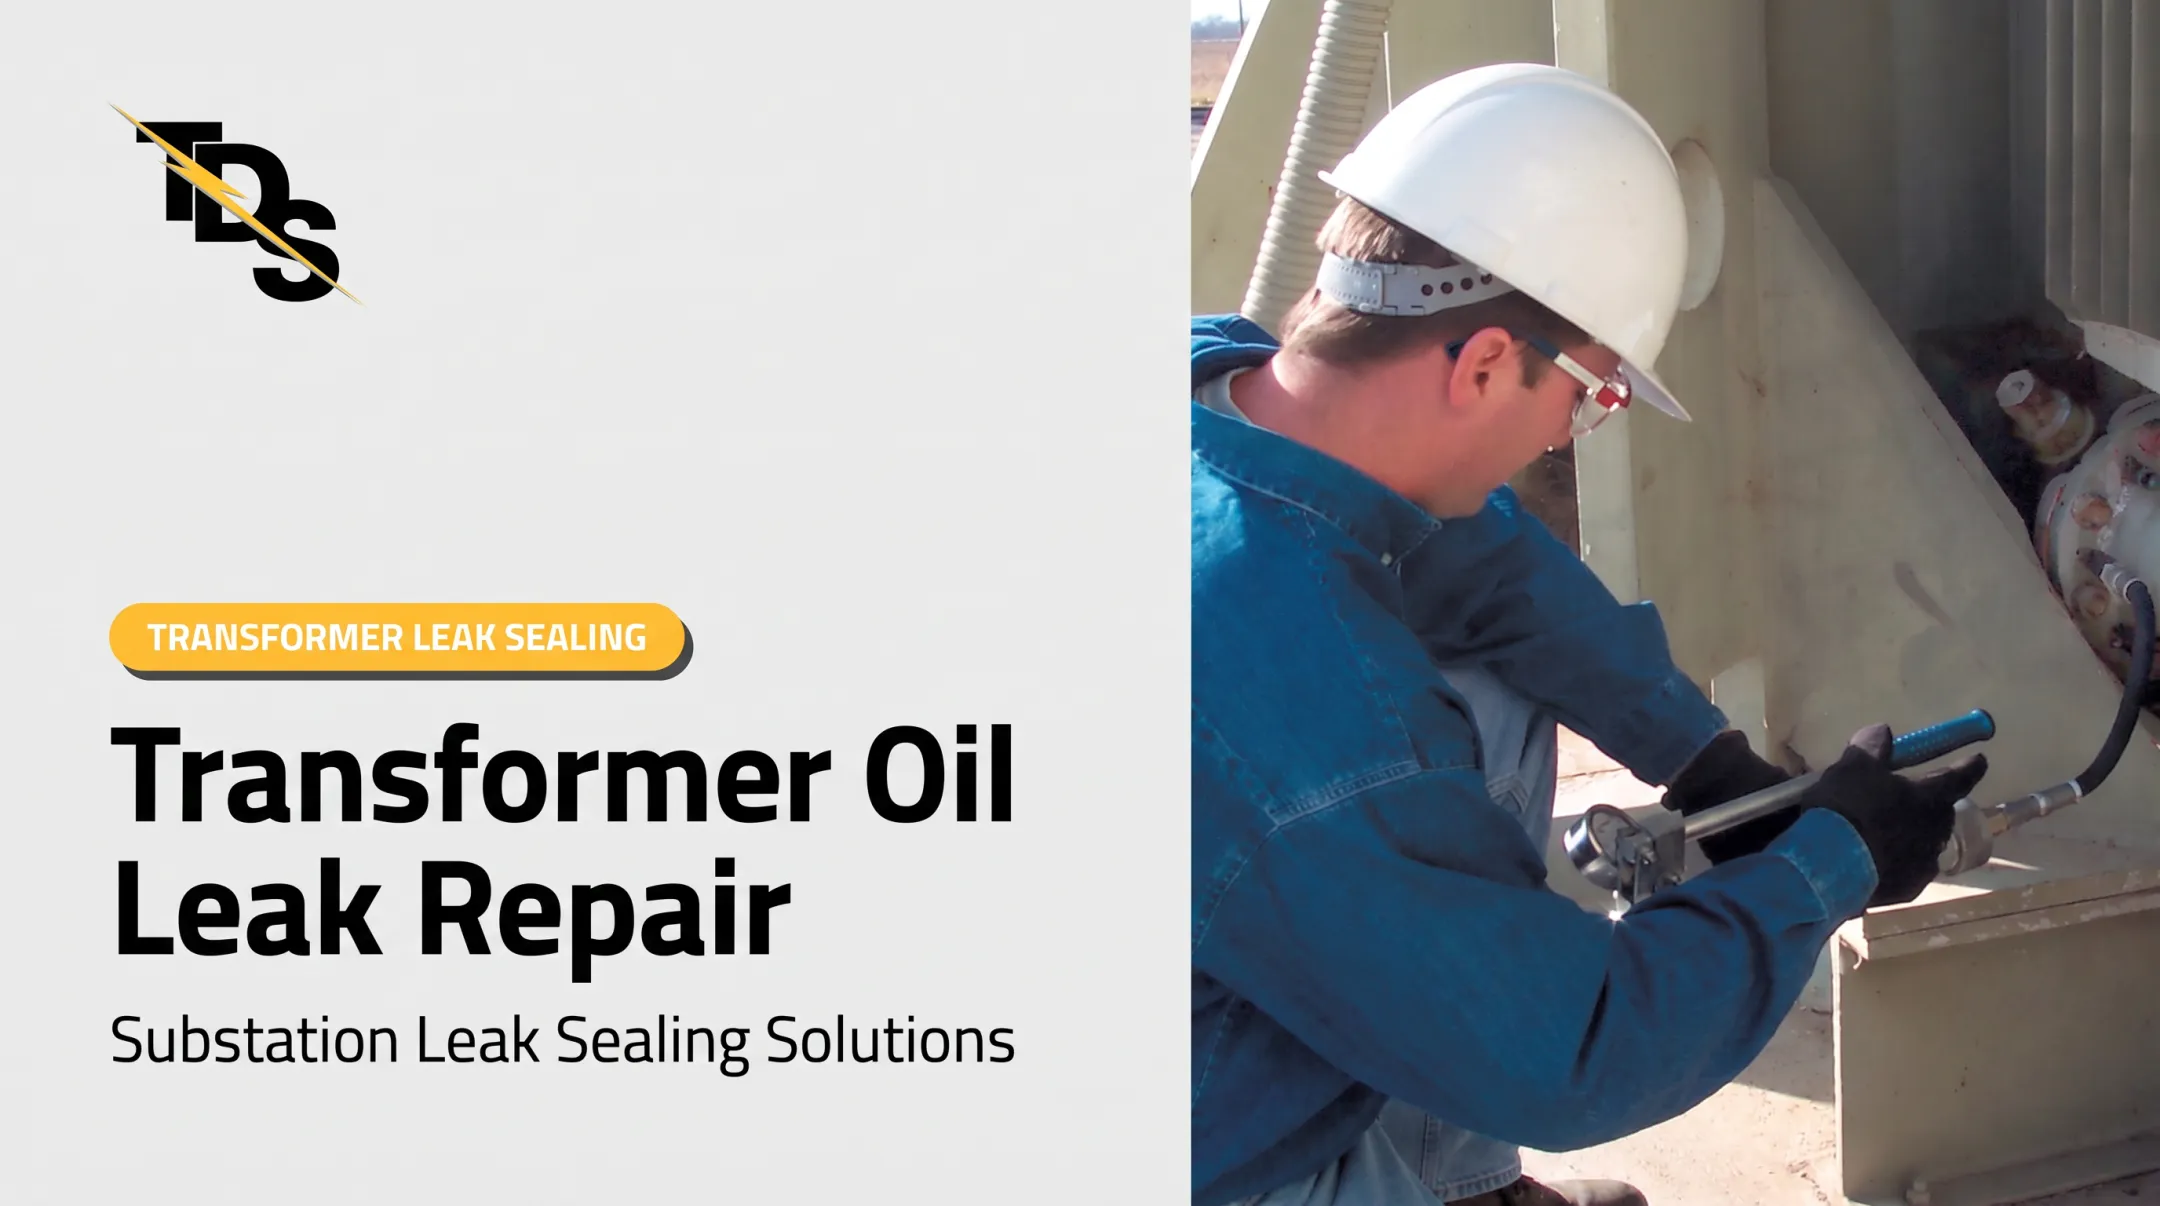
A common example is a grooved gasket on a 4-bolt flapper valve flange. Transmission & Distribution Services (TDS) drills and taps four equidistant holes into the gasket groove, then threads in injection valves and pumps in low-pressure hydraulic sealant. Pipe plugs go in after cure.
Why Utilities Use It
Traditional repair is disruptive. A conventional flapper-valve gasket fix typically means de-energizing, grounding, draining oil from the radiator bank, and disassembling.
Replacement is not a quick fallback. The DOE's 2024 report cites commonly quoted acquisition times of 36 months, with maximums of 60 months, for large power transformers. That is procurement time, not repair time, but it shows why utilities want to keep existing units running.

Typical motivations:
- Avoid unnecessary teardown and shorten outages
- Limit disassembly and reassembly work
- Protect valuable equipment that is hard to take out of service
- Support oil containment and SF6 emissions management
- Work around busy crews and scarce spares
This is not a regulatory requirement or a universal best practice. It is a maintenance option to weigh against OEM guidance, utility procedures, safety rules, equipment condition, and the nature of the leak.
How Drill and Inject Leak Repair Works
Drill-and-inject follows a controlled sequence from leak confirmation through documentation:
- Identify and confirm the leak
- Inspect the apparatus and operating conditions
- Select the approach and compatible material
- Prepare the work area
- Drill the controlled access point
- Inject at low pressure
- Verify the seal
- Document the repair
Compatibility matters. The sealant must suit the equipment and its contained medium, whether transformer oil or SF6, without harming insulation, gaskets, gas containment, or operation. TDS states its rubber-based compound does not adversely react with transformer oil or SF6 gas. Confirm this through product documentation and a qualified technical specialist.
Control depends on several variables:
- Leak-location accuracy
- Access geometry
- Injection pressure
- Material behavior
- Temperature and equipment condition
- The leak's response during injection
Do not borrow concrete-injection pressure or spacing rules. No authoritative universal pressure, drilling depth, or sealant specification exists for substation apparatus, so follow the product's technical data sheet and approved procedure.
Step 1: Inspect, Confirm, and Plan
Find the actual leak path. Is it a gasket, flange, seam, bushing interface, or valve? Review equipment records and fluid type, and set the safety and access plan before any drilling.
Detection options include soap solution, ultrasonic detection, halogen meters, and infrared laser surveys for SF6. EPA guidance describes soap-and-water, bagging, and thermal imaging for finding chronic SF6 leaks without outages.
A visible leak can also mislead, since oil travels before it drips. Confirm the source.
Step 2: Create Access and Inject the Sealant
Create only the access the approved method requires. Deliver sealant into the target interface at controlled low pressure. Watch for unexpected flow, movement, pressure change, or material escaping. Exact tooling and sequence belong to the applicable TDS procedure and product documentation.
Method matters by gasket type. Drill and inject suits gaskets seated in grooves. For full-face transformer-lid gaskets, TDS uses a different approach: a dam is built and sealant is injected between the gasket and dam. Where sealant cannot travel through a groove, a custom clamp may enclose the flange split line.

Step 3: Verify, Finish, and Document
Confirm that leakage has stopped or met the required acceptance condition. EPA recommends testing equipment before and after repair. Then complete any approved cleanup or finishing and record:
- Equipment and leak location
- Material and method used
- Inspection results
- Follow-up requirements
TDS daily work logs tie each repair back to the original survey, which establishes the warranty for that individual repair.
Where Drill and Inject Leak Repair Is Applied, and What Affects It
What Equipment and Situations May Be Suitable?
Candidates include oil-filled transformers, oil-filled circuit breakers, SF6 circuit breakers, and GIS, only where component design, leak location, material compatibility, and repair method support it.
Examples from TDS work:
- Transformer flanges, valve stems, drain plugs, and bushing flanges
- Oil circuit breaker drain-valve stems and bushing base mounts (drill and inject only when the gasket lies in a groove)
- GIS piping, flange connections, and seam welds
The work is usually condition-based. An inspection, monitoring, environmental review, or equipment survey flags a leak, rather than a fixed schedule. It may happen in service or in a planned outage, depending on operating state, hazards, utility rules, and the consequences of continued operation.
Key Factors That Affect the Repair
Several conditions decide whether drill and inject is viable and how the job is planned:
- Materials and leak characteristics: contained medium, gasket or seal material, sealant compatibility, leak size and location, contamination, and whether the visible leak matches the underlying failure
- Operating and equipment conditions: temperature, internal pressure, geometry, accessibility, electrical clearances, energized status, weather, and surrounding component condition
- Scope and compliance: number of leak points, equipment criticality, outage limits, documentation, OEM and owner procedures, OSHA expectations, environmental controls, and SF6 monitoring or reporting where applicable
In practice, bottom-connection leaks on a transformer may be repaired energized, while upper leaks near high-side, low-side, or neutral bushings may need de-energization and grounding. OSHA 1910.269 requires qualified-worker competence, job briefings, and controls on approaching exposed energized parts.

TDS offers free equipment surveys that identify the facility and equipment, locate the leak, recommend a repair method, and give repair pricing before work is authorized.
Common Issues, Misconceptions, and When It May Not Be Appropriate
Drilling and injecting is not the same as smearing sealant over an external leak. Success depends on leak-path identification, access location, material compatibility, and controlled application.
Common failure causes:
- Treating the wrong leak location
- Using an incompatible material
- Drilling without an approved, equipment-specific plan
- Applying excessive pressure
- Overlooking contamination or equipment movement
- Declaring success without adequate verification
Stopping visible seepage is not the same as a durable repair. Acceptance evidence should include post-repair inspection, follow-up checks for oil weeping, and for SF6, density or temperature-corrected pressure monitoring over time.
No authoritative benchmark exists for service life or success rate, so rely on documented results and warranty terms.
When the Method May Not Be Appropriate
The method is a poor fit when you find:
- A damaged tank or enclosure, or structural cracking
- Severe corrosion
- A failed component that must be replaced
- An unsafe access condition
- An unsuitable gasket or fluid combination
- A leak that cannot be accurately located
In those cases, teardown, regasketing, OEM repair, replacement, engineering review, or a planned outage may fit better. Recurring leaks can also signal wider deterioration. A Czech transmission operator's CIGRE study links repeated leakage from an individual unit to repair or replacement of faulty parts.
Do not select drill and inject by default. Document an assessment covering leak severity, equipment condition, safety, environmental risk, operating importance, warranty terms, and the likelihood of a reliable seal.
Conclusion
Drill and inject is a targeted, low-pressure maintenance method for sealing qualifying oil or SF6 leaks while potentially avoiding extensive disassembly. It works when the leak is diagnosed correctly, the material is compatible, access and injection are controlled, safety is planned, and the result is verified.
Informed application beats blind adoption. The right decision depends on the equipment, the leak, operating conditions, and a technical assessment.
Frequently Asked Questions
What is drill and inject leak repair?
It is targeted low-pressure sealant injection into a qualifying gasket, joint, or leak interface in substation apparatus. It is not concrete crack injection or external caulking.
What equipment can be repaired with drill and inject leak repair?
Possible applications include oil-filled transformers, oil-filled or SF6 circuit breakers, and GIS. Suitability depends on leak location, equipment design, material compatibility, and technical assessment.
Does drill and inject leak repair require taking equipment out of service?
It aims to reduce disassembly and downtime in qualifying cases. Whether equipment stays in service is set by the utility's safety procedures, equipment condition, and repair assessment.
Can drill and inject leak repair be performed while equipment is energized?
Some repairs may be possible while apparatus stays energized, when conditions allow. This requires qualified personnel, approved procedures, appropriate clearances, and site-specific authorization.
How does drill and inject repair differ from traditional regasketing?
Regasketing generally means disassembly and replacing gasket material. Drill and inject delivers compatible sealant through a controlled access point with less disassembly, when the equipment and leak suit it.
How long is a drill and inject leak repair covered?
Warranty terms vary by provider and repair. TDS leak-seal repairs carry a four-year warranty, subject to the applicable terms and conditions.