
Causes vary: aging seals, vibration, thermal cycling, disturbed fittings, corrosion, installation problems, maintenance errors. The alarm never says where the gas is escaping. Meanwhile, SF6 carries a 100-year global warming potential of 23,500 according to EPA, so guessing is expensive.
This article covers symptoms, root-cause diagnosis, step-by-step repair, gas handling and verification, repair-versus-replace decisions, and prevention.
Key Takeaways
- A density monitor shows temperature-compensated gas density but cannot locate a leak.
- Diagnosis must separate a leaking monitor assembly, a failed instrument, and a leak elsewhere in the compartment.
- Fix the failed seal, fitting, valve, tubing, or component rather than adding more SF6.
- Follow OEM instructions, site safety rules, approved recovery practices, and post-repair leak testing.
What Is an SF6 Density Monitor? Common Problems and Root Causes
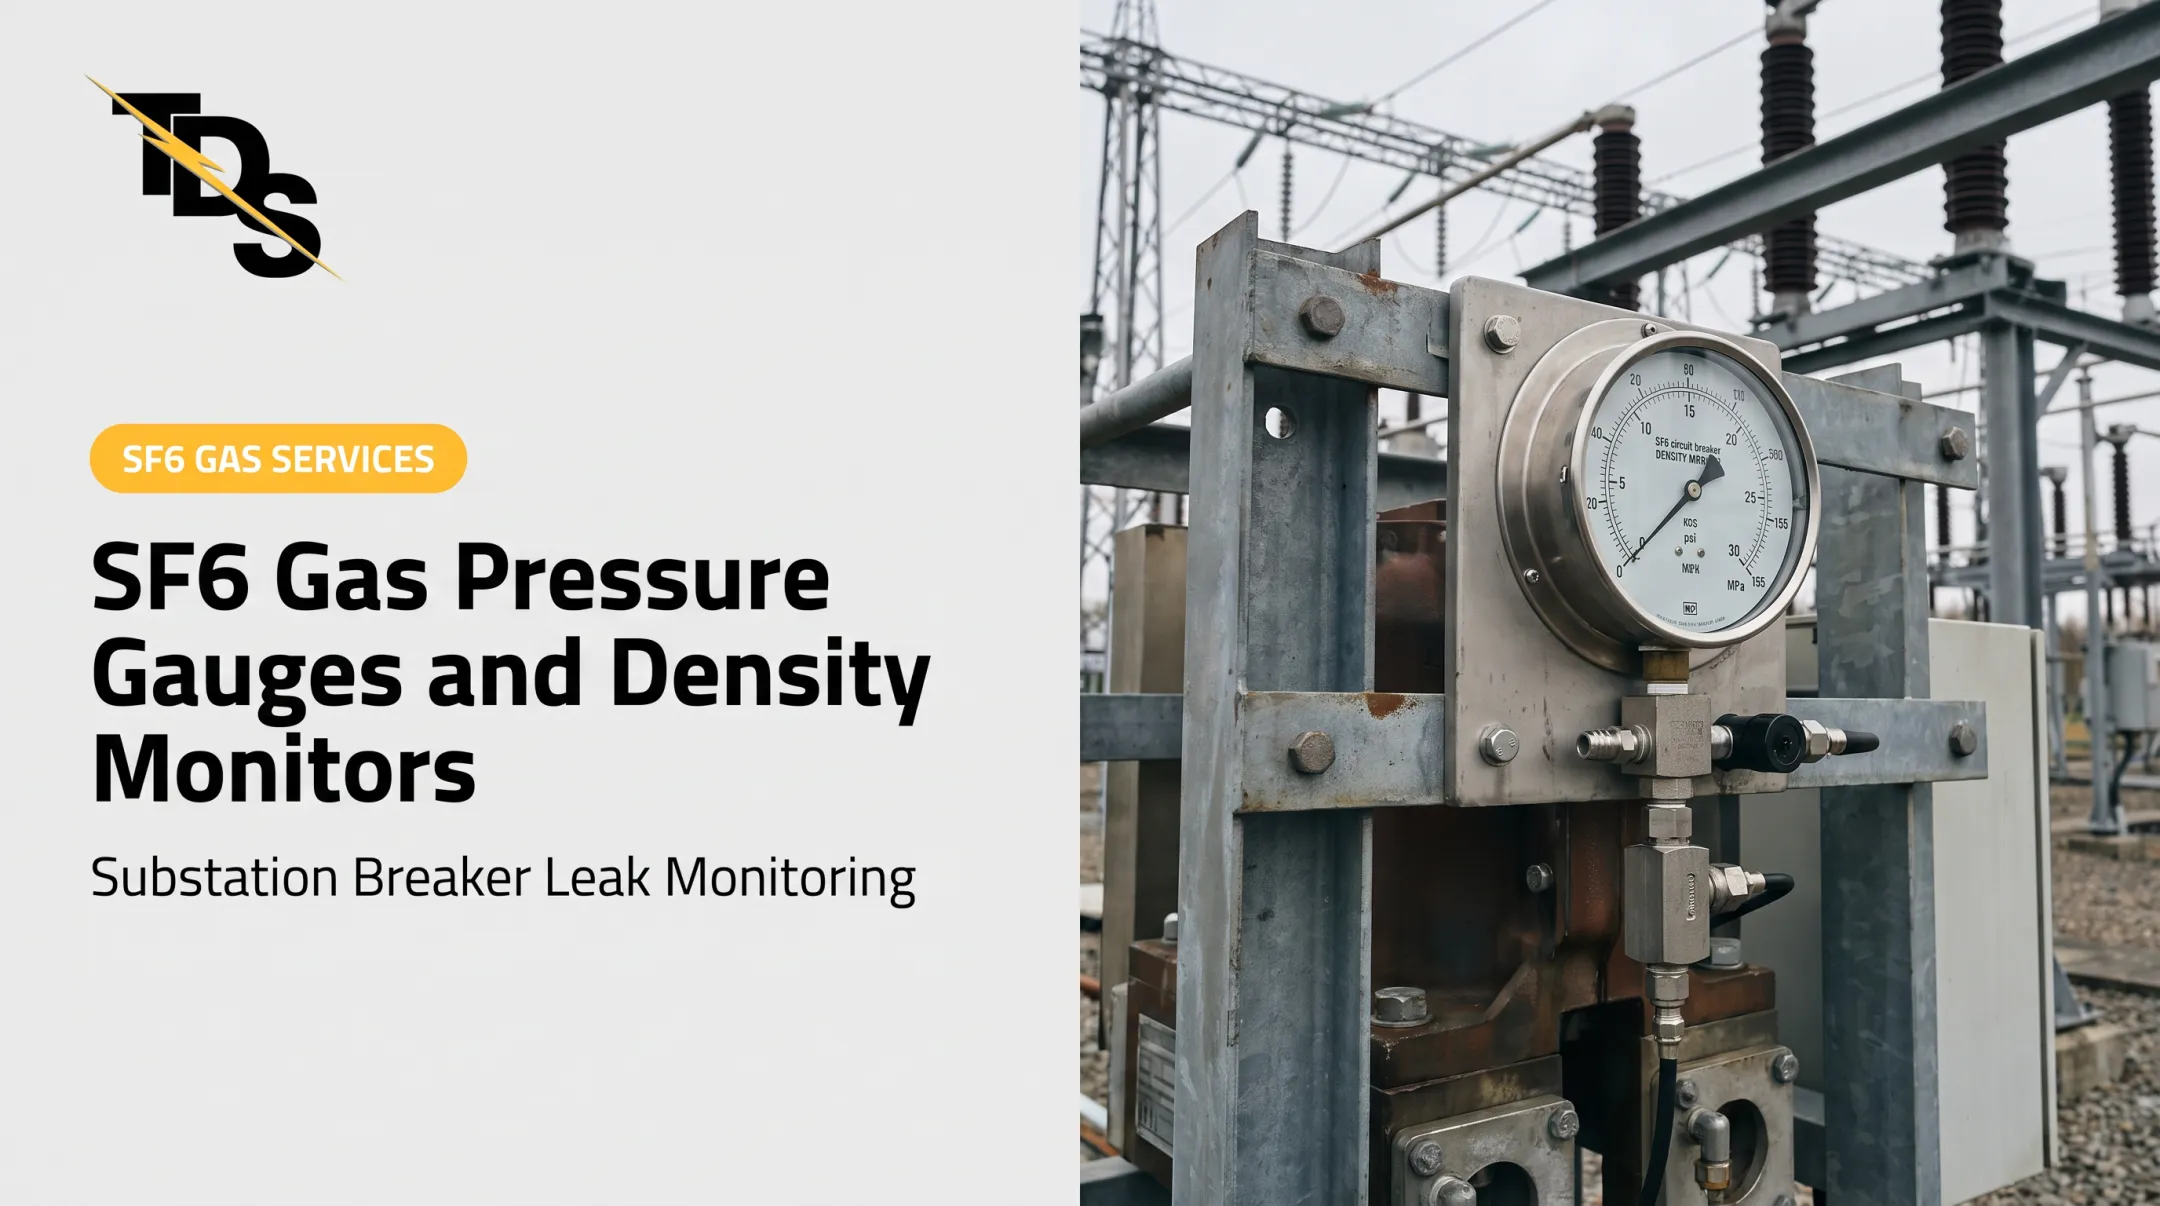
An SF6 density monitor indicates the density of insulating gas in a sealed electrical apparatus. It uses pressure and temperature relationships to provide an indication, an alarm, or a lockout signal.
How an SF6 density monitor works
Raw pressure changes with temperature. A compensated monitor accounts for that, so a cold night does not look like gas loss.
WIKA's GDM-100, for example, displays pressure referenced to 20 °C and switches electrical contacts at configured setpoints. Trafag describes a first alarm and a lockout alarm, with setpoints specific to the apparatus.
Always read the value against ambient temperature. WIKA's instructions direct falling-density investigations to mechanical checks and a separate detector. The monitor reports gas loss. A portable SF6 detector or other approved method finds the interface where it's escaping.
Common symptoms of a monitor leak or failure
- Compensated density that keeps declining
- Recurring low-density alarms
- Repeated gas additions
- Detector response around the monitor
- Visible deterioration at fittings
- Disagreement with an independent reference gauge
Not every symptom means escaping gas. WIKA lists instrument faults for the GDM-100 such as interrupted electrical connections, fused contacts, and blocked movement. Calibration drift and damaged wiring can also mimic a leak, so confirm the gas is actually leaving before you open anything.
Root causes and consequences
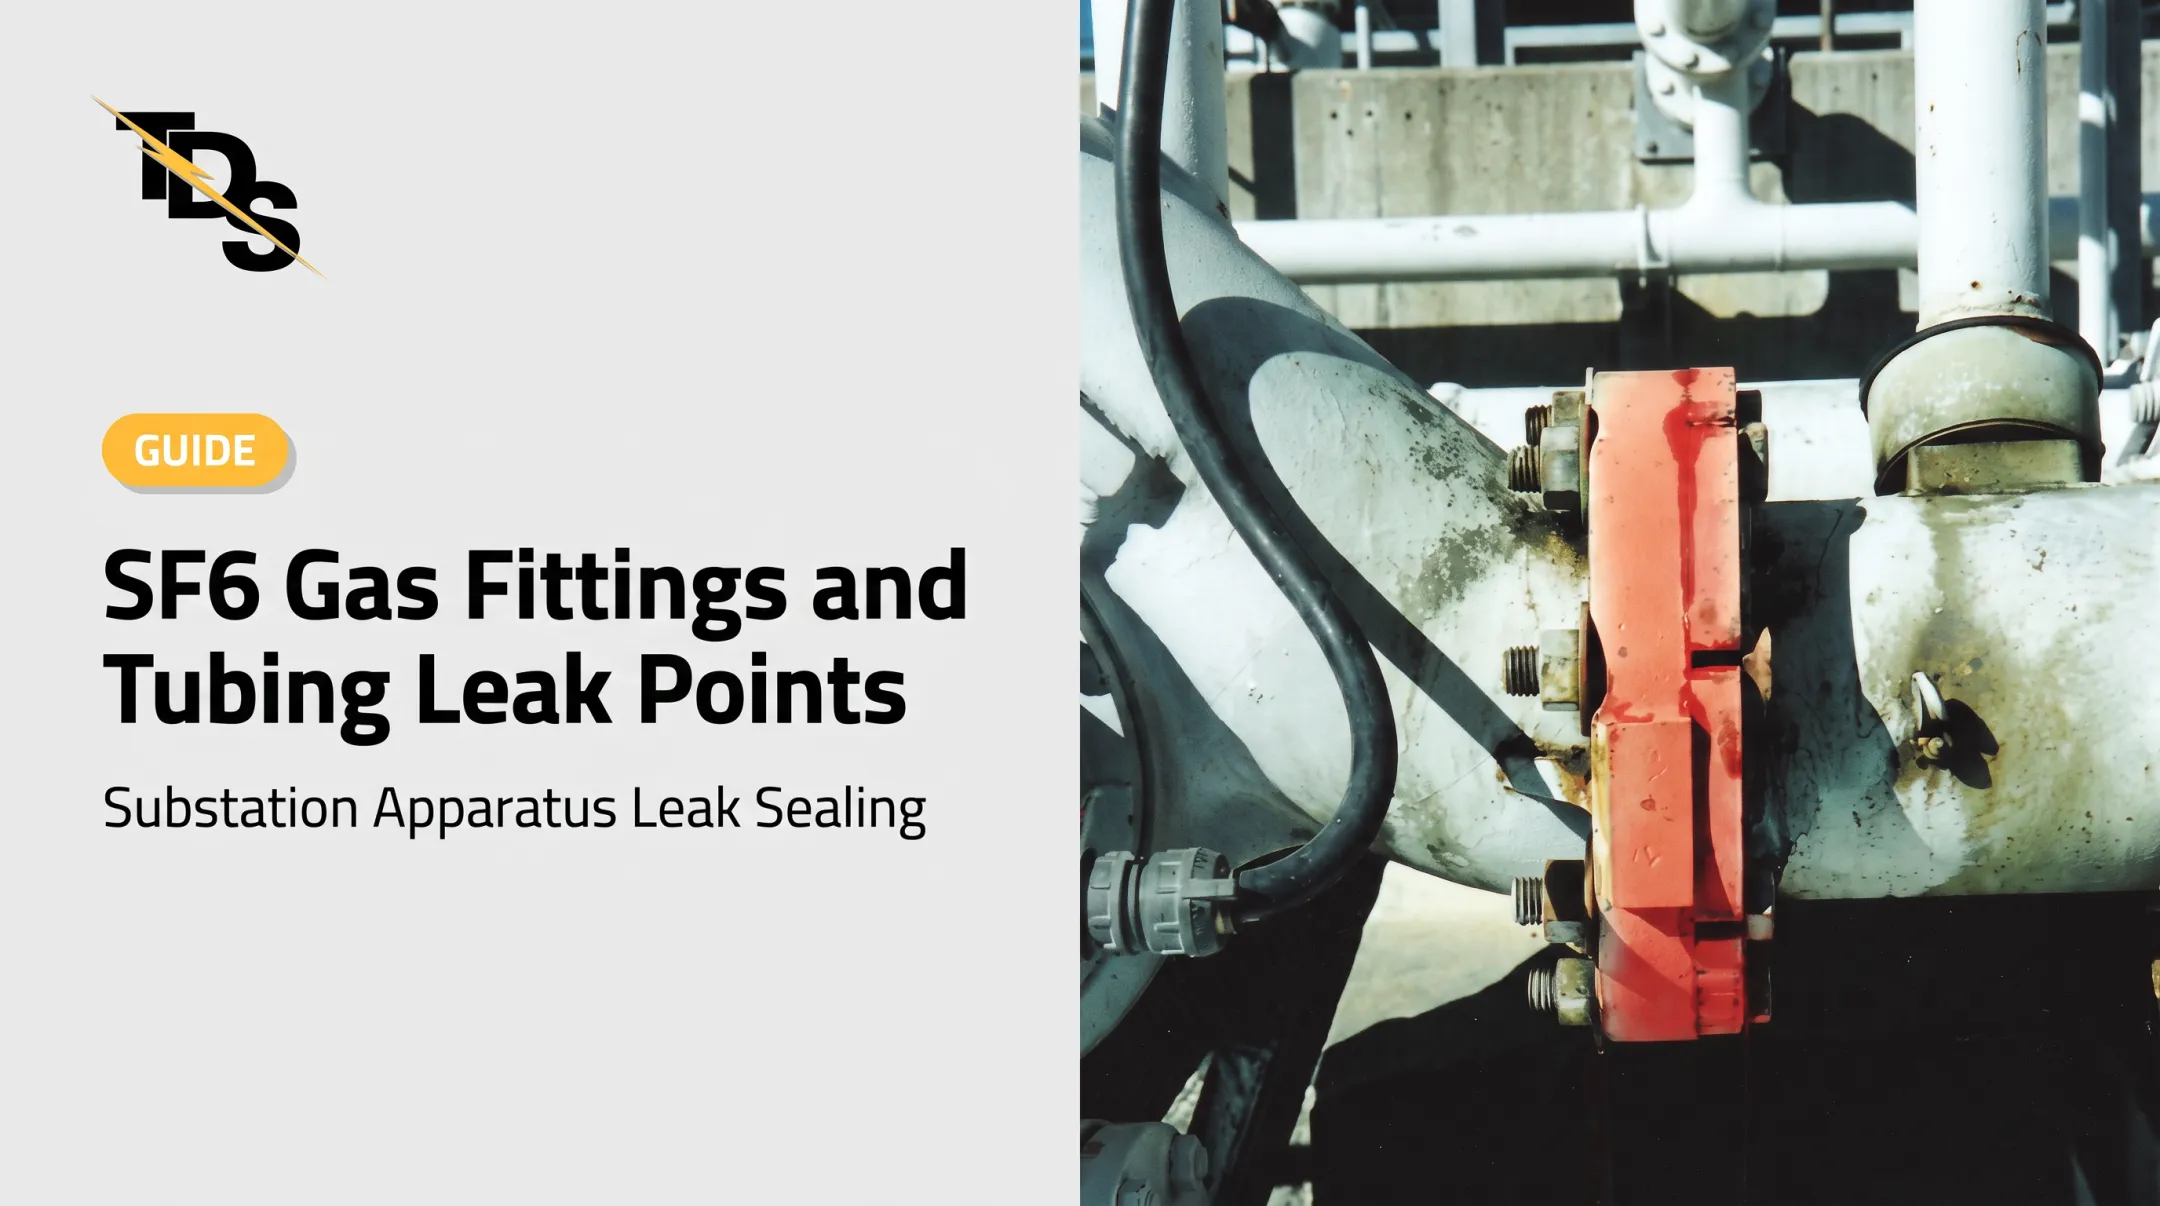
Likely leak points include:
- Monitor-body seals and O-rings
- Threaded connections and valve stems
- Tubing and compression fittings
- Flange interfaces and caps
- Fittings disturbed during earlier servicing
EPRI's leak-location report points to poor installation, maintenance disturbance, age-related seal failure, and corrosion on SF6 apparatus. These are apparatus-wide findings, not monitor-specific failure rates. Uneven tightening, incompatible sealing materials, and contamination can all produce repeat leaks.
Consequences are practical and regulatory. SF6 is expensive and a potent greenhouse gas. Large owners may fall under EPA's Subpart DD reporting, which compares calculated emissions with a 25,000 metric ton CO2e threshold. California applies separate CARB rules. Check current deadlines before filing.

How to Diagnose and Repair an SF6 Density Monitor Leak
Start with controlled diagnosis, not gas topping or wrench-tightening. The goal: confirm the condition, isolate the source, apply a compatible repair, and prove the leak has stopped.
Step 1: Review the history and confirm the abnormal condition
Compare recent readings with temperature data, alarm history, gas-addition records, previous repairs, and commissioning data. Check sister units if available. Use the OEM's alarm and operating thresholds, not universal pressure values.
Step 2: Decide whether it's the monitor, its connection, or the compartment
Inspect the monitor body, sensing connection, valve, tubing, fittings, caps, wiring, and adjacent seams. Use a calibrated detector or manufacturer-approved leak-detection solution where permitted.
Repeat readings. Wind, airflow, probe position, and gas migration all skew results. Transmission & Distribution Services (TDS) notes that soapy-water tests, handheld detectors, and ultrasonic tools can be unreliable for these same reasons, which is why it favors infrared laser scanning, where a leak shows up as black smoke on recorded video.
Step 3: Select the repair based on the confirmed failure
- Sound monitor connection: correct the fitting, seal, O-ring, tubing, or fastener using OEM-approved materials, torque, and assembly methods. WIKA specifies different sealing arrangements for parallel and tapered threads, and says to apply force at the spanner flats, not the case.
- Damaged or inaccurate monitor: evaluate recalibration, repair, or replacement. Never seal around a failed instrument. WIKA allows repairs only by the manufacturer.
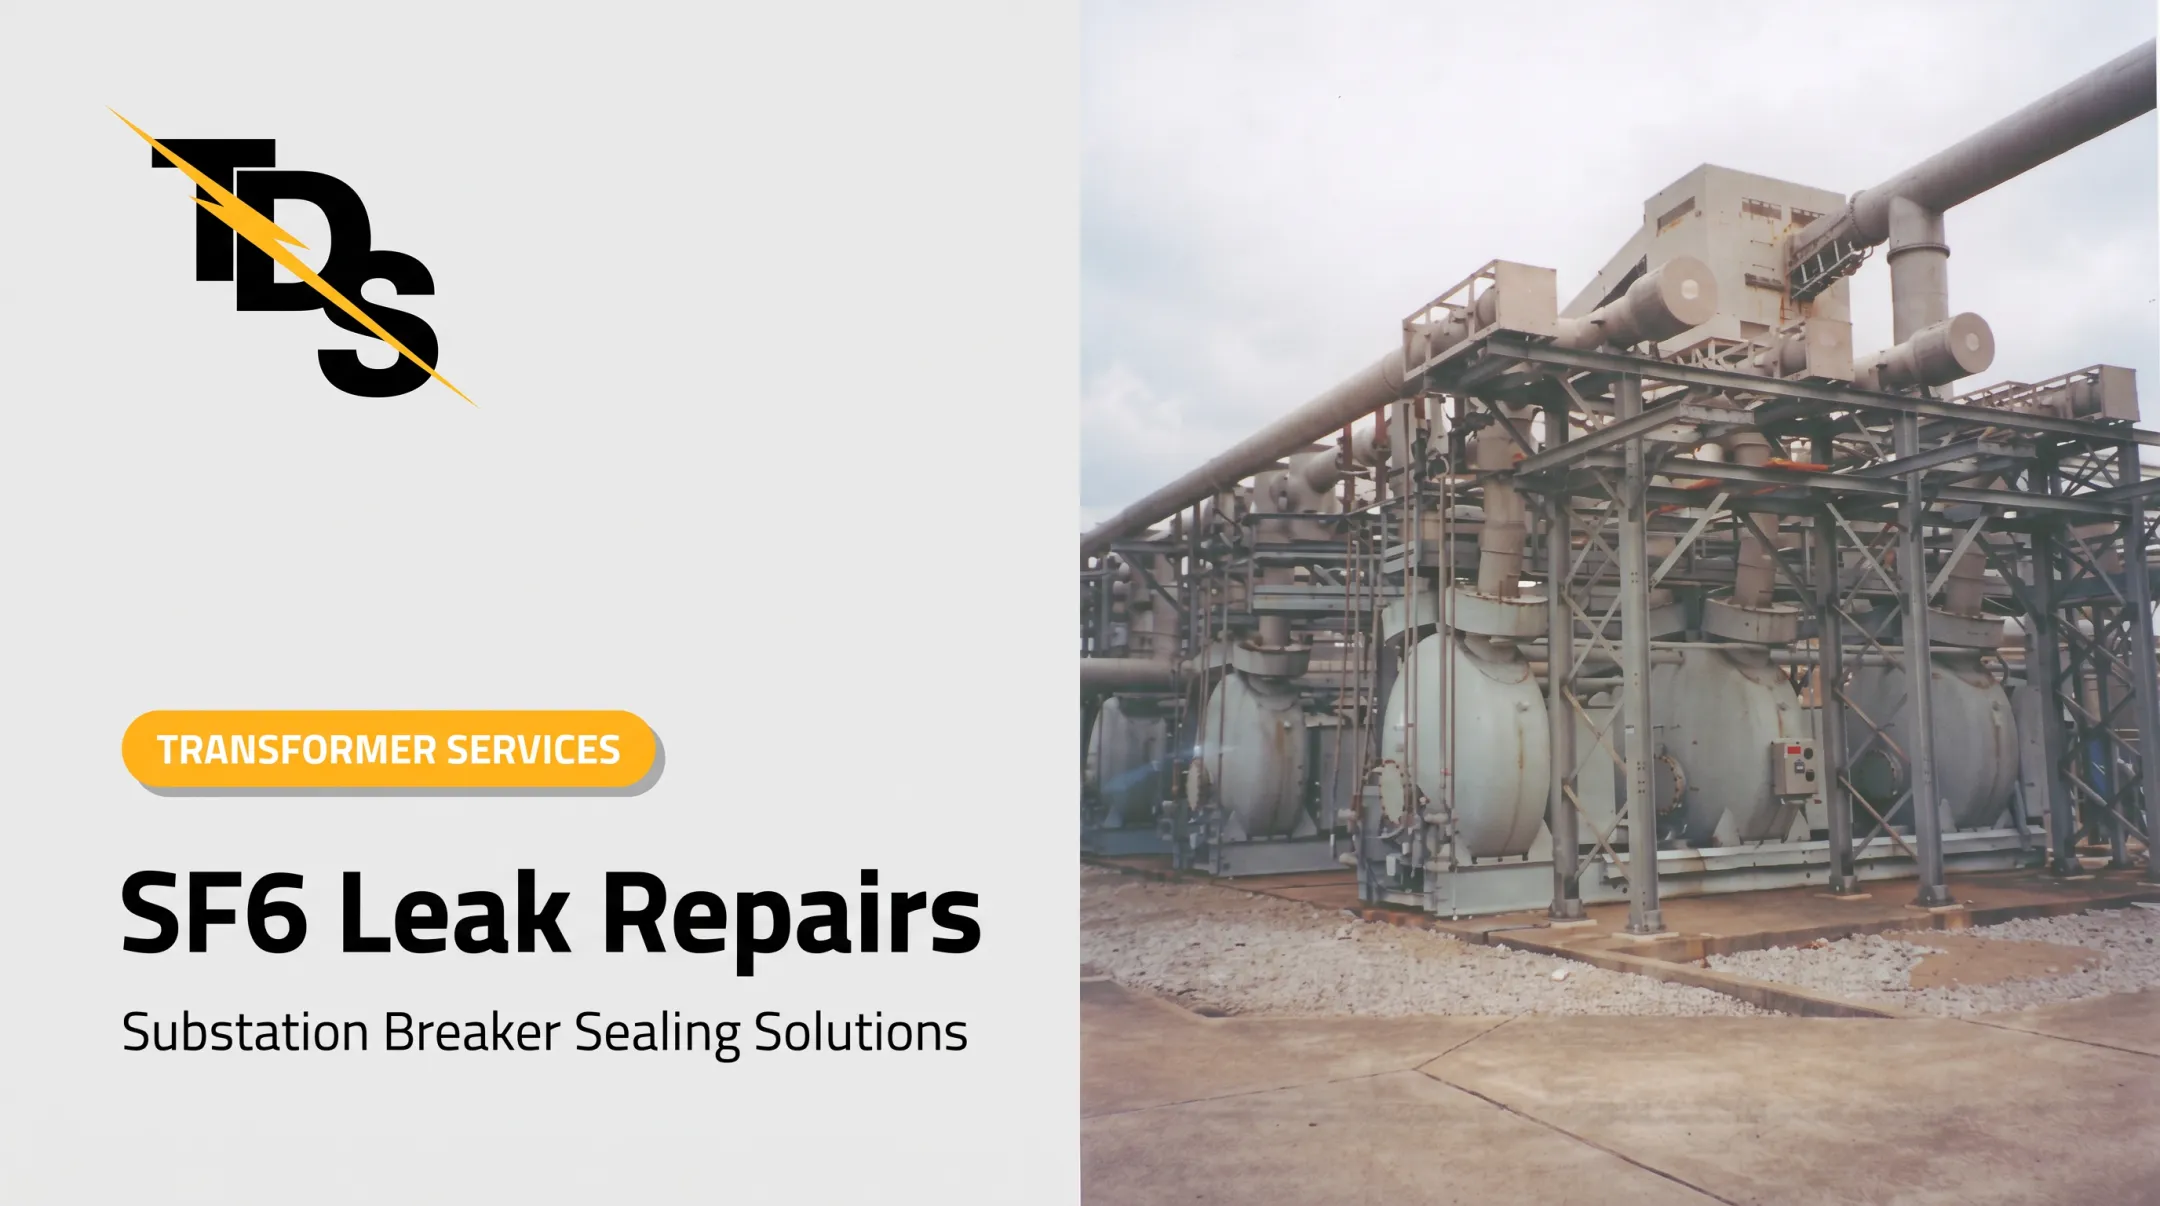
- Adjacent gasket or enclosure leak: a qualified low-pressure sealing method may reduce disassembly and downtime when the apparatus, OEM requirements, and site conditions allow it.
For that last case, TDS is a substation leak-sealing specialist. Its free survey identifies the equipment, leak location, repair method, and price. Repairs can sometimes be completed without dismantling, or while energized when conditions permit. Its technicians work only in substations, and its proprietary rubber-based sealant is compatible with SF6. Confirm warranty terms for the specific repair scope, since TDS materials cite both two-year and four-year guarantee language.
Step 4: Recover and handle SF6 correctly
Follow site isolation, switching, and electrical safety procedures. WIKA instructions call for evacuating gas before dismantling and mounting or dismounting only when depressurized and free from current. They also flag oxygen displacement, SF6 pooling in low areas, and harmful arcing byproducts such as hydrogen fluoride and sulfur dioxide.
- Use qualified, trained personnel
- Recover SF6 with equipment intended for it; don't vent intentionally
- Keep air and moisture out of the compartment
- Follow OEM requirements for evacuation, refill, gas quality, and sampling
- Review OSHA 1910.269 enclosed-space and approach-distance rules
IEC 62271-4:2022 and IEEE C37.122.3-2024 cover SF6 handling and recovery.
Step 5: Test and document the repair
After reassembly and refill, scan the repaired area again. Let readings stabilize, then confirm the indication and alarm functions against OEM requirements. WIKA's GDM-100 instructions, for instance, specify two hours at 20 °C before assessing the depressurized indication, which is a model-specific figure, not a universal wait.
Record:
- Detector results and temperature
- Gas recovered and added
- Final density
- Parts used
- Follow-up inspection needs
TDS technicians log each repair daily, and EPA likewise recommends asset-specific leak histories.

When Should You Repair vs Replace an SF6 Density Monitor?
Base the call on these factors:
- Leak location
- Monitor accuracy
- Component condition and parts availability
- Outage limits
- Safety and compliance
- Recurrence risk
The cheapest immediate fix is rarely the cheapest outcome.
Repair or reseal when the monitor and enclosure are sound
Repair makes sense when the leak is isolated to a replaceable seal, fitting, valve, tubing connection, or accessible gasket. Before returning to service, inspect for damaged threads, corrosion, distorted sealing faces, and incompatible materials.
WIKA offers an optional welded valve on the GDM-100 that allows isolated recalibration without disassembly.
Replace the monitor or escalate when reliability is uncertain
Replace the monitor, or call for broader engineering review, when:
- Cracked body
- Cannot be calibrated or verified
- Obsolete or unavailable components
- Repeated leaks after documented repairs
- Possible larger compartment or structural defect
WIKA's guidance for the GDM-100 is to replace fused or defective contacts and blocked movement. Repeated gas topping does not substitute for correction.

Common Mistakes and Preventive Measures
Repeat failures usually come from treating the alarm instead of the cause. Avoid:
- Adding SF6 repeatedly without locating the leak
- Tightening fittings without OEM torque guidance
- Using household or unapproved sealants
- Mixing incompatible materials
- Bypassing isolation procedures
- Skipping post-repair testing
"Maintenance-free" doesn't mean check-free. WIKA still calls for indication and switching checks once or twice a year for the GDM-100.
Build a trend record
Log baselines and trends for:
- Compensated density
- Alarms
- Gas additions
- Detector readings
- Calibration
- Maintenance and repair outcomes
A pattern of small top-ups shows up in a log long before it appears in an emissions report.
Inspect and train
- Inspect monitor connections, tubing, valves, caps, seals, and nearby interfaces on a schedule
- Use calibrated test equipment (WIKA's GIR-10 detector, for instance, needs recalibration after 1,200 operating hours or two years)
- Stock compatible replacement materials
- Control torque using OEM-specified values
- Train technicians annually, as EPA recommends
- Review OEM, environmental, and US reporting requirements periodically
Conclusion
An alarm or suspected leak calls for evidence-based diagnosis that separates a faulty indication, a leaking monitor assembly, and a leak elsewhere in the sealed apparatus.
Fix the failed component, handle SF6 responsibly, verify the repair, and choose repair or replacement based on actual equipment condition. That path cuts repeat maintenance, gas loss, and avoidable downtime.
Frequently Asked Questions
What is an SF6 density monitor?
It indicates temperature-compensated SF6 gas density in sealed high-voltage equipment. It can send alarm or lockout signals when density drops below OEM-defined limits.
How can you tell whether an SF6 density monitor is leaking?
Look at density trends, repeated top-ups, local detector readings, and fitting and seal condition. Then confirm the leak is at the monitor rather than elsewhere in the compartment.
Can a leaking SF6 density monitor be repaired?
Seals, fittings, valves, tubing, or adjacent gasket interfaces are often repairable if the monitor and equipment are sound. A damaged or unreliable monitor may need replacement.
Should you add more SF6 after a low-density alarm?
Gas addition can be part of an approved response. It should not replace leak investigation, source repair, proper recovery and refill, and post-repair verification.
What safety steps are required before repairing an SF6 density monitor leak?
Use qualified personnel, follow switching and isolation procedures, respect approach boundaries, and follow OEM instructions. Use SF6 recovery equipment, ventilation, PPE, and applicable site and OSHA procedures.
When should an SF6 density monitor be replaced instead of repaired?
Replace it for a cracked or corroded body, failed calibration or contacts, obsolete parts, repeated leakage, or uncertain accuracy. Replacement beats repeated repair when reliability is in doubt.