
Introduction
A weeping flange on a transformer, circuit breaker, or GIS enclosure is more than a housekeeping issue. It can mean loss of oil or SF6 containment, a deteriorating seal, and a growing reliability risk.
SF6 carries a 100-year warming potential of 23,500 per EPA's reporting table, so even slow gas loss matters.
This guide covers industrial and substation flange repair, not residential toilet flanges. Inspection and repair belong to qualified personnel working under the site's electrical, pressure, gas-handling, lockout, and safety procedures.
Key Takeaways
- Confirm the real leak source before touching a bolt or sealant.
- Gaskets, bolt load, flange faces, and external stress are the usual suspects.
- Localized leaks can often be fixed without replacing the apparatus.
- Verify tightness before returning equipment to normal service.
What Is a Flange?
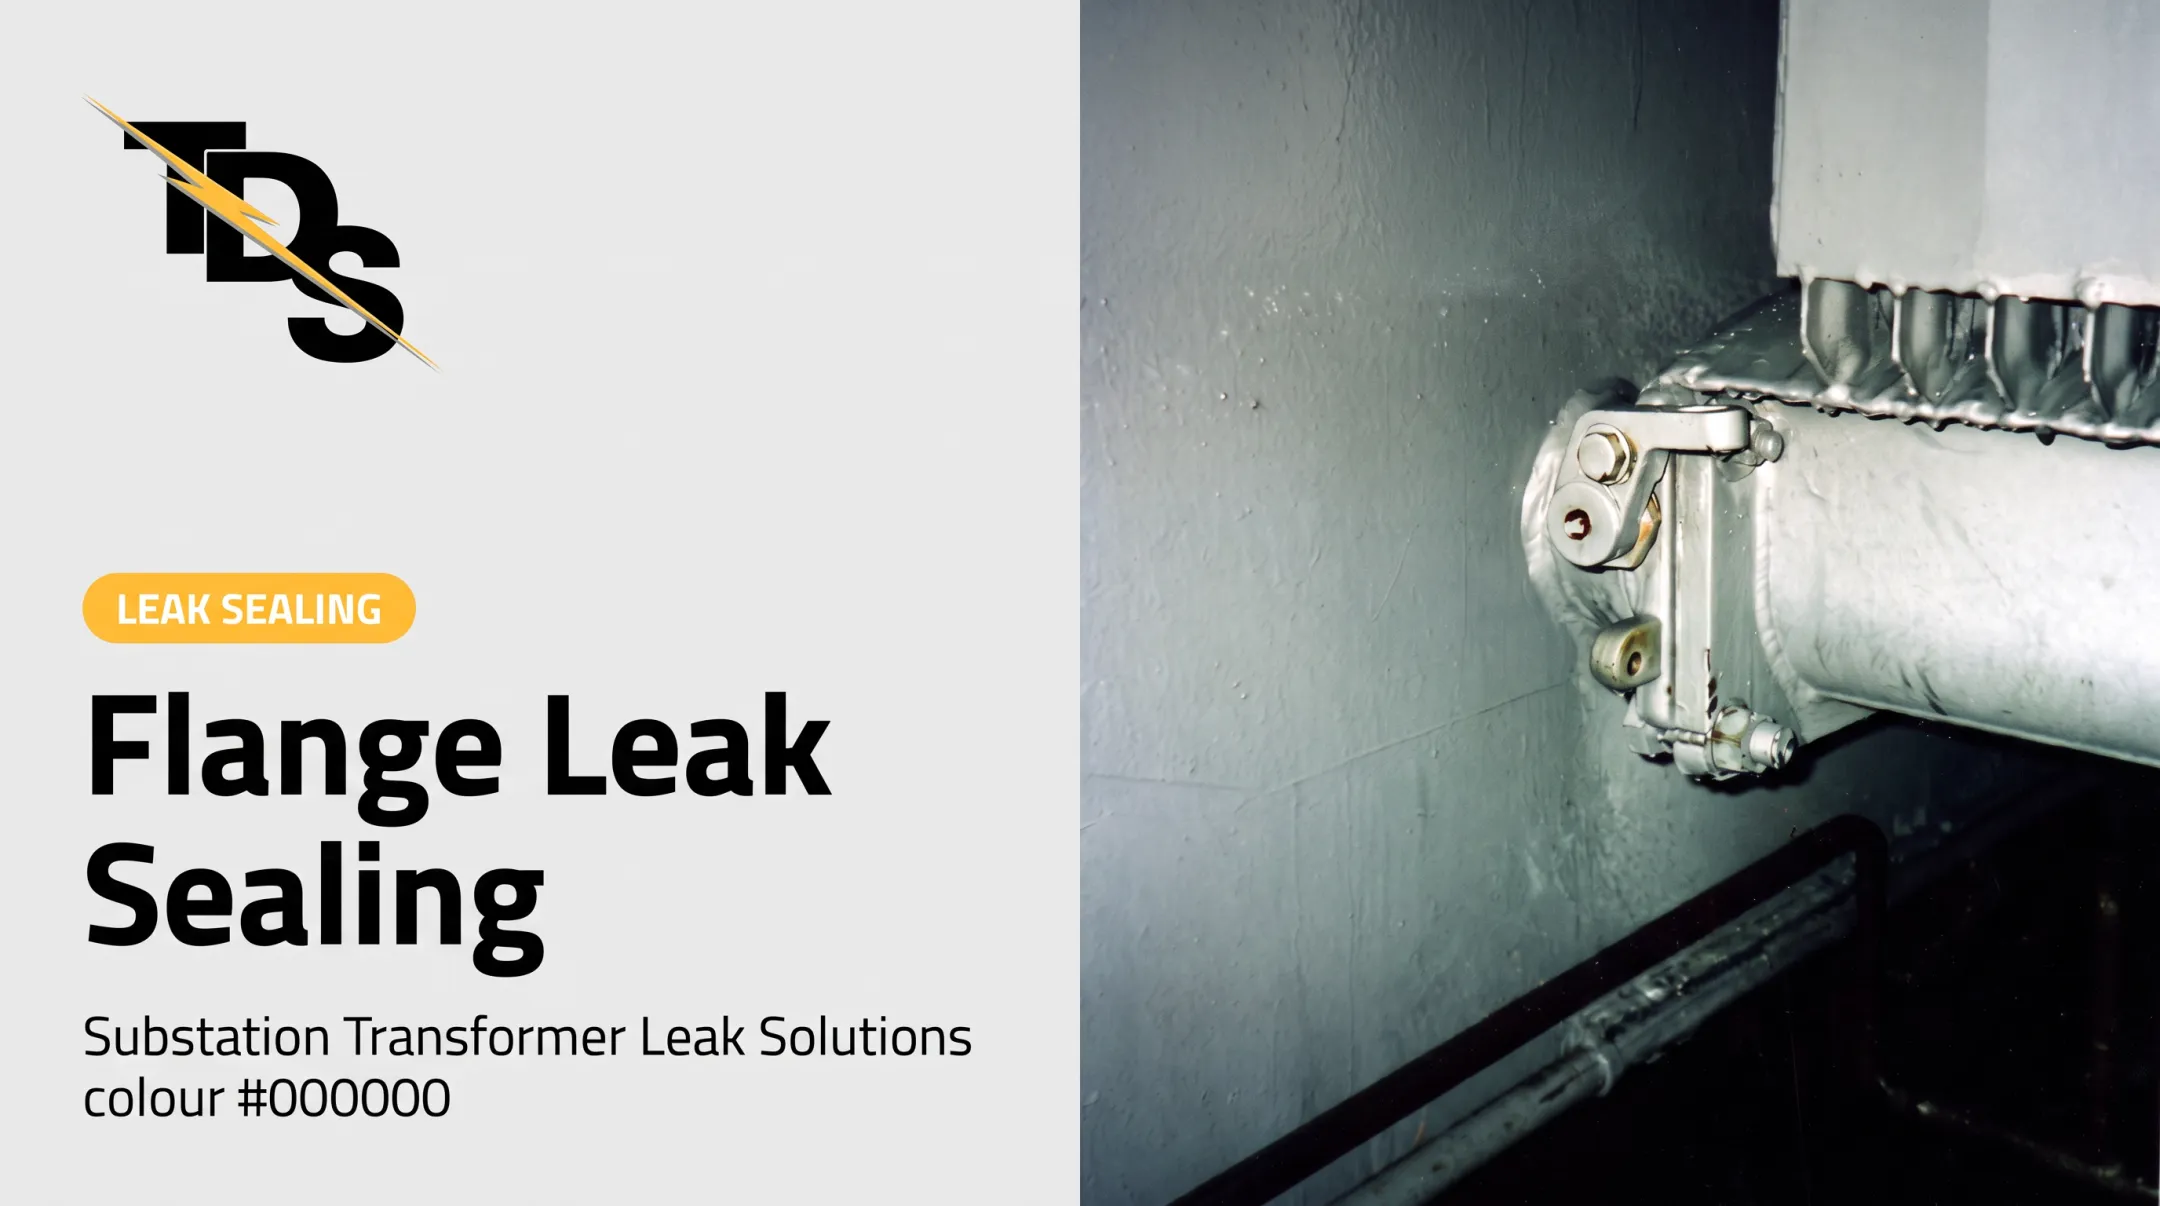
A flange is a mating interface: opposing faces, a gasket or sealing element, and fasteners. It joins housings, covers, nozzles, or piping while holding a fluid- or gas-tight boundary.
In oil-filled and SF6-filled apparatus, bolts compress the gasket between the faces, and that compression forms the seal. Gasket width and thickness matter too: Prolec's transformer manual ties correct dimensions to correct compression.
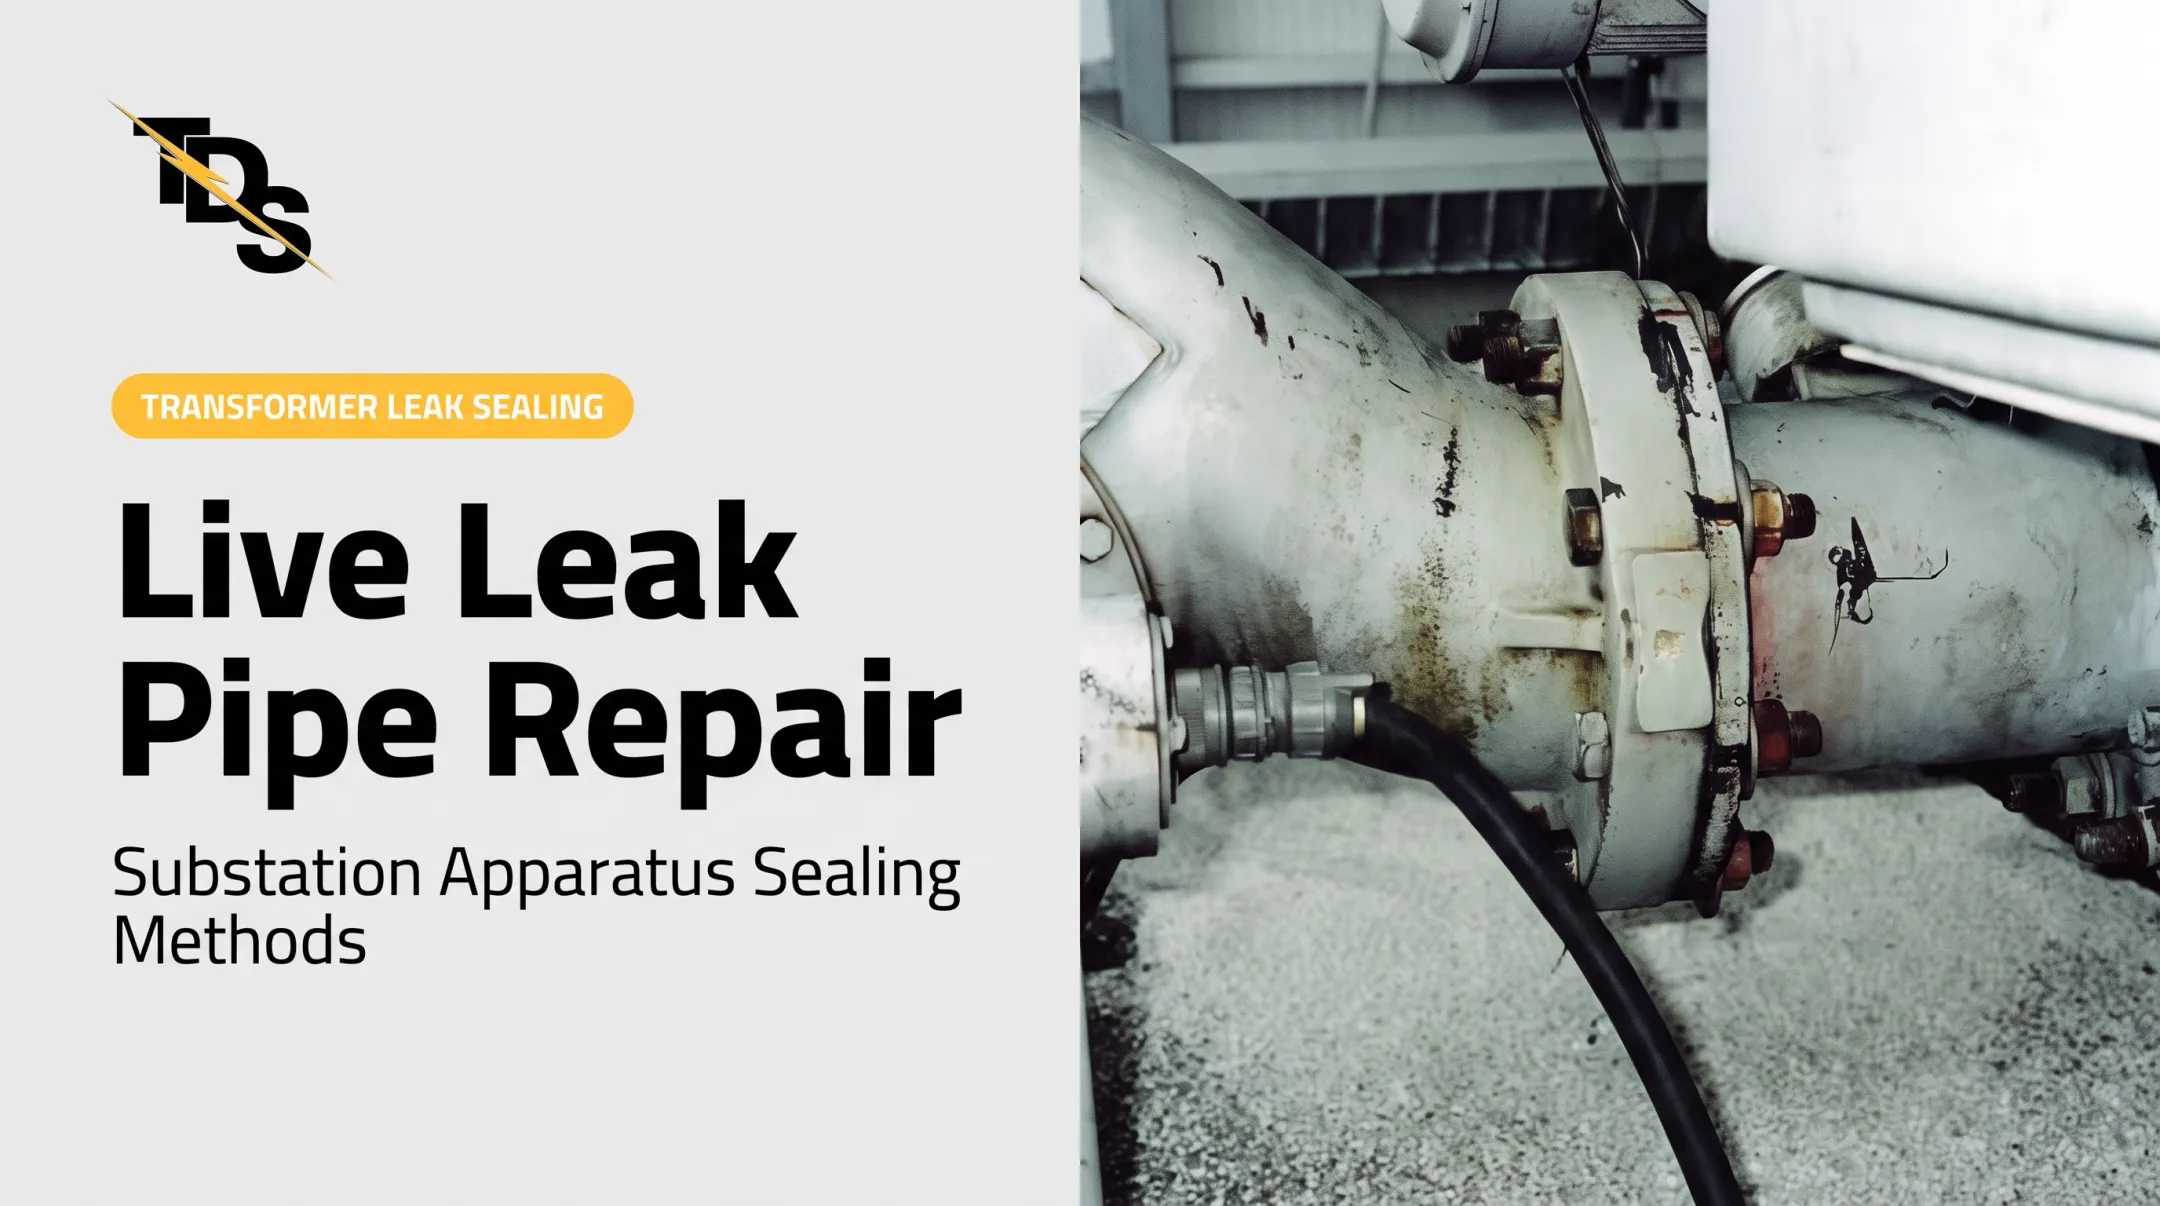
Over time, aging, contamination, corrosion, operating stress, and maintenance activity reduce sealing performance. Pipe flanges and bushing flanges are typical leak points on transformers and circuit breakers.
Common Problems With a Flange and Why It Fails
Most flange leaks follow recognizable patterns. Retightening or swapping a gasket without finding the cause usually buys only a temporary fix.
Gasket and Seal Problems
Symptoms include oil wetness, residue, visible seepage, gas-loss indications, or a leak that returns after a previous repair. Causes include:
- End-of-life gaskets from the original installation
- Defective material or poor installation workmanship
- Chemical incompatibility with the oil or gas
- Reused or over-compressed gaskets
Bolting Problems
Lost or uneven bolt load lets the gasket relax. Vibration, thermal cycling, wrong tightening sequence, damaged threads, and corroded fasteners all contribute. On 4-bolt flapper valves, extra tightening will rarely stop a failed-gasket leak.
Flange Face Damage and Misalignment
Pitting, scratches, old gasket residue, warping, or poor alignment create leak paths that a new gasket may not overcome. Prolec guidance calls for faces free of rust, water, grease, loose paint, and scale.
Thermal Cycling, Vibration, and External Stress
Differential expansion, repeated start-ups, vibration, unsupported connections, and mechanical loading can shift a joint and redistribute sealing pressure.

Consequences of Ignoring the Leak
When those stresses, installation gaps, or missed maintenance go unaddressed, a leak can lead to:
- Continuing oil loss and environmental risk
- SF6 emissions and regulatory exposure
- Corrosion and possible insulation damage
- Safety hazards and unplanned downtime
The Bureau of Reclamation's maintenance guidance notes a leak can become serious enough that the tank must be drained before repair. Utilities with unchecked leaks may also face findings during EPA inspections.
How to Fix a Leaking Flange
Start with diagnosis, not a wrench or a tube of sealant. The goal: find the source, make the equipment safe, correct the failure mechanism, and prove the leak is gone.
Step 1: Identify the Exact Leak Source
Clean the area with an approved method. Trace the first point of renewed wetness or gas escape. Check nearby valves, bushings, welds, covers, and adjacent joints so you don't blame the flange for someone else's leak.
- For oil, leak detector spray on a cleaned flange darkens at the split line when the gasket is passing oil (one TDS case also found stem packing leaks)
- For SF6, an infrared laser scanner shows the leak as black smoke on video. Ultrasonic detectors, halogen meters, and soap solution also work.
Document the apparatus, medium, operating condition, leak location, history, and whether the leak changes with load, temperature, or pressure.
Step 2: Make the Equipment Safe
Follow site procedures for isolation, lockout/tagout, grounding, depressurization, draining, purging, and SF6 handling. IEC 62271-4 covers SF6 gas handling during repair and overhaul, and OEM instructions may add requirements.
Do not tighten or dismantle a flange on energized or pressurized equipment without a documented procedure and competent authorization. Energized repair is a specialist decision, not a shortcut. Leaks near high-side, low-side, or neutral bushings often call for de-energizing and grounding.
Step 3: Confirm the Root Cause
Inspect the failed gasket, faces, fasteners, alignment, supports, and service compatibility before choosing parts. Typical evidence maps to cause as follows:
- Uneven compression points to bolting or alignment
- Cracking or extrusion suggests degradation or overloading
- Localized contact marks or a clean patch suggest misalignment or external stress
- Corrosion points to moisture or surface condition
Step 4: Apply the Correct Repair Method
Depending on findings, the fix may be:
- Replacing the gasket or fasteners
- Cleaning and correcting flange faces
- Correcting alignment or external loading
- Using a compatible low-pressure leak-sealing method
Follow OEM requirements, confirm material compatibility with transformer oil or SF6, and use controlled bolt loading. Avoid generic torque values and unapproved compounds. Gasket choice is fluid-specific: Prolec, for example, says cork is not recommended for silicone or FR3 fluids.
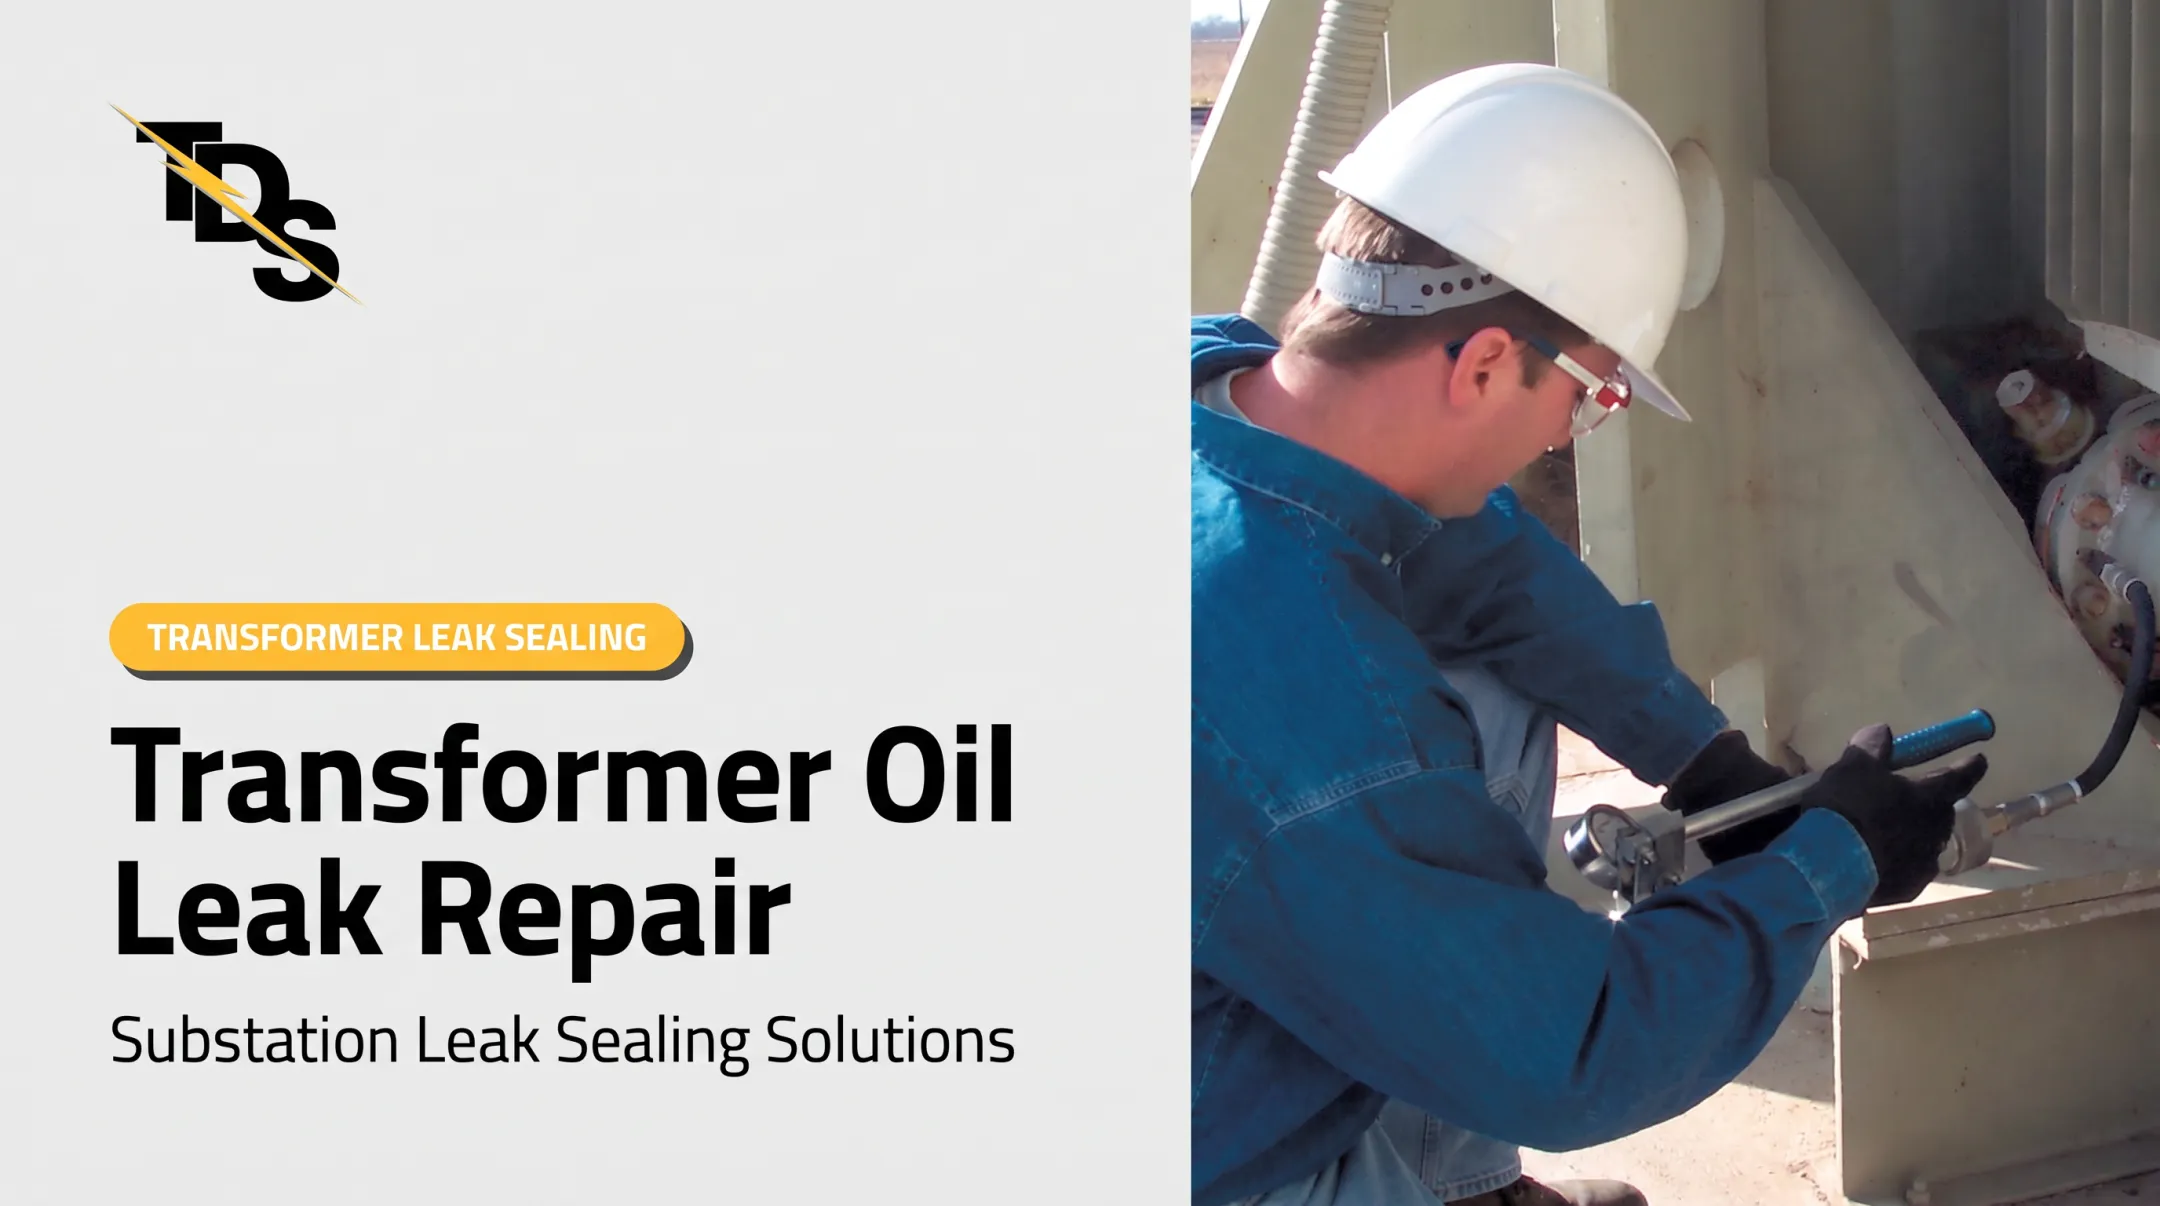
Low-pressure sealing in practice. Transmission & Distribution Services (TDS) works exclusively in substations and seals oil-filled and SF6 gas-filled apparatus with a cured-in-place gasket that replaces failed OEM material.
Common TDS methods include:
- 4-bolt flapper valve: drill and tap four holes in the gasket groove, then inject sealant at low pressure (about two hours, no oil drain)
- 8-bolt flange: usually about three hours
- Custom clamp around the split line when sealant cannot travel the groove
A free TDS equipment survey identifies the leak location, repair method, and price.
Step 5: Test and Validate the Repair
Run a post-repair leak check with the site-approved detection or tightness method. Then inspect the joint under suitable operating conditions.
Also verify:
- Oil level
- SF6 pressure or density indications
- Alarms and electrical condition
- Recurrence during start-up or load changes
Record everything for future maintenance.

When Should You Fix vs Replace a Flange?
The decision balances containment risk, equipment condition, outage needs, repair reliability, OEM guidance, and the long-term cost of repeating temporary fixes.
Repair or Seal the Flange When
- The leak is localized
- The flange and surrounding equipment are structurally sound
- Sealing materials are compatible
- The cause can be corrected without compromising safety or the apparatus
Sealing in place often avoids disassembly, reassembly, and downtime. The same logic applies to GIS piping, flange connections, and seam welds.
Replace Gaskets, Fasteners, or Flange Components When
- Gaskets are degraded or reused (Prolec permits NBR reuse only if undamaged)
- Fasteners are damaged
- Sealing surfaces are worn or moderately corroded
- Alignment is poor, but the main apparatus is still serviceable
Even component-level work can mean significant labor. Traditional repair on a failed flapper valve drains and removes the radiator bank and usually replaces all gaskets.
Plan an Outage, Rebuild, or Replacement When
- The flange is cracked or severely warped
- Corrosion is advanced
- The pressure boundary is damaged
- Leaks persist after a properly executed repair
- Safe containment can't be demonstrated
Note the distinction: replacing a flange component is not the same as replacing a whole transformer, breaker, or GIS assembly. Where full replacement is already planned, some utilities contain the leak until the overhaul. An on-site survey of leak location, equipment condition, and repair options helps asset managers choose the right path.

Common Mistakes and Preventive Measures
Mistakes to Avoid
- Tightening bolts before confirming the source
- Using unapproved sealants
- Reusing compressed gaskets
- Mixing incompatible materials
- Ignoring flange-face damage
- Working without proper isolation
- Returning equipment to service unverified
Preventive Measures
- Schedule condition-based inspections, cleaning, and leak checks
- Review fasteners and flange faces during outages
- Monitor oil and SF6 containment
- Follow OEM and site procedures
- Re-inspect after major thermal, vibration, or operating changes
Documentation and Recurring Leaks
Record each leak with these details:
- Equipment ID and leak location
- Medium and failed-part condition
- Repair method, materials, and test results
- Recurrence history
A leak that keeps returning deserves engineering review, not another gasket. Good records also help during EPA inspections, which can examine whether leaks are documented and an action plan is in effect.
Conclusion
A leaking flange is usually a symptom of sealing, bolting, alignment, surface, thermal, vibration, or equipment-condition problems. Accurate diagnosis is the foundation of a durable repair.
Qualified personnel should decide whether the flange can be repaired, sealed in place, rebuilt, or replaced, weighing safety, containment, compliance, and uptime before work begins.
Frequently Asked Questions
How are flanges sealed?
Bolts compress a gasket or sealing element between prepared faces, closing surface irregularities so oil or gas can't escape. Substation applications require compatible materials and controlled installation.
How long does a toilet flange typically last?
It varies with material, installation, moisture, movement, and floor condition. That residential guidance doesn't set a service interval for industrial or substation flanges.
Can I stop a leaking flange by tightening the bolts?
Only when equipment and site procedure allow, and only if lost bolt load is the cause. It won't fix a damaged face, failed gasket, misalignment, corrosion, or an unsafe energized condition.
Should a leaking transformer flange be repaired while energized?
Not as a DIY task. Specialists must evaluate it under a documented procedure. Some low-pressure sealing repairs may be possible in service when conditions allow.
How do you know whether the flange or gasket is leaking?
Clean the area and monitor for the first point of leakage. Then inspect the gasket, faces, fasteners, adjacent joints, and equipment history.
When should a flange be replaced instead of repaired?
Replace or rebuild when it is cracked, severely warped, deeply corroded, structurally compromised, incompatible with the service, or still leaking after a properly diagnosed repair.