
Introduction
A transformer bushing gives an energized conductor an insulated path through the grounded tank. When it fails, the consequences range from a slow oil weep to an explosive failure. A 2026 CIGRE survey analysis of 1,358 major failures found that about one-quarter involved bushings.
Aging seals, moisture, electrical stress, thermal cycling, contamination, poor installation, and mechanical events all wear bushings down. Many crews struggle to tell a repairable gasket leak from internal insulation trouble.
This article covers failure symptoms, diagnostic tests, repair options, replacement planning, and when to bring in qualified specialists.
Key Takeaways
- Oil leaks, cracks, tracking, hot spots, low oil, and odd test results all point to bushing trouble.
- External flange or seal leaks may be repairable; internal or structural damage calls for refurbishment or replacement.
- Diagnosis works best when visual, thermal, and electrical tests are combined.
- Replacement demands de-energization, grounding, compatible parts, controlled oil handling, and post-work testing.
What Is a Transformer Bushing?
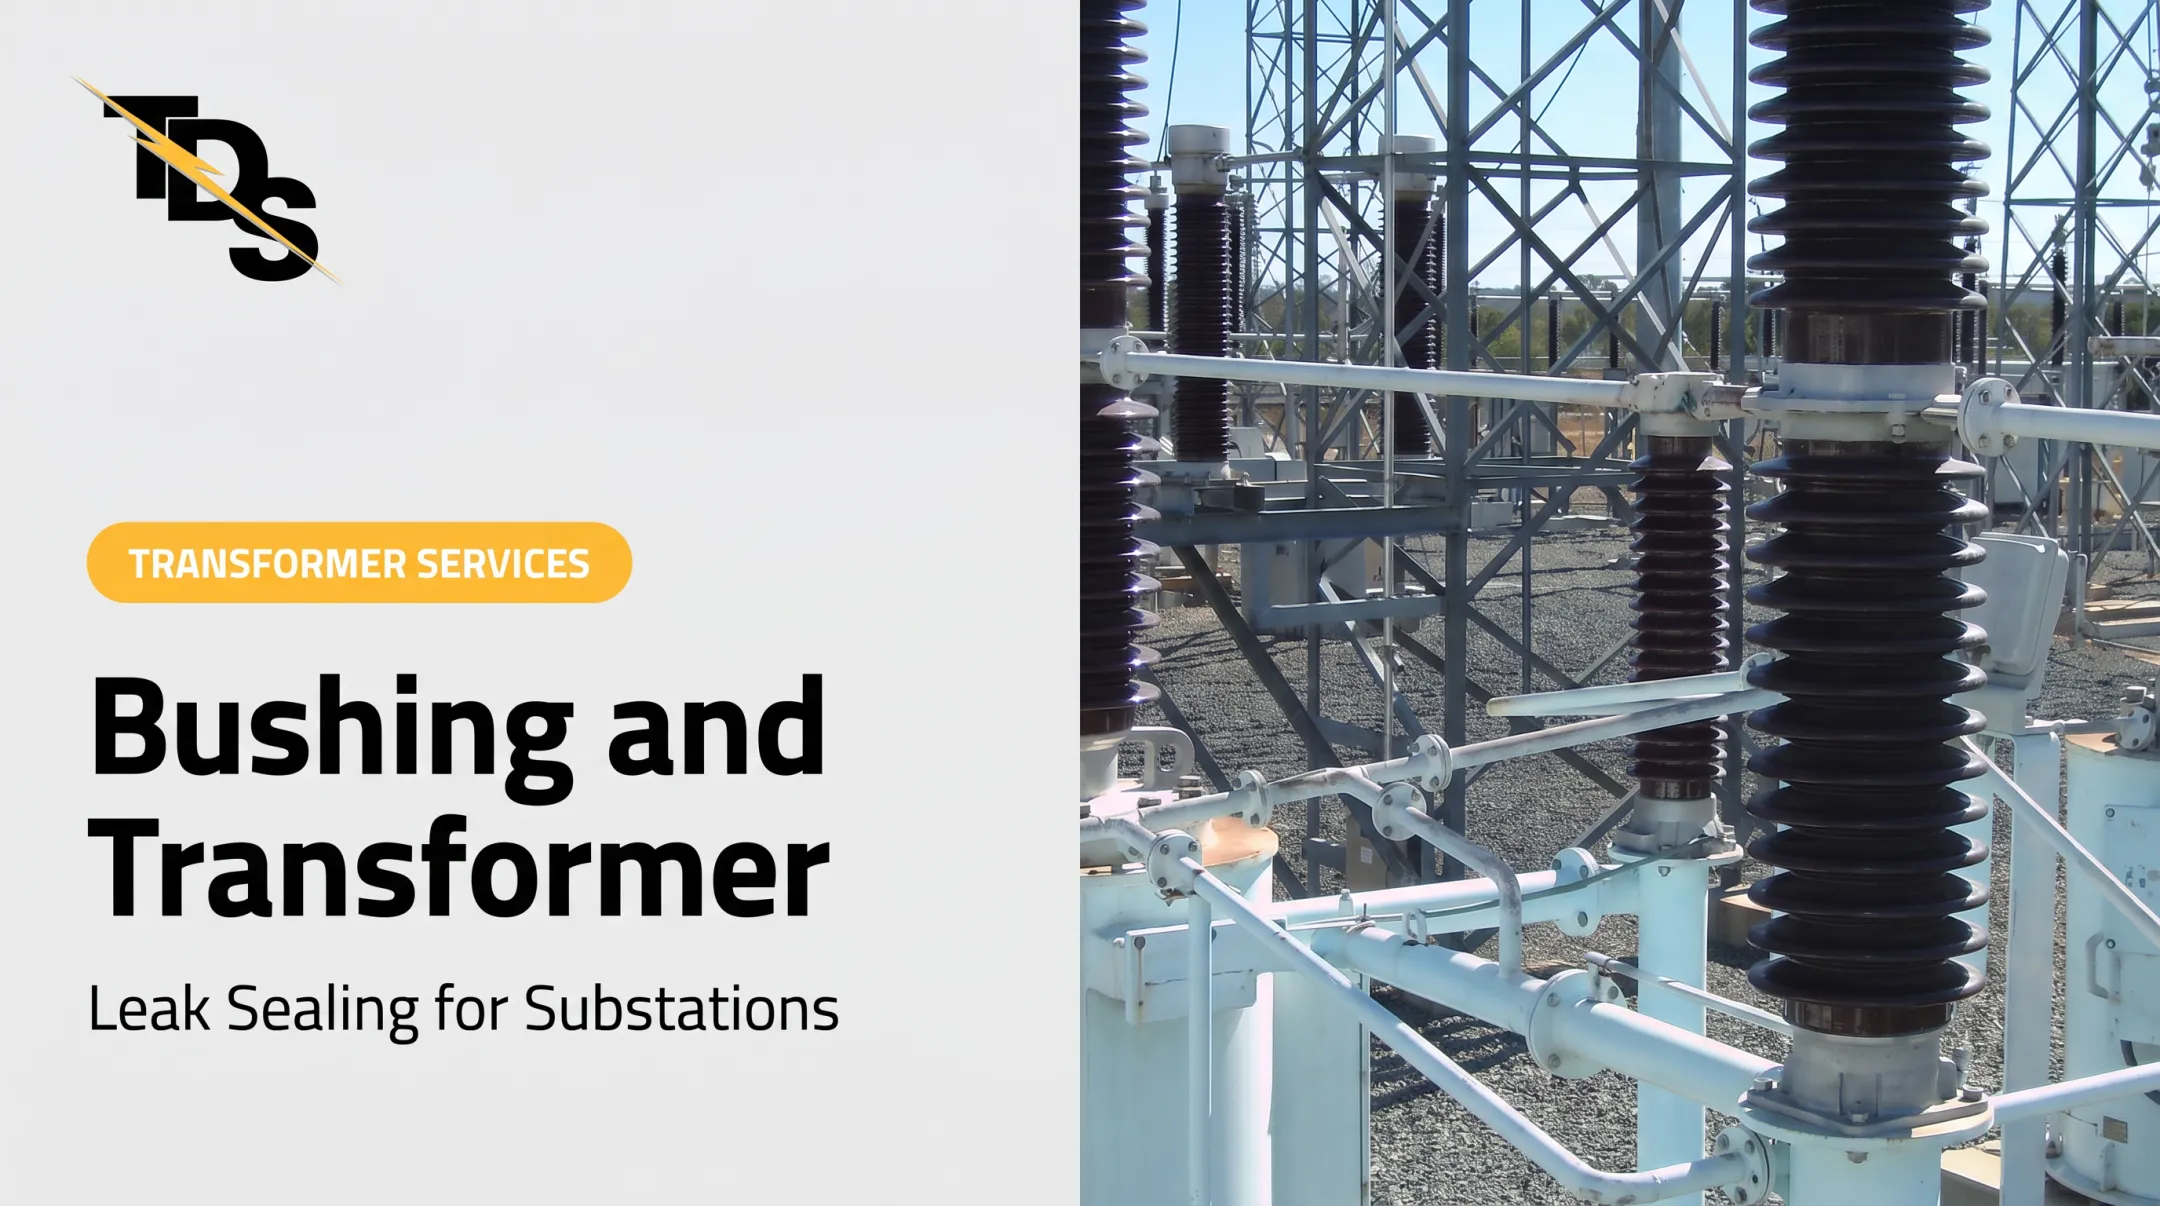
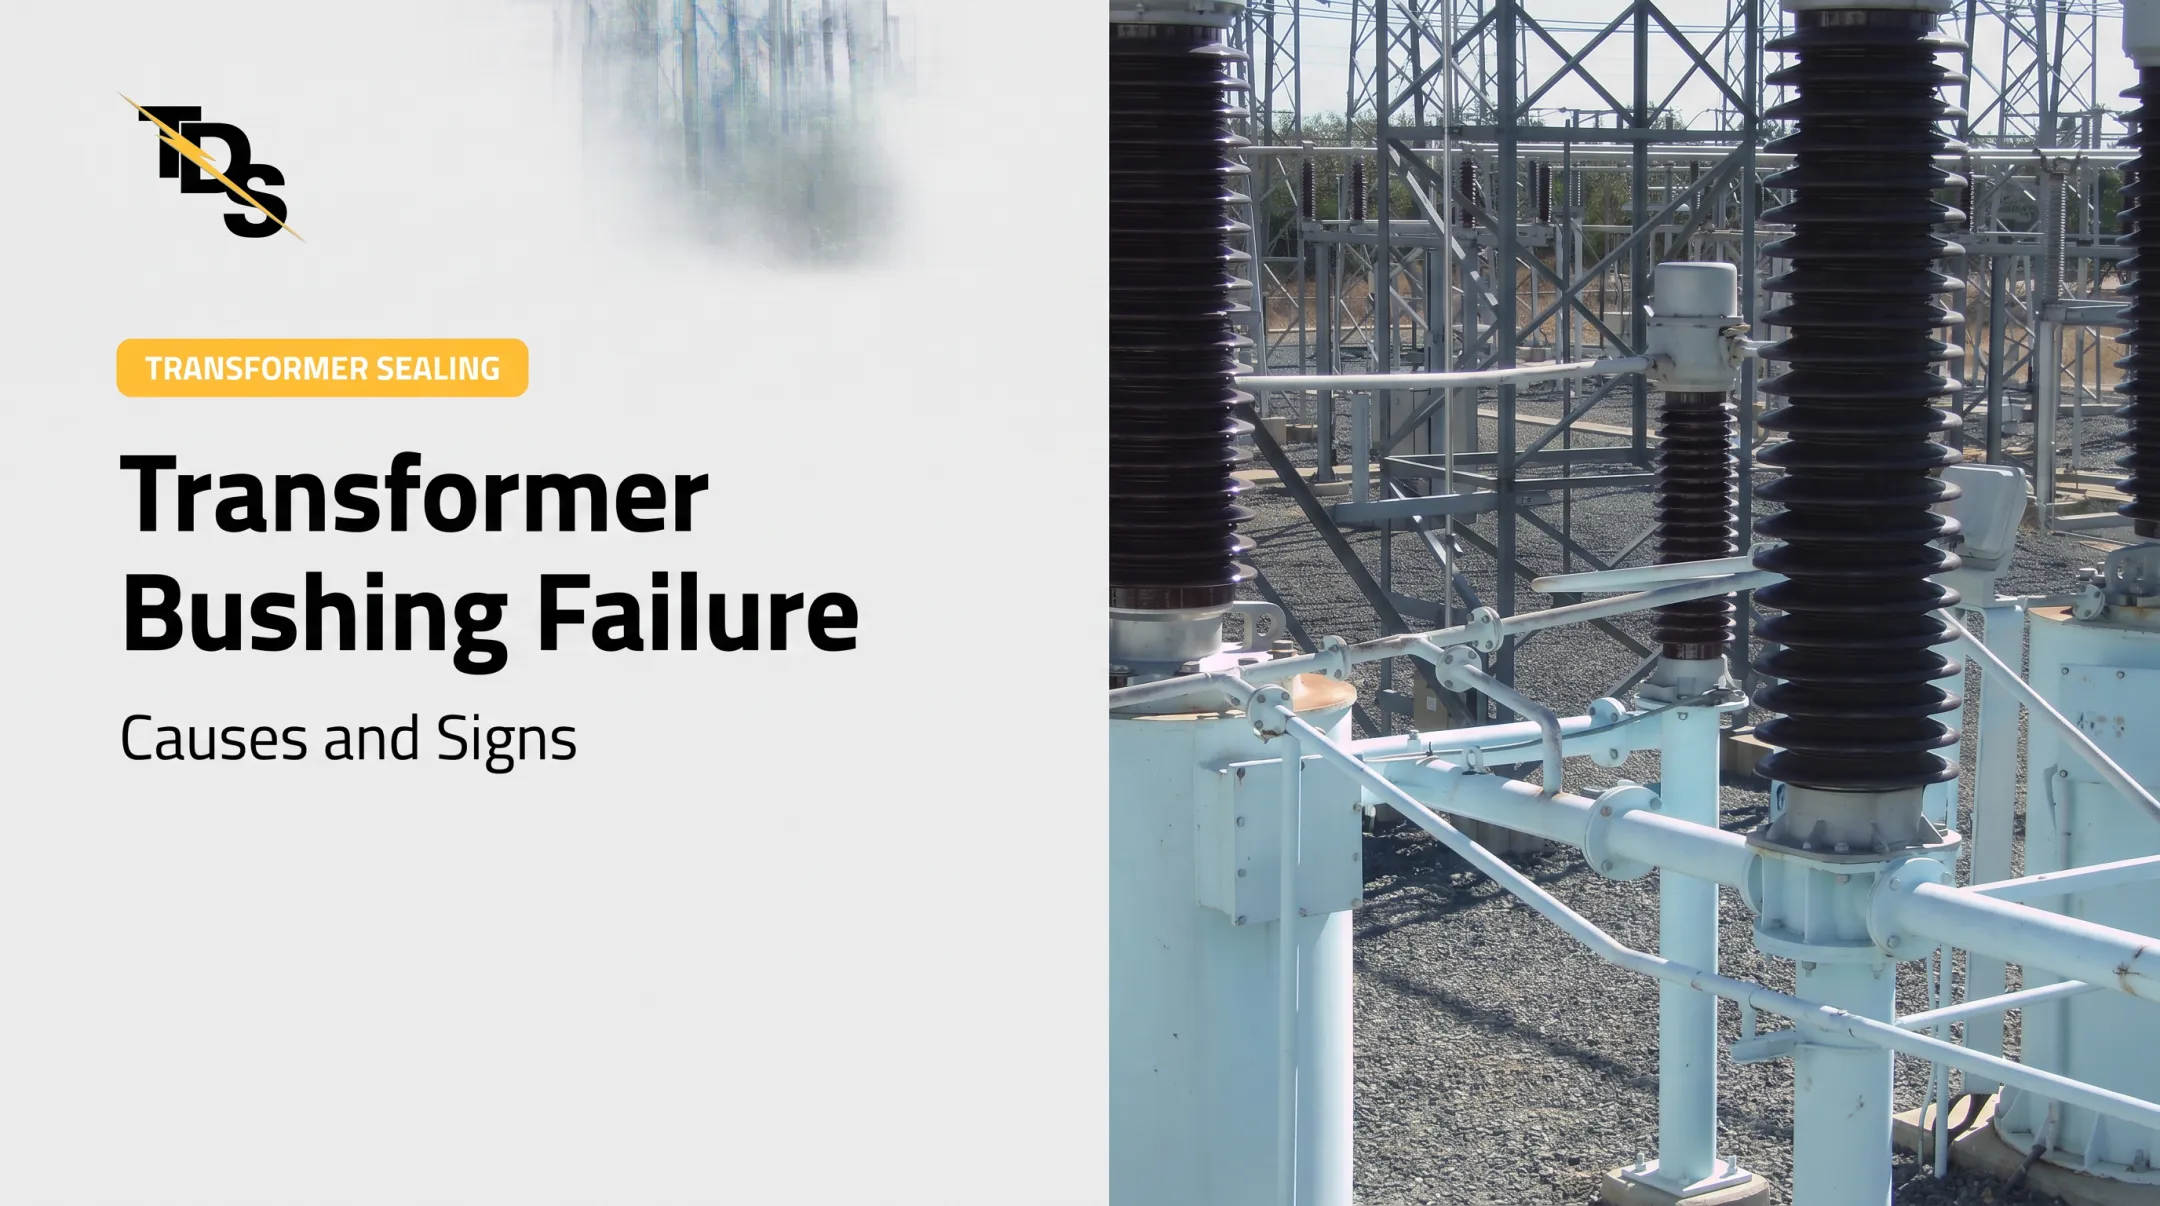
A bushing is an insulated assembly that carries an energized conductor through the grounded metal wall or cover of a transformer while keeping the two electrically separate.
Several parts work together:
- The conductor carries current.
- The insulation system and conductive grading layers shape the electric field and prevent arcing.
- The flange and gaskets seal the bushing to the tank and contain oil.
- The porcelain or composite polymer housing protects everything outside.
Construction varies. Common designs include oil-impregnated paper (OIP), resin-impregnated paper (RIP), resin-impregnated synthetic (RIS), and dry designs, with porcelain or silicone composite housings. Verify the exact design through the nameplate and OEM documentation before choosing any repair path.
Common Problems With Transformer Bushings and Their Root Causes
Failures tend to follow recognizable electrical, mechanical, environmental, or sealing patterns. But similar symptoms can have different causes, so test before you repair.
Oil Leaks and Moisture Ingress
Look for an oil film around the flange, a falling oil level, staining, damp gaskets, or oil in the bushing well. Gaskets reach end of life, and defective material or poor installation can cause early failure. Loose hardware and temperature cycling add to the problem.
Moisture follows the leak path. A 2005 Bureau of Reclamation guide attributes about 90% of preventable bushing failures to moisture entering through leaky gaskets, cracks, or seals. That is an older estimate, not a current fleetwide figure.

Insulation Deterioration and Partial Discharge
Moisture, contaminated oil, voids, aging paper or resin, and electrical stress raise dielectric losses and can cause partial discharge. Abnormal power-factor, capacitance, or dissolved gas analysis (DGA) results mean the bushing needs specialist assessment, not another round of gasket work.
Cracks, Chips, Surface Tracking, and Flashover Risk
Cracked or chipped porcelain or polymer, carbonized tracking marks, and salt or dust deposits reduce creepage performance. These are not cosmetic defects. Structural damage and advanced tracking can lead to flashover.
Overheating and Connection-Related Damage
Discolored terminals, hot spots, charring, odd odors, or uneven infrared readings can signal loose connections, high contact resistance, overload, low oil, or internal connection problems. Separate bushing-body heating from external terminal heating. The fixes are very different.
Root Causes That Accelerate Failure
- Operational overload and thermal cycling
- Lightning or switching surges and through-fault forces
- Contamination and humidity
- Improper handling or installation
- Incompatible gaskets
- Skipped inspections and incomplete maintenance records
How to Repair or Replace a Transformer Bushing
The right response to a bushing problem depends on failure location, bushing construction, test results, transformer condition, outage constraints, and OEM instructions.
Step 1: Identify and Document the Exact Problem
Start with a safe visual inspection from a qualified distance. Record:
- Leaks, oil level, cracks, contamination, and tracking
- Terminal condition and mounting hardware
- Photos and nameplate data
- Operating history and recent fault events
- Conditions under which symptoms appear
Visual inspection alone often misses the true leak path. Oil can travel along surfaces before it drips, so confirm the exact source before any work.
Step 2: Confirm the Root Cause With Testing
Qualified technicians may use:
- Power-factor (dissipation-factor) and capacitance tests through the bushing tap
- Infrared thermography
- Insulation resistance
- DGA on oil-filled designs
- Corona or partial-discharge methods
Compare results with nameplate and historical values. Follow the manufacturer's instructions and applicable guidance such as IEEE C57.152. No single public power-factor or capacitance cutoff fits every model, so use OEM limits.
When Should You Fix vs Replace a Transformer Bushing?
Consider repair for an external gasket, flange, or seal leak when the core, housing, conductor, and electrical results remain acceptable. Choose replacement or factory refurbishment for:
- Cracked housing
- Internal oil loss
- Deteriorated insulation
- Failed capacitance or power-factor results
- Severe tracking or mechanical damage
Hitachi Energy notes that repairing high-voltage condenser bushings is normally not economically justifiable, with exceptions.
If repairing, evaluate:
- The leaking component and repair method
- Compatibility with transformer oil and bushing materials
- Service conditions and warranty impact
- Whether safety and electrical performance stay intact
If replacing, match:
- Voltage class and BIL
- Current rating equal to or greater than the existing unit (per Siemens)
- Capacitance and tap arrangement
- Mounting dimensions and conductor connection
- Insulation type and environmental needs
Take specific values from OEM documentation.
Specialized Leak-Sealing Option for Eligible External Leaks
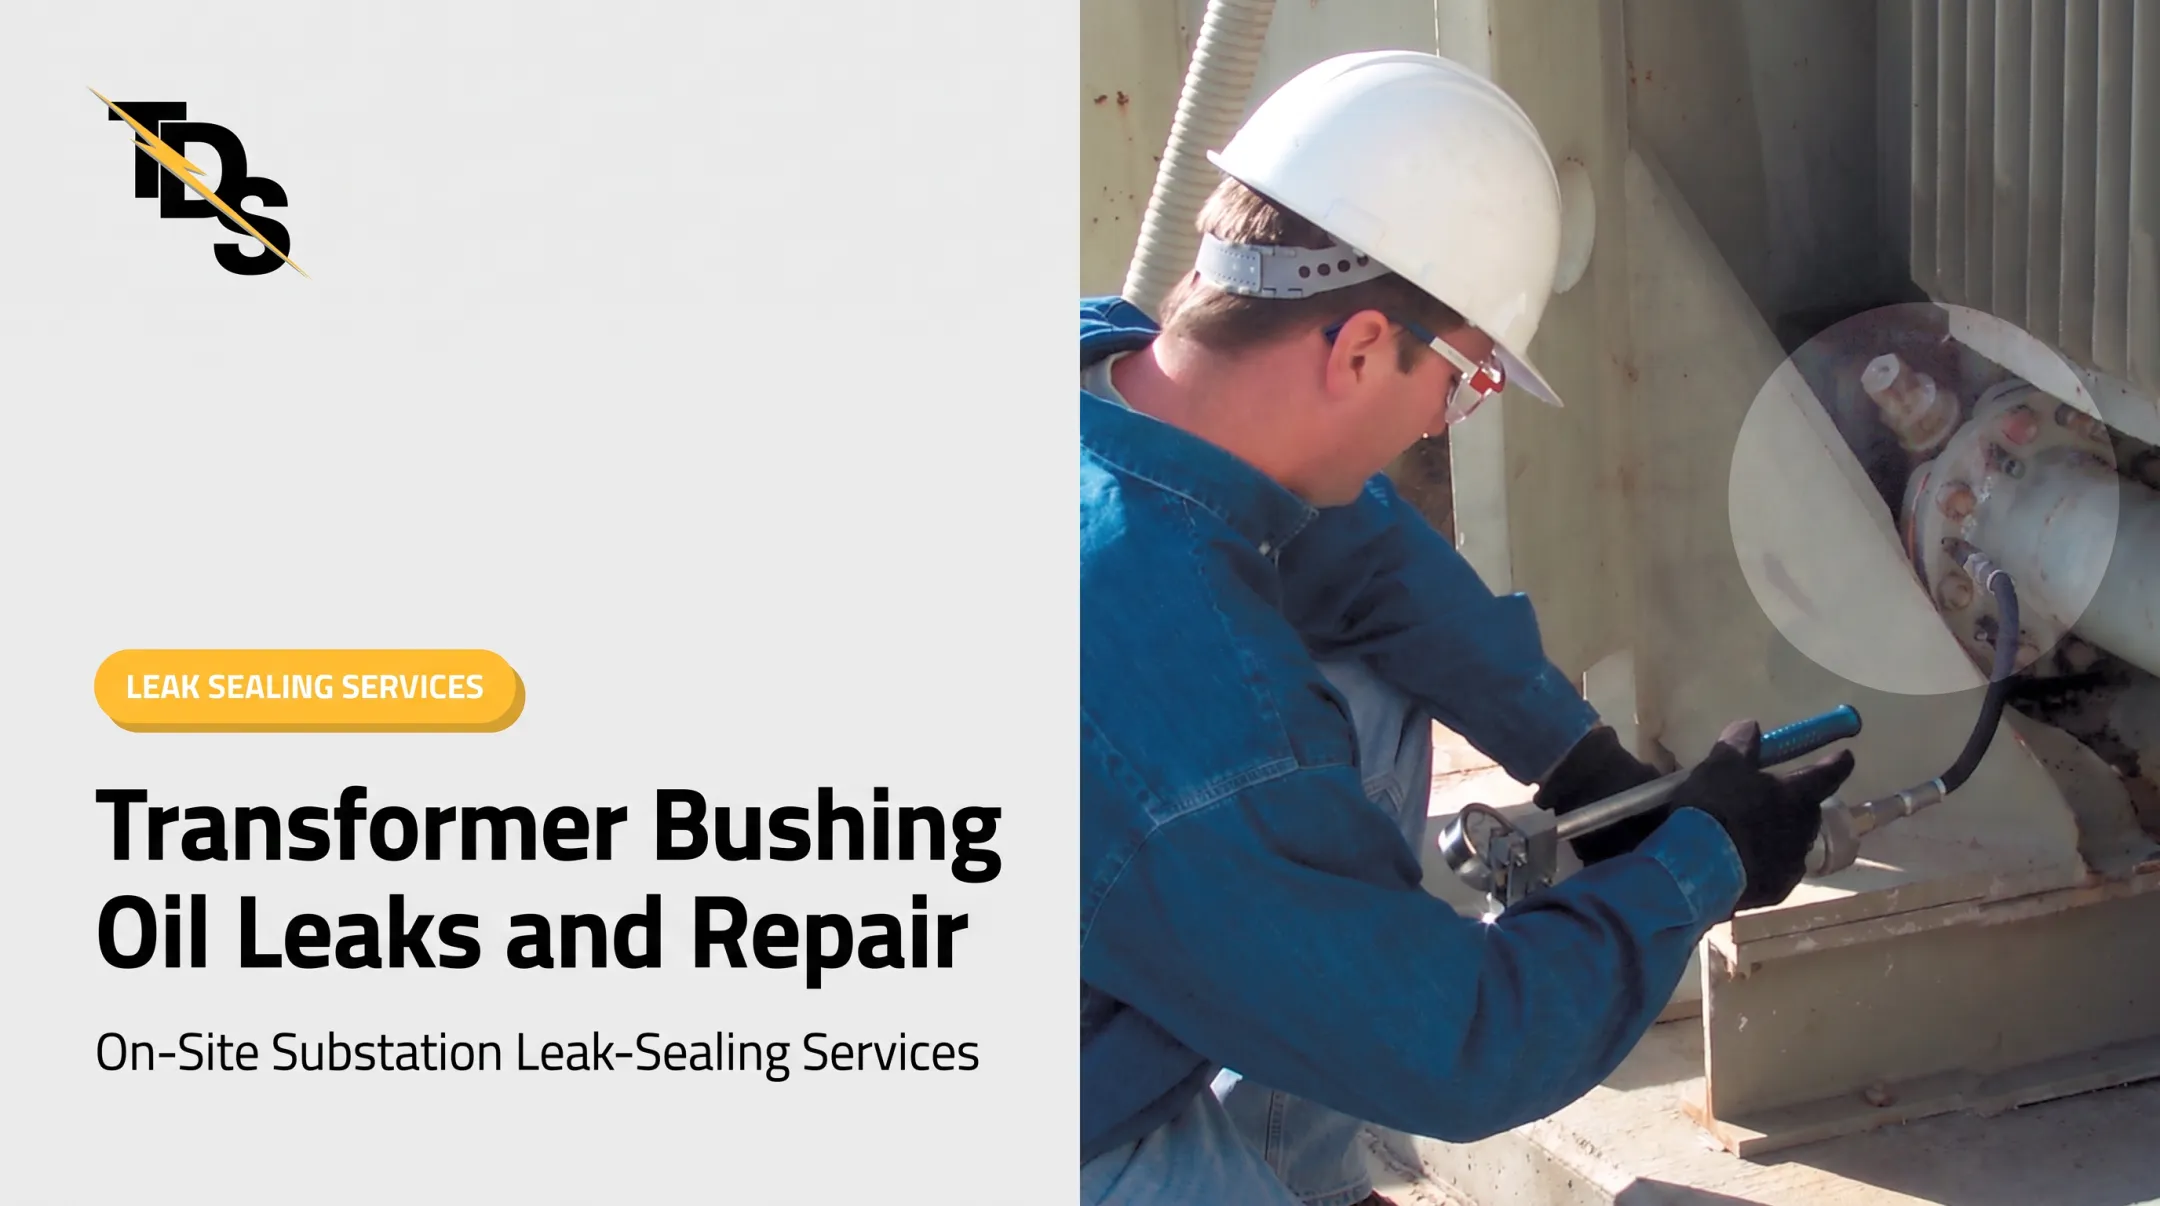
For qualifying external leaks on oil-filled substation apparatus, Transmission & Distribution Services (TDS) offers low-pressure leak sealing. Its technicians drill the flange gasket and inject an oil-compatible, rubber-based sealant. If the sealant cannot travel through the groove, TDS designs a custom clamp around the flange split line.
Advantages include:
- Less disassembly and downtime than traditional regasketing
- Repair of only the component that is leaking
- Work while equipment stays energized, when site conditions and safety procedures allow
A 2017 Transformer Magazine article describes similar techniques that can avoid draining oil or removing the bushing. It is not blanket approval for every leak.
TDS's four-year warranty covers its leak-sealing work. It does not cover a bushing with a cracked body, failed internal insulation, or any condition that requires replacement. Not every leak can be sealed.
TDS offers a free equipment survey that identifies the equipment, leak location, repair method, and price. Customers do not pay if TDS cannot fix the leak. Request a survey to find out whether your leak qualifies.
Step 3: Plan and Perform Replacement Under Controlled Conditions
This is a high-level sequence for planning, not a DIY procedure:
- Secure an approved outage and switching plan.
- De-energize, isolate, and ground.
- Contain or draw down oil as the design requires.
- Remove and lift the bushing under controlled rigging.
- Inspect and clean the bushing well.
- Install a new compatible gasket and bushing.
- Torque bolts to manufacturer specification.
- Reconnect leads and taps.
- Restore oil.

OSHA 29 CFR 1910.269 addresses job briefings, hazardous-energy control, de-energizing, and grounding for covered work. Oil containment rules such as SPCC depend on facility-level thresholds, so check applicability rather than assuming.
Step 4: Test and Validate the Repair or Replacement
- Check for leaks
- Verify oil level and oil quality
- Run insulation and power-factor or capacitance tests where applicable
- Confirm tap and terminal connections
- Record post-installation baselines for future comparison
- Return to service under qualified supervision, with monitoring
Any unusual result, unresolved leak, tank contamination, or recurrence should trigger engineering review, not repeated temporary fixes.
Common Mistakes and Preventive Measures
Common Mistakes to Avoid
- Treating oil residue as proof of a minor gasket problem
- Tightening hardware without finding the leak path
- Using incompatible sealants or gaskets
- Ignoring abnormal test trends
- Reusing removed gaskets
- Skipping post-repair testing
- Attempting high-voltage work without approved safety and switching procedures
Preventive Measures for Longer Bushing Service
- Schedule visual and infrared inspections on intervals you set for site conditions
- Treat Bureau of Reclamation intervals (yearly scans; cleaning every 3 to 5 years, more often in salt or dusty environments) as dated starting points
- Clean according to bushing material and contamination type.
- Run power-factor or capacitance tests at intervals set by your condition-based maintenance program.
- Check oil levels and breathers where applicable.
- Keep trend records, nameplate data, and spare-part information current.
- Order replacements and plan outages early when test trends worsen.
- Train staff to spot warning signs, and call specialists before a defect becomes an unplanned failure.

Conclusion
Bushing problems run from repairable external seal leaks to serious internal insulation or structural failures. The repair-versus-replace call must rest on inspection, testing, and the bushing's construction.
Early diagnosis, compatible repair methods, disciplined safety procedures, and post-work validation reduce avoidable downtime and protect the transformer and surrounding equipment.
Frequently Asked Questions
What are the common causes of transformer bushings failing?
Common causes include moisture ingress, aged seals, insulation deterioration, partial discharge, overheating, contamination, mechanical damage, faults, and surges. Confirm the cause through qualified testing.
How much does it cost to repair bushings?
Cost depends on bushing type, leak location, testing, access, outage needs, oil handling, parts, and whether repair is possible. No universal price applies, so request a site-specific assessment.
What are transformer bushings made of?
They typically include a central conductor, oil- or resin-based insulation with grading layers, a metal flange with gaskets, and a porcelain or composite polymer housing. Materials vary by voltage class and design.
Can a transformer bushing be repaired instead of replaced?
External gasket or flange leaks can often be repaired. Cracked housings, failed insulation, severe tracking, internal oil loss, or failed electrical tests usually require refurbishment or replacement.
What tests determine whether a transformer bushing needs replacement?
Key checks include visual inspection, infrared thermography, power-factor and capacitance testing, insulation testing, and DGA where applicable. Compare results with nameplate and prior values.
How long does transformer bushing replacement take?
It varies with bushing weight, access, rigging, oil handling, outage preparation, findings in the bushing well, and post-installation testing. Plan the outage window around site-specific conditions rather than a fixed duration.