
The stakes are real. EPA attributes about 67% of US SF6 emissions in 2022 to electric transmission and distribution. Beyond emissions, a leaking breaker means repeated gas servicing, alarm chasing, and risk of unplanned outages.
This article covers leak symptoms, common sources, safe diagnosis, repair methods, the repair-versus-replace decision, and when to call a specialist.
Key Takeaways
- Watch for pressure or density loss, recurring alarms, and detector readings at seals, valves, fittings, or enclosures.
- Localized leaks are often repairable; recurring leaks, enclosure damage, or contamination point toward outage, refurbishment, or replacement.
- Good repair means confirming the source, matching materials, following an approved procedure, and validating the result.
- Only trained, authorized personnel should handle SF6 or work near high voltage.
What Are SF6 Leak Repairs?
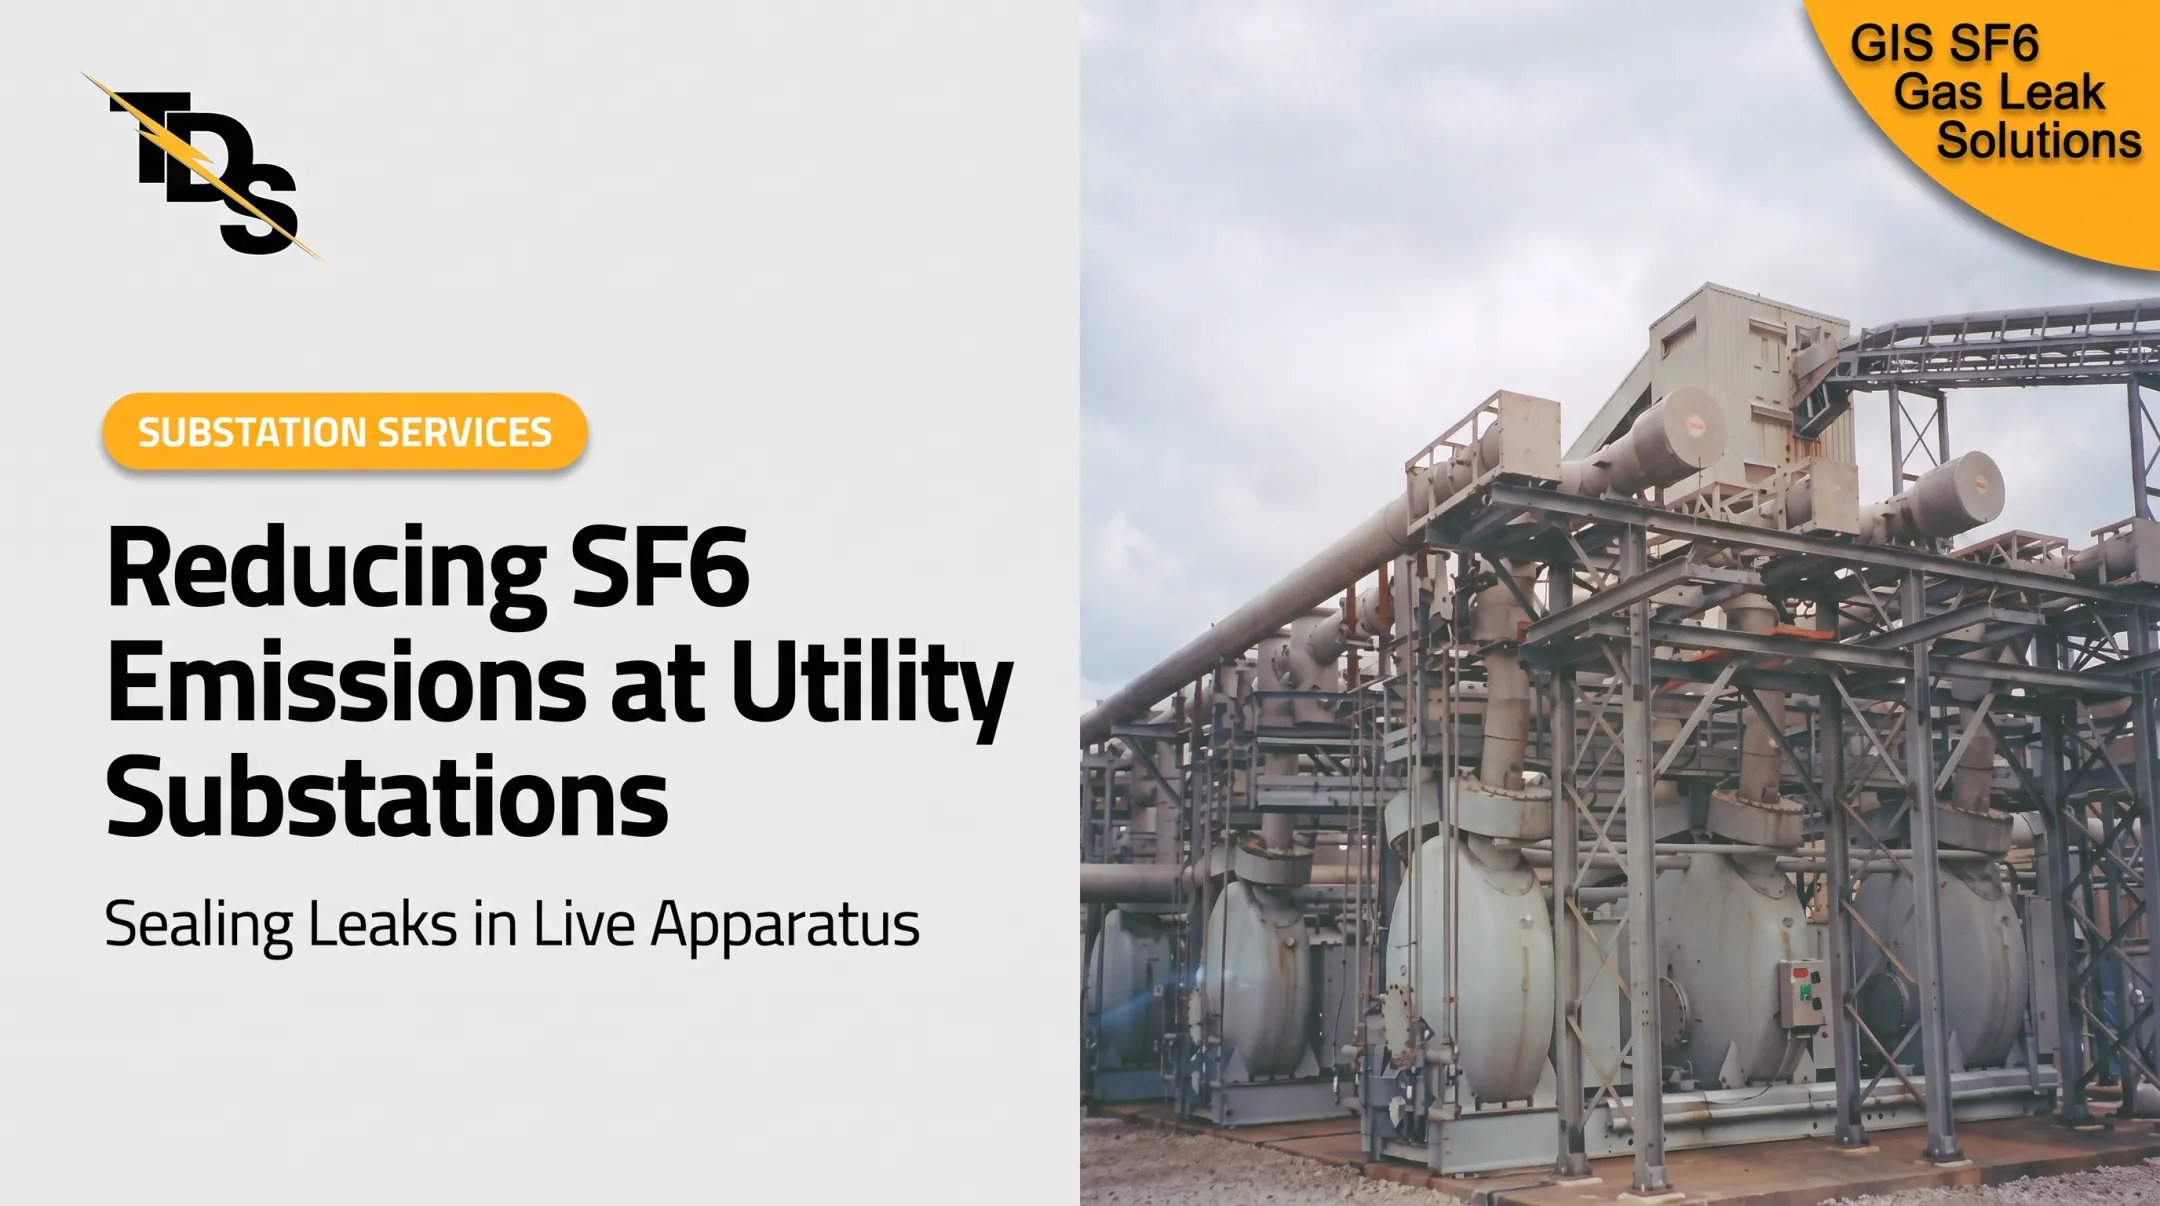
An SF6 leak repair locates and seals the point where gas escapes from circuit breakers, gas-insulated switchgear (GIS), valves, pipework, or associated fittings.
SF6 does two jobs. It insulates, and in breakers it quenches the arc when contacts open. Its dielectric strength beats air or dry nitrogen, so losing gas erodes the margin the equipment was designed around.
Four activities get lumped together, but they differ:
- Leak detection: finding the exact escape point
- Gas recovery or refilling: restoring inventory
- Leak sealing: fixing the failed interface
- Equipment replacement: retiring the asset
Topping off may restore pressure for a while. It does nothing about the source, and the alarm will come back.
Common SF6 Leak Problems and Their Root Causes
Most leaks follow recognizable patterns. A pressure alarm alone, though, doesn't prove a leak. Temperature, gauge condition, and monitoring errors all affect readings.
Flange, Gasket, and Enclosure Seals
Typical symptoms are detector readings around joints, gradual pressure or density decline, and alarms that return after refilling. On circuit breakers, leaks commonly appear between the porcelain and base mounting flange or at bushing end caps.
Common causes include:
- End-of-life or defective gaskets
- Poor installation and lost sealing force
- Corrosion and heat damage
EPA notes that arcing byproducts can also attack gasket material when water is present.
Valves, Fittings, Hoses, and Monitor Connections
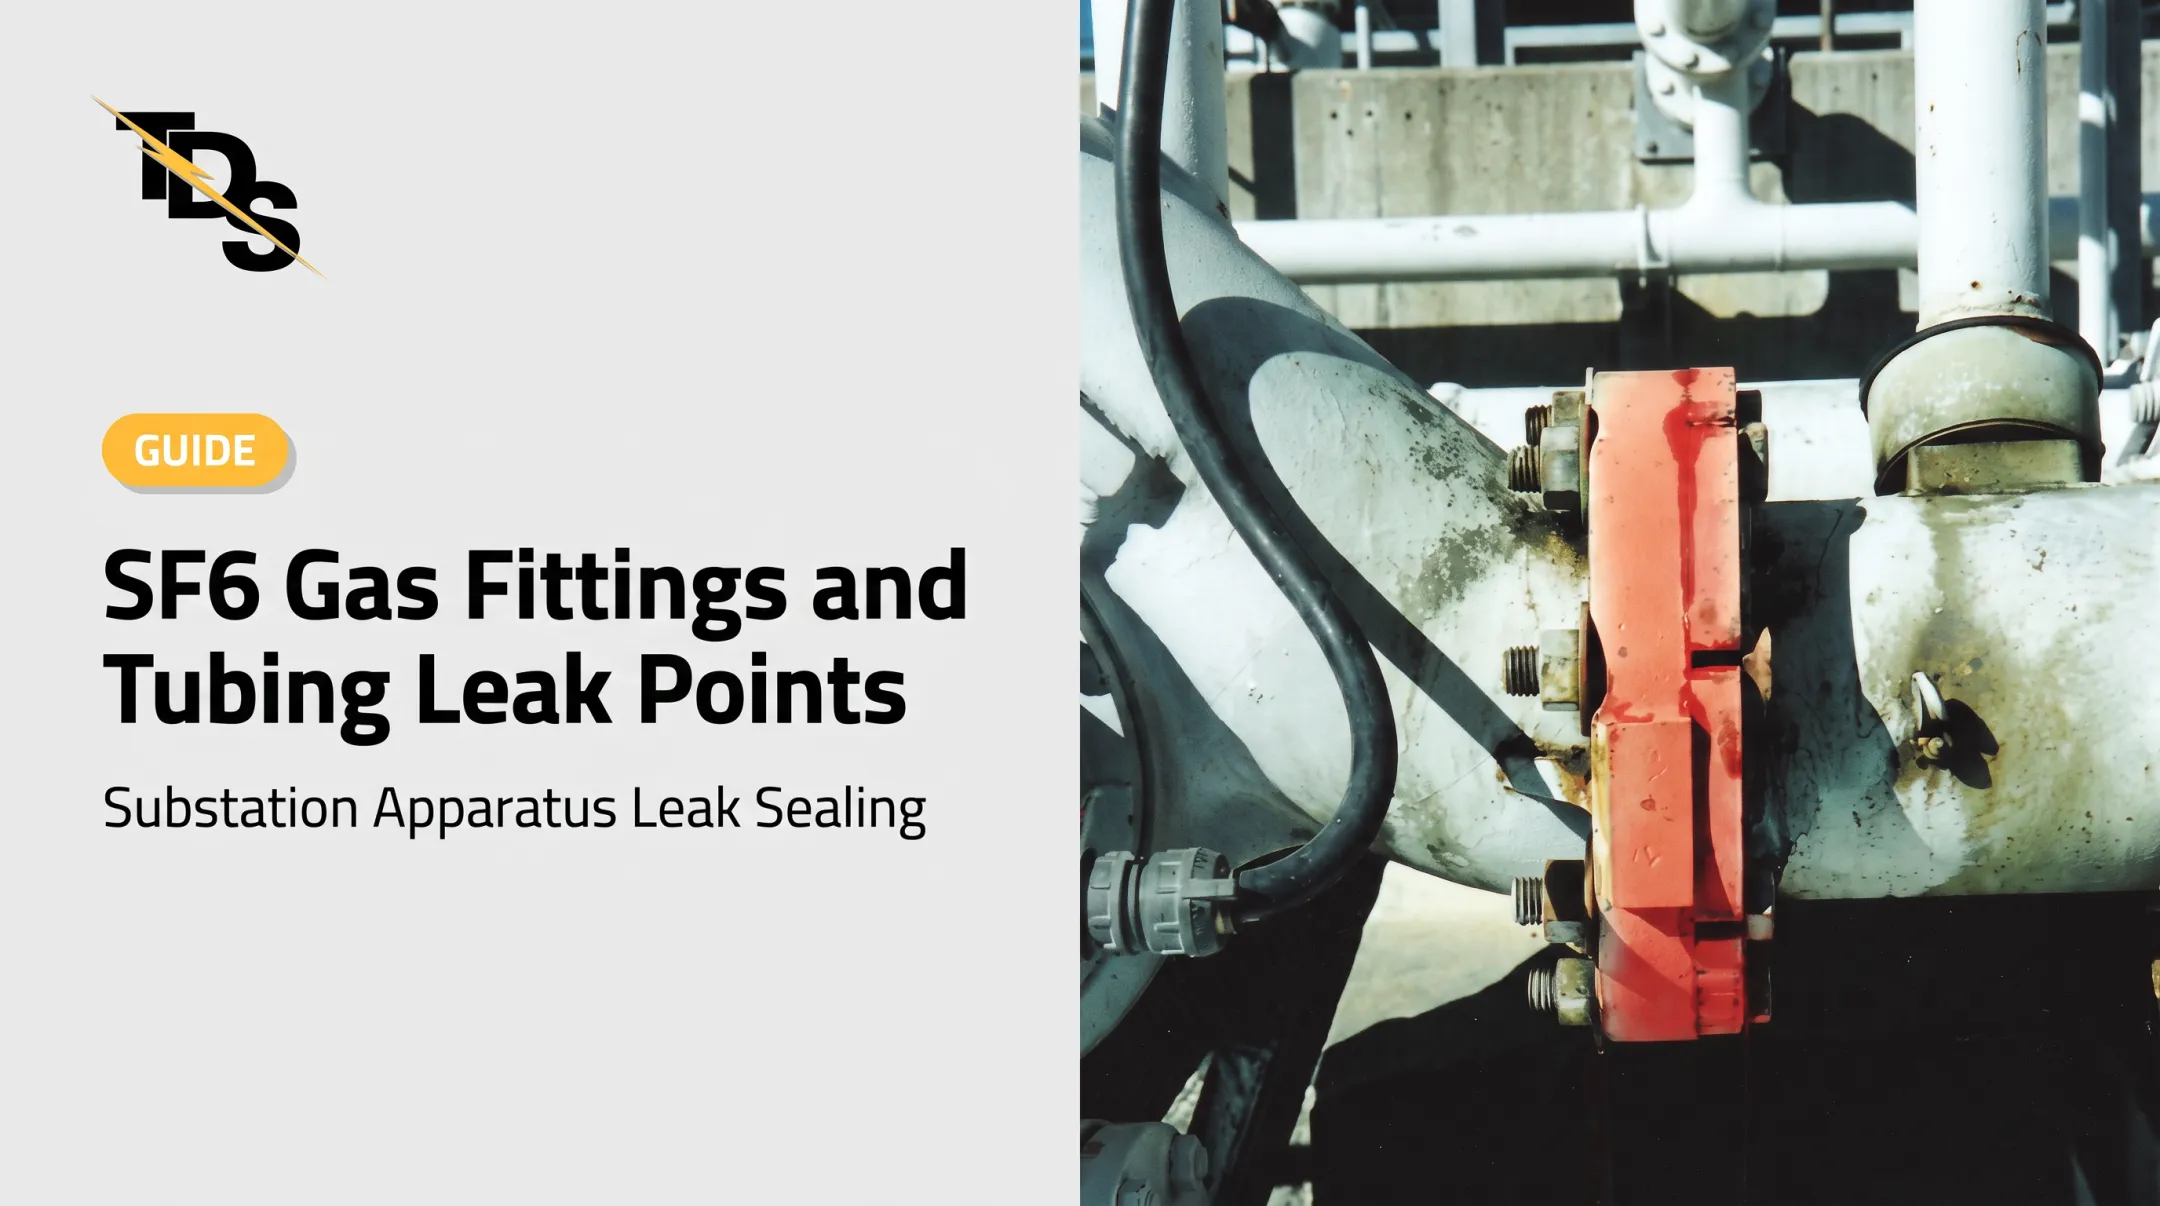
Inspect service valves, density monitors, tubing, couplings, and threaded or compression fittings. Drain valves on breakers are a frequent culprit.
Common causes include:
- Loose or damaged connections
- Degraded O-rings and cracked hoses
- Faulty valves
- Disturbance during gas servicing
GIS, Bushings, Castings, and Pipework
These leaks are harder to pinpoint. On GIS, trouble spots include piping, flange connections, and seam welds. Alarms often recur despite refilling, and leaks may shift with operating conditions.
Common causes include:
- Damaged welds and aging interfaces
- Mechanical stress and corrosion
- Inaccessible internal sealing surfaces
Confirm any diagnosis against the equipment-specific documentation.
False Alarms and Hidden Leaks
Cold weather lowers gas pressure without any gas leaving. A defective gauge can also trigger alarms. That's why you trend temperature-compensated density rather than raw pressure; a WIKA density monitor datasheet describes exactly this compensation.
Other sources of misreads include calibration drift, wind affecting detection, low-level leaks below alarm thresholds, and sparse inspection records.

What Happens When Leaks Are Ignored
Leaks often trace to operating stress, weather exposure, aging materials, weak preventive maintenance, and repeated gas handling. Left alone, they:
- Add emissions; EPA lists SF6's 100-year global warming potential at 23,500 times CO2
- Allow moisture or air ingress into the gas compartment
- Compromise insulation and interruption performance
- Create reporting and compliance headaches
- Raise the odds of unplanned downtime
How to Repair an SF6 Leak: Step-by-Step
Start with diagnosis. Don't add gas or smear on sealant first. The goal is to find the exact leak, isolate its cause, choose a compatible remedy, and verify it worked.
Step 1: Review Equipment Condition
Gather the operating picture before you touch the leak:
- Pressure, density, temperature, and alarm history
- Gas-service records, prior repairs, and manufacturer requirements
- Equipment type, voltage class, gas compartment, and operating status
- Weather conditions and anything visible around joints, valves, bushings, or pipework
Step 2: Locate and Confirm the Leak
Approved methods include handheld detectors, infrared cameras, acoustic instruments, bubble solution where permitted, and density trending.
Utilities such as Con Edison have used soap solution, handheld detectors, optical imaging, and ultrasound. Indoor GIS can defeat optical cameras, and ultrasound needs close range. Wind, noise, and incomplete surveys can also make soap, handheld, and ultrasonic methods unreliable.
TDS uses an infrared laser-scanning unit that scans the whole breaker and records the leak as black smoke on video, so the failed component is easy to identify. Confirm the reading comes from the equipment and not residual gas or an adjacent source.
Step 3: Assess Safety and Feasibility
Decide whether the job needs:
- De-energization, isolation, or gas recovery
- Confined-space controls, arc-flash precautions, and ventilation
- Utility authorization before work begins
Energized repair is not universally appropriate. Check manufacturer instructions, the switching plan, gas conditions, material compatibility, and access. SF6 is an asphyxiant, so OSHA 1910.146 atmosphere testing applies to confined spaces.
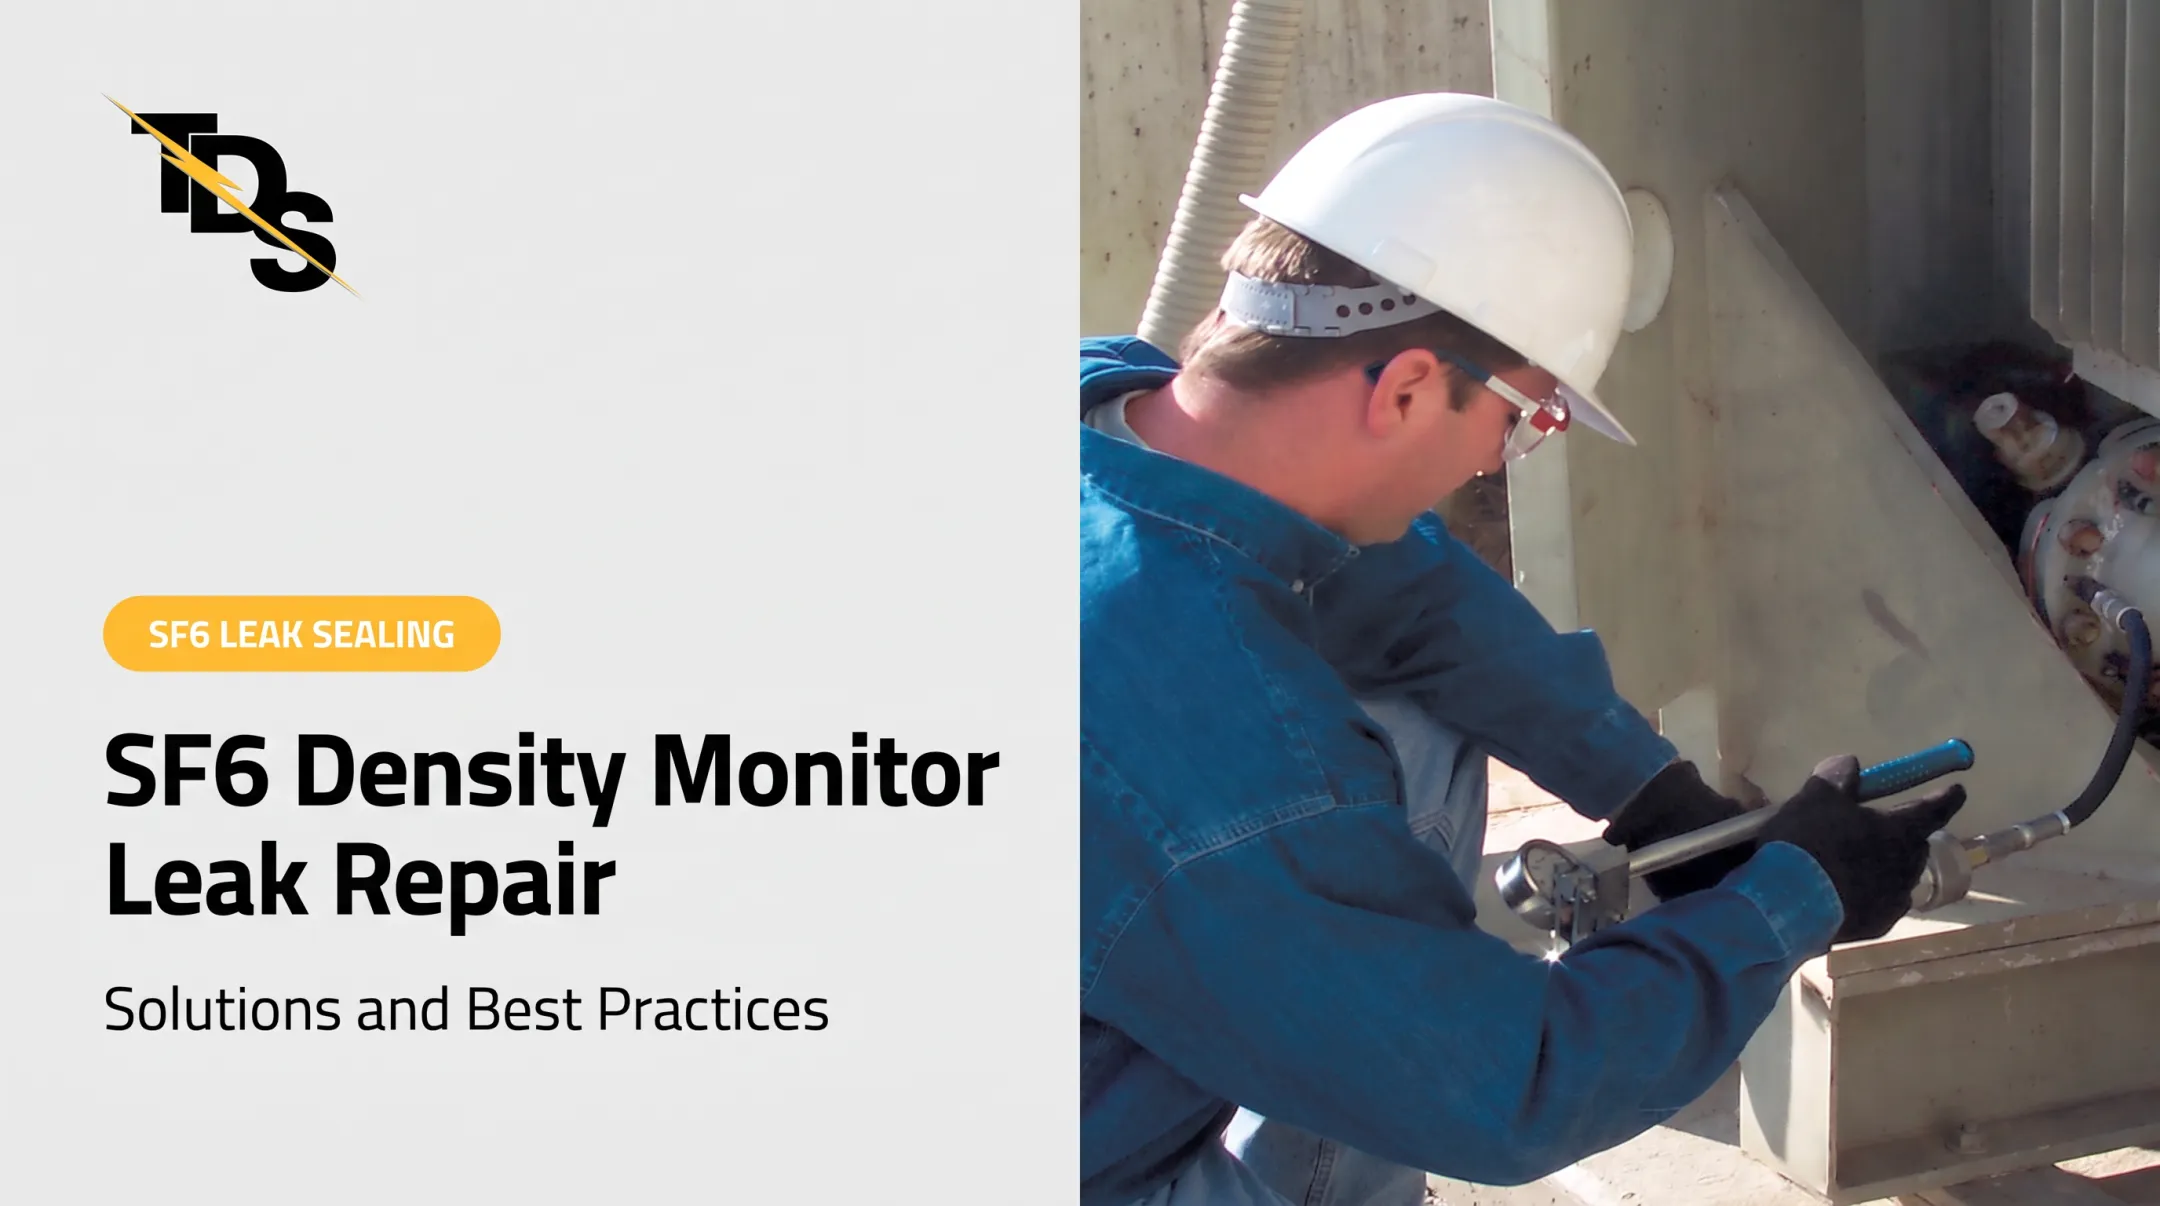
TDS offers low-pressure leak sealing for SF6-filled apparatus. Many repairs can be completed without traditional disassembly or degassing, and often while equipment stays energized when conditions allow. An outage may still be needed for safe clearance.
Step 4: Apply the Repair
The remedy follows the failed part. Options include correcting a connection, replacing an accessible O-ring, repairing a valve or fitting, or sealing a gasket interface.
TDS's common method installs a custom cast-aluminum clamp over the leaking component and injects a rubber-based sealant that typically cures in 20 minutes at 70°F. Standard clamps are stocked for common leaks on specific breaker models.
Whatever the method:
- Clean and inspect surfaces first
- Confirm compounds are compatible with SF6, metals, insulation, temperature range, and any adjacent transformer oil
- Follow an approved method statement
- Never use household or general-purpose products
- Don't obstruct moving parts or contaminate gas compartments
Step 5: Manage Recovery, Refill, and Restoration
Avoid venting SF6. One EPA-hosted utility handling procedure says it should not be voluntarily discharged and leaks should be repaired. IEC 62271-4 covers gas handling during repair and overhaul.
Set final pressure or density from the manufacturer's data, corrected for temperature. Never copy a generic internet number. Check moisture, gas quality, valves, monitors, fittings, and anything disturbed.
Step 6: Test, Validate, and Document
Repeat detection at the original spot and nearby interfaces. Monitor pressure or density for a defined period. Confirm alarms, gauges, and communications work, and run any required electrical or functional tests.
Record the leak location, cause, materials, gas recovered or added, test results, follow-up date, and emissions information. TDS daily work logs tie back to the original survey and establish the warranty for each repair.

When Should You Repair or Replace SF6 Equipment?
The decision balances leak severity, equipment condition, safety, emissions, outage needs, repair history, and replacement cost. EPRI's 2023 breaker life-management note states there's no universal repair threshold or service-life cutoff, so judgment matters.
| Situation | Lean toward |
|---|---|
| Localized leak at an accessible gasket, fitting, valve, or monitor connection on sound equipment | Repair |
| Cracked, corroded, or mechanically damaged component | Replace or refurbish the component |
| Recurring leak after repair | Re-diagnose first; refurbish or replace if leaks spread across interfaces |
| Must stay in service | Qualified in-service repair if safety process allows |
| Enclosure damage, contamination, arcing byproducts, or unavailable parts | OEM-led repair, refurbishment, or replacement |
For recurring leaks, confirm the original cause, repair quality, equipment movement, and thermal effects. The new leak may simply be a neighboring point.
Plan an outage when access is unsafe, the compartment must be opened, contamination is suspected, or the repair can't be validated while energized.
For end-of-life assets, compare outage duration, reporting burden, future leak risk, warranty, spares, and the cost of keeping an unreliable asset running. California's CARB rules add phaseout dates, which makes replacement planning a regulatory matter there.

In-service repair options from TDS give asset managers more room to choose between refurbishing and replacing on their own timeline.
Common Mistakes and Preventive Measures
Mistakes to Avoid
- Topping off after a low-gas alarm without confirming the source or checking temperature, density, gauge, and monitor effects
- Using unapproved sealants or incompatible parts
- Adding excessive fittings that create new leak paths
- Skipping surface preparation before sealant or gasket work
- Skipping post-repair leak testing and density checks
- Working without electrical, gas-handling, and confined-space controls
Preventive Measures
- Schedule visual inspections, calibrated leak detection, and density trending
- Check valves and fittings routinely
- Plan follow-up after every repair or gas service
- Keep records of leak history, gas quantities, test results, repair materials, alarm settings, and emissions data
- Train technicians on SF6 handling and equipment-specific procedures
EPA guidance recommends gas accounting and documented service activity. Records matter more where 40 CFR Part 98 Subpart DD reporting applies, so check the rule for your facility.
Conclusion
Many SF6 leaks are localized and repairable when caught early. Good results depend on accurate detection, compatible methods, qualified personnel, and post-repair validation.
Transmission & Distribution Services (TDS) provides low-pressure leak sealing for substation apparatus, with technicians who work exclusively in substations. US utility and generation teams can request a free equipment survey that identifies the leak location, repair method, and price.
Frequently Asked Questions
Do you get charged for an SF6 leak call-out?
Call-out charges depend on the provider, contract, emergency status, travel, equipment type, and whether repair is authorized. Utility pricing and service agreements vary by provider.
Is SF6 harmful to humans?
SF6 is nonflammable and stable in normal service, but it displaces oxygen in poorly ventilated areas. Arcing can create hazardous decomposition products. Check the current safety data sheet and site procedures.
What is the normal pressure for SF6 gas?
There's no universal value. It depends on equipment design, voltage class, temperature, and density. Use the nameplate, manual, and temperature-corrected density data.
What is SF6 used for?
It serves mainly as an insulating and arc-quenching medium in high-voltage circuit breakers, gas-insulated switchgear, and GIS systems.
Can SF6 leaks be repaired without taking equipment out of service?
Some localized repairs can be done in service when the method, access, equipment condition, and utility safety plan allow. Qualified specialists must assess and perform any energized work.
How are SF6 leaks detected before repair?
Methods include handheld detectors, infrared cameras, acoustic tools, approved bubble solutions, and pressure or density trending. The best choice depends on leak size, equipment, weather, access, and operating status.