
Introduction
An oil stain on a transformer tank tells you very little. It might be residue from shipping or past maintenance, or it might be an active leak that cuts insulation and cooling performance, damages equipment, and creates a reportable release.
USBR guidance notes that visible leaks can point to oil contamination, loss of insulation, or environmental problems. Telling old residue from a live leak is the first job.
This guide walks through a safe workflow: prepare the unit and work area, run visual and pressure-based checks where permitted, review level and condition indicators, interpret the findings, and escalate repairs to qualified personnel.
Key Takeaways
- Clean and document suspect areas first, because a stain alone doesn't prove a current leak.
- Match the method to the transformer design: visual, pressure and bubble, or trend review.
- BDV, DGA, moisture, and acidity results assess oil condition, not leak location.
- Stop and escalate fast for structural or environmentally significant leaks under OEM, site, and U.S. spill rules.
What You Need to Test Transformer Oil Leakage in a Transformer
Gather tools, confirm access, and collect design details and baseline data before any test begins.
Tools and Indicators Required
Basic inspection kit:
- Flashlight, inspection mirror, and camera
- Lint-free wipes and approved transformer cleaner
- Absorbent pads and drip trays
- Marking materials and an inspection form for location and appearance of oil
Indicators to review:
- Oil level gauge or sight glass
- Pressure or vacuum gauge
- Conservator level, temperature, and alarm history
- SCADA trends where available
Use calibrated gauges and regulated dry nitrogen only when an approved pressure test requires them. Apply bubble or leak-detection solution, fluorescent dye, UV, infrared, and ultrasonic tools only when they are compatible with the fluid, seals, coatings, and OEM procedures. For dye, get written approval from the transformer OEM and fluid supplier first.
TDS Oil Leak Detector is one commercial option. It comes in boxes of twelve 7 oz cans. A light coating darkens where oil reaches a failed gasket, packing, pinhole, or small weld-seam crack.
TDS Transformer Cleaner is biodegradable and water soluble. Use it full strength for heavy soil, 5:1 for medium soil, and 10:1 for light soil.
Preconditions and Setup
Before choosing a method:
- Review the nameplate, manual, fluid type, drawings, inspection records, and recent maintenance.
- Note normal temperature and load readings.
- List likely leak points: gaskets and flanges, bushings, radiators, valves, drain and sample points, pressure devices, weld seams, conservators, and tap-changer compartments.
Then set the safe state. Limit energized work to qualified personnel, and use non-contact observation from a safe position. De-energize, isolate, lock out, and verify before touching components, adjusting pressure, or working near electrical hazards. OSHA 1910.269 and your site electrical safety program govern this work.
Finally, record temperature, load, ambient conditions, oil level, and internal pressure. Clean suspect areas without spreading oil into soil or drains, and keep residue within containment.

Methods to Test Transformer Oil Leakage in a Transformer
No single method fits every transformer. Pair a clean visual baseline with a suitable confirmation method, and follow OEM limits rather than generic pressure, timing, or acceptance values.
Method 1: Structured Visual Inspection and Clean-and-Recheck
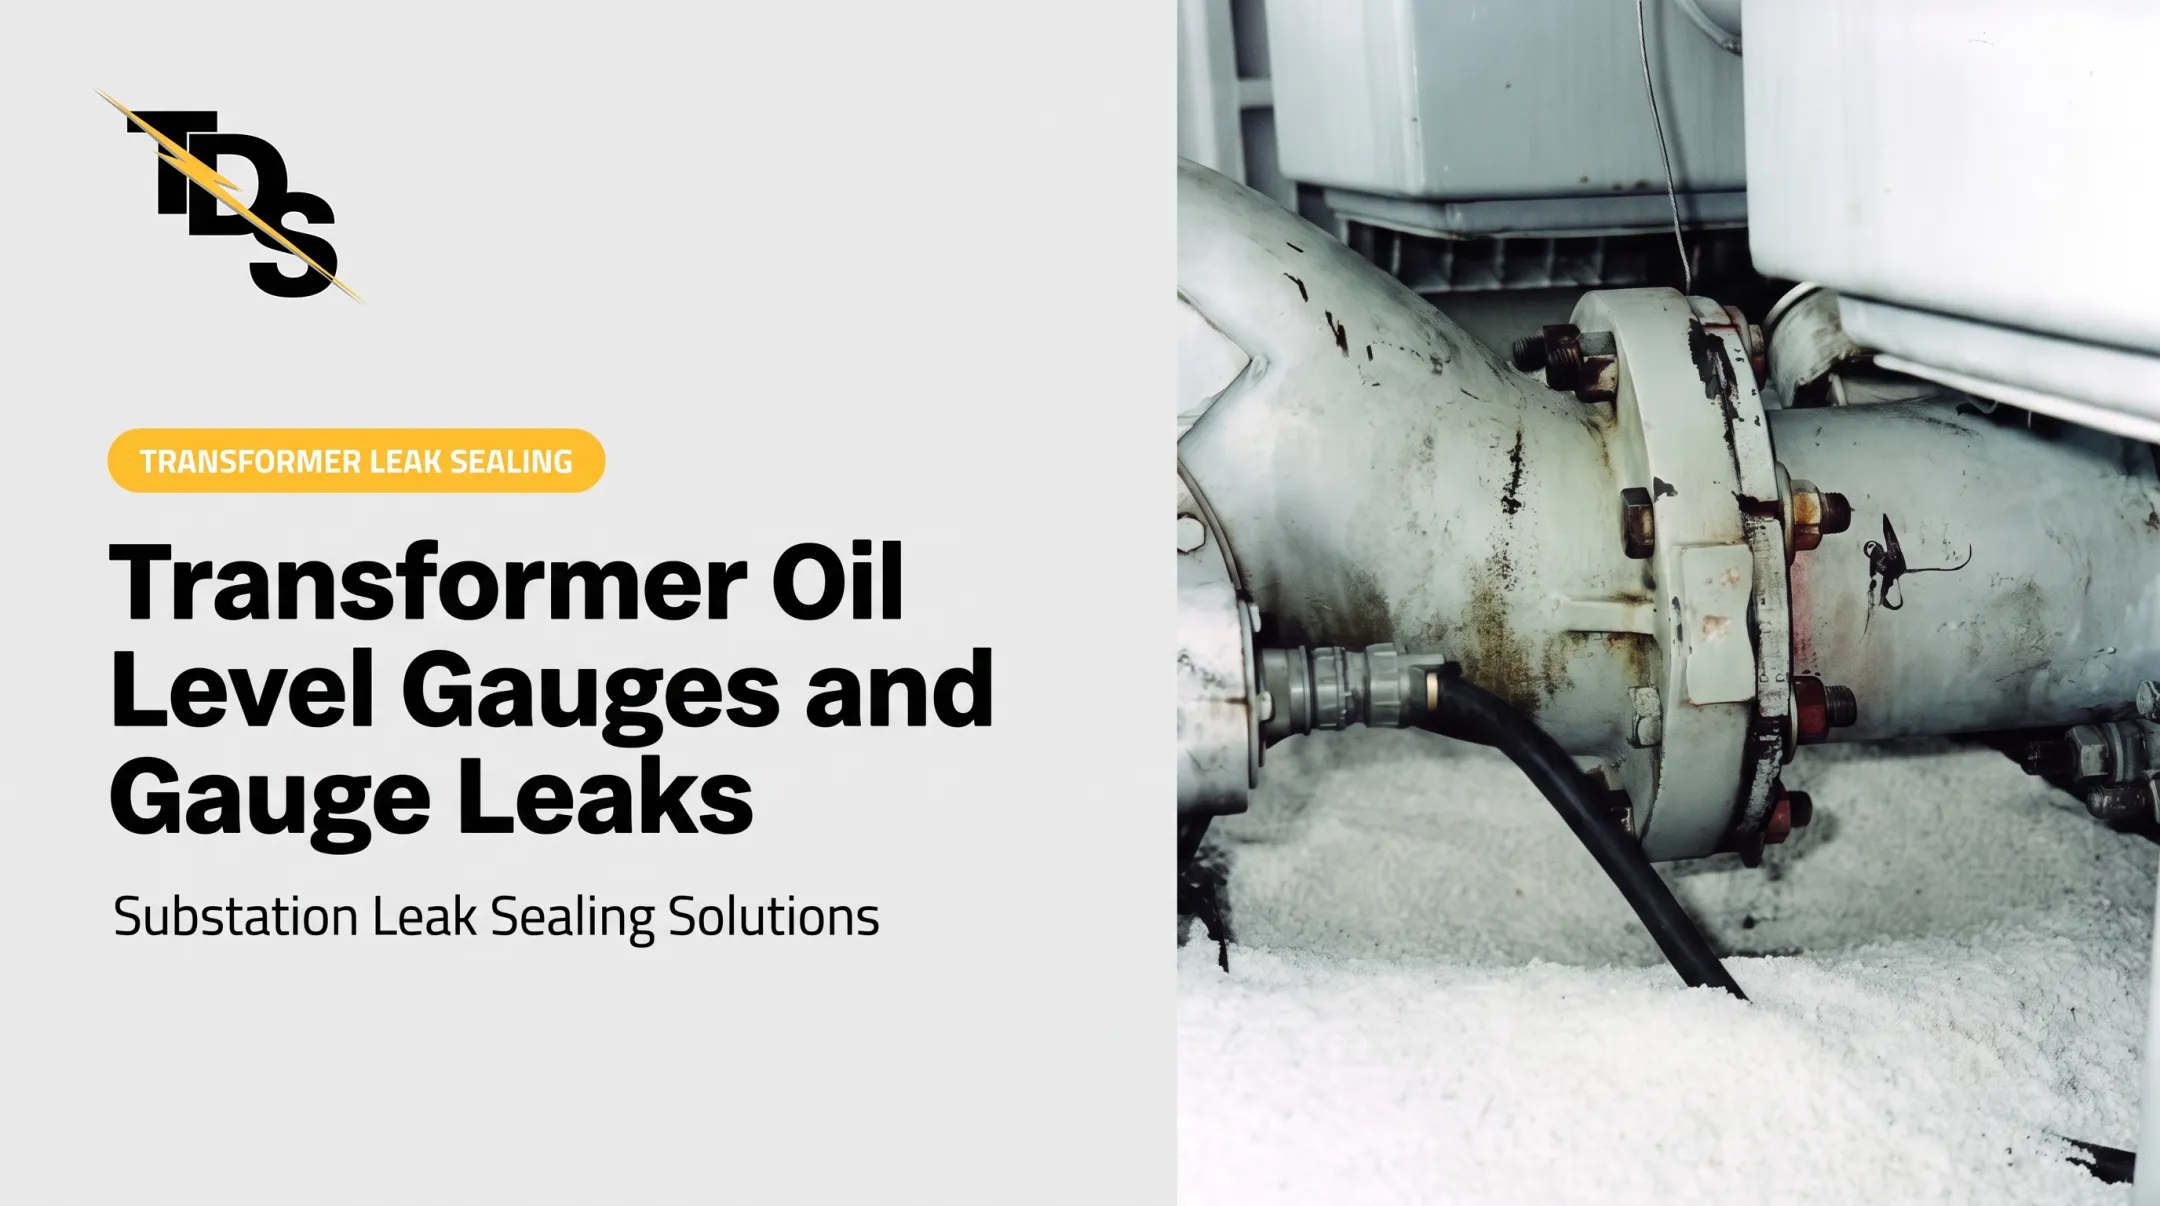
Look for fresh wetness, drips, sheen, staining, dust buildup, paint blistering, corrosion, or an oil trail leading to one component. Old residue can persist after shipping, manufacturing, or maintenance.
Utility and OEM guidance sets no universal recheck interval. Treat clean-and-recheck as a site-defined practice and use your own approved observation period.
Tools: lighting, camera, lint-free materials, approved cleaner, absorbents, a mirror, and the level and pressure indicators.
- Photograph and map the suspect area from a safe position before cleaning. Cover the tank, bushings, radiator connections, flanges, valves, gauges, welds, and containment.
- Clean the surface with a method compatible with the finish and fluid. Place a clean absorbent or witness material where it can safely reveal new oil.
- Reinspect after the site-approved interval. Compare new wetness, droplets, staining, gauge changes, and level changes against your first record.
Pros: low cost, good for routine rounds and triage. Cons: can miss concealed or very slow leaks, and can't quantify leak rate without added monitoring.
Take an 8-bolt connecting flange: it may look wet, yet visual observation alone rarely confirms the source. TDS cleans the entire flange, sprays the detector, and reads oil darkening at the split line as a gasket leak.
Method 2: Controlled Pressure-Hold and Approved Bubble Testing
A controlled pressure-hold can confirm lost tank or accessory integrity. An approved bubble or leak-detection solution can pinpoint an accessible fitting. It isn't suitable for every transformer, and OEM limits apply.
For scale, one Eaton pad-mount manual limits test pressure to 7 psig held for at least four hours. That is model-specific. Don't borrow it for another unit, and don't attribute it to IEEE.
Tools: calibrated pressure or vacuum gauge, regulated dry nitrogen if specified, approved leak-detection solution, timing and documentation tools, barriers, and spill control. Never improvise pressurization.
- Confirm permission. Check that the design, fluid system, pressure rating, and site procedure allow the test. Establish the safe state and isolate as required.
- Apply only the OEM-approved condition. Inspect joints and fittings for persistent bubbles or renewed oil movement, and record starting temperature and readings.
- Hold and compare. Monitor for the specified period under stable conditions, compare final to starting readings, normalize pressure as directed, and document the leak point or an inconclusive result.
Pros: can locate small leaks at accessible seals. Cons: wrong pressure, temperature swings, faulty gauges, incompatible solution, or inaccessible damage can produce false results or equipment risk.
Method 3: Oil-Level, Pressure, and Oil-Condition Trend Review
A persistent drop in level or pressure supports a diagnosis of oil loss. Oil analysis shows whether moisture, oxidation, contamination, or internal electrical stress is affecting condition. This method usually won't find the external leak.
Tools: level gauge or sight glass, pressure or vacuum gauge, temperature and load records, alarm history, SCADA data, and a prepared sampling kit with a qualified lab.
- Set a baseline at comparable temperature and load. Verify the gauge, sensor, and alarm work. In one USBR case, oil sat below the upper radiator inlet in a hot-running unit while the level indicator was stuck at normal.
- Compare over time. Correlate unexplained changes with visual findings, maintenance, load events, ambient temperature, and breather or conservator behavior.
- Sample if condition is in question. Use contamination-controlled procedures (ASTM D923) and request tests such as BDV (D877 or D1816), moisture (D1533), acidity (D974), interfacial tension (D971), or DGA (D3612 with IEEE C57.104).
Pros: reveals slow loss that a single inspection misses and flags related deterioration. Cons: does not prove leak location. Limits come from the applicable standard, design, oil type, and OEM or lab guidance.

How to Interpret the Results
Compare findings with the transformer's own baseline and OEM limits. A wrong call can let oil loss, moisture ingress, overheating, insulation failure, or contamination continue.
Normal: a clean, dry rechecked surface, stable level and pressure after temperature correction, no persistent bubbles, and no abnormal alarms. Document it and keep routine monitoring. Skip unnecessary repair.
Minor issues:
- Isolated residue or a recurring film without measurable level loss
- A small seep at an identified fitting
- An inconsistent gauge reading
Clean, photograph, and tag it. Verify the instrument, check OEM torque or maintenance instructions, increase monitoring, and schedule qualified repair.
Out of specification:
- Continuous dripping or flow
- Persistent pressure loss or falling oil level
- Oil below an alarm or required mark, or reaching hot or energized parts
- Active radiator or weld leakage, or bushing damage
- Any spill threatening soil, water, drains, or people
Stop unsafe testing, isolate and contain when safe, and notify operations and environmental staff. Don't just top up the oil without fixing the cause.
Under EPA oil discharge rules, a discharge causing a sheen is reportable to the National Response Center, with no gallon threshold. For older units, verify PCB status instead of guessing from age.

Specialist Repair Escalation
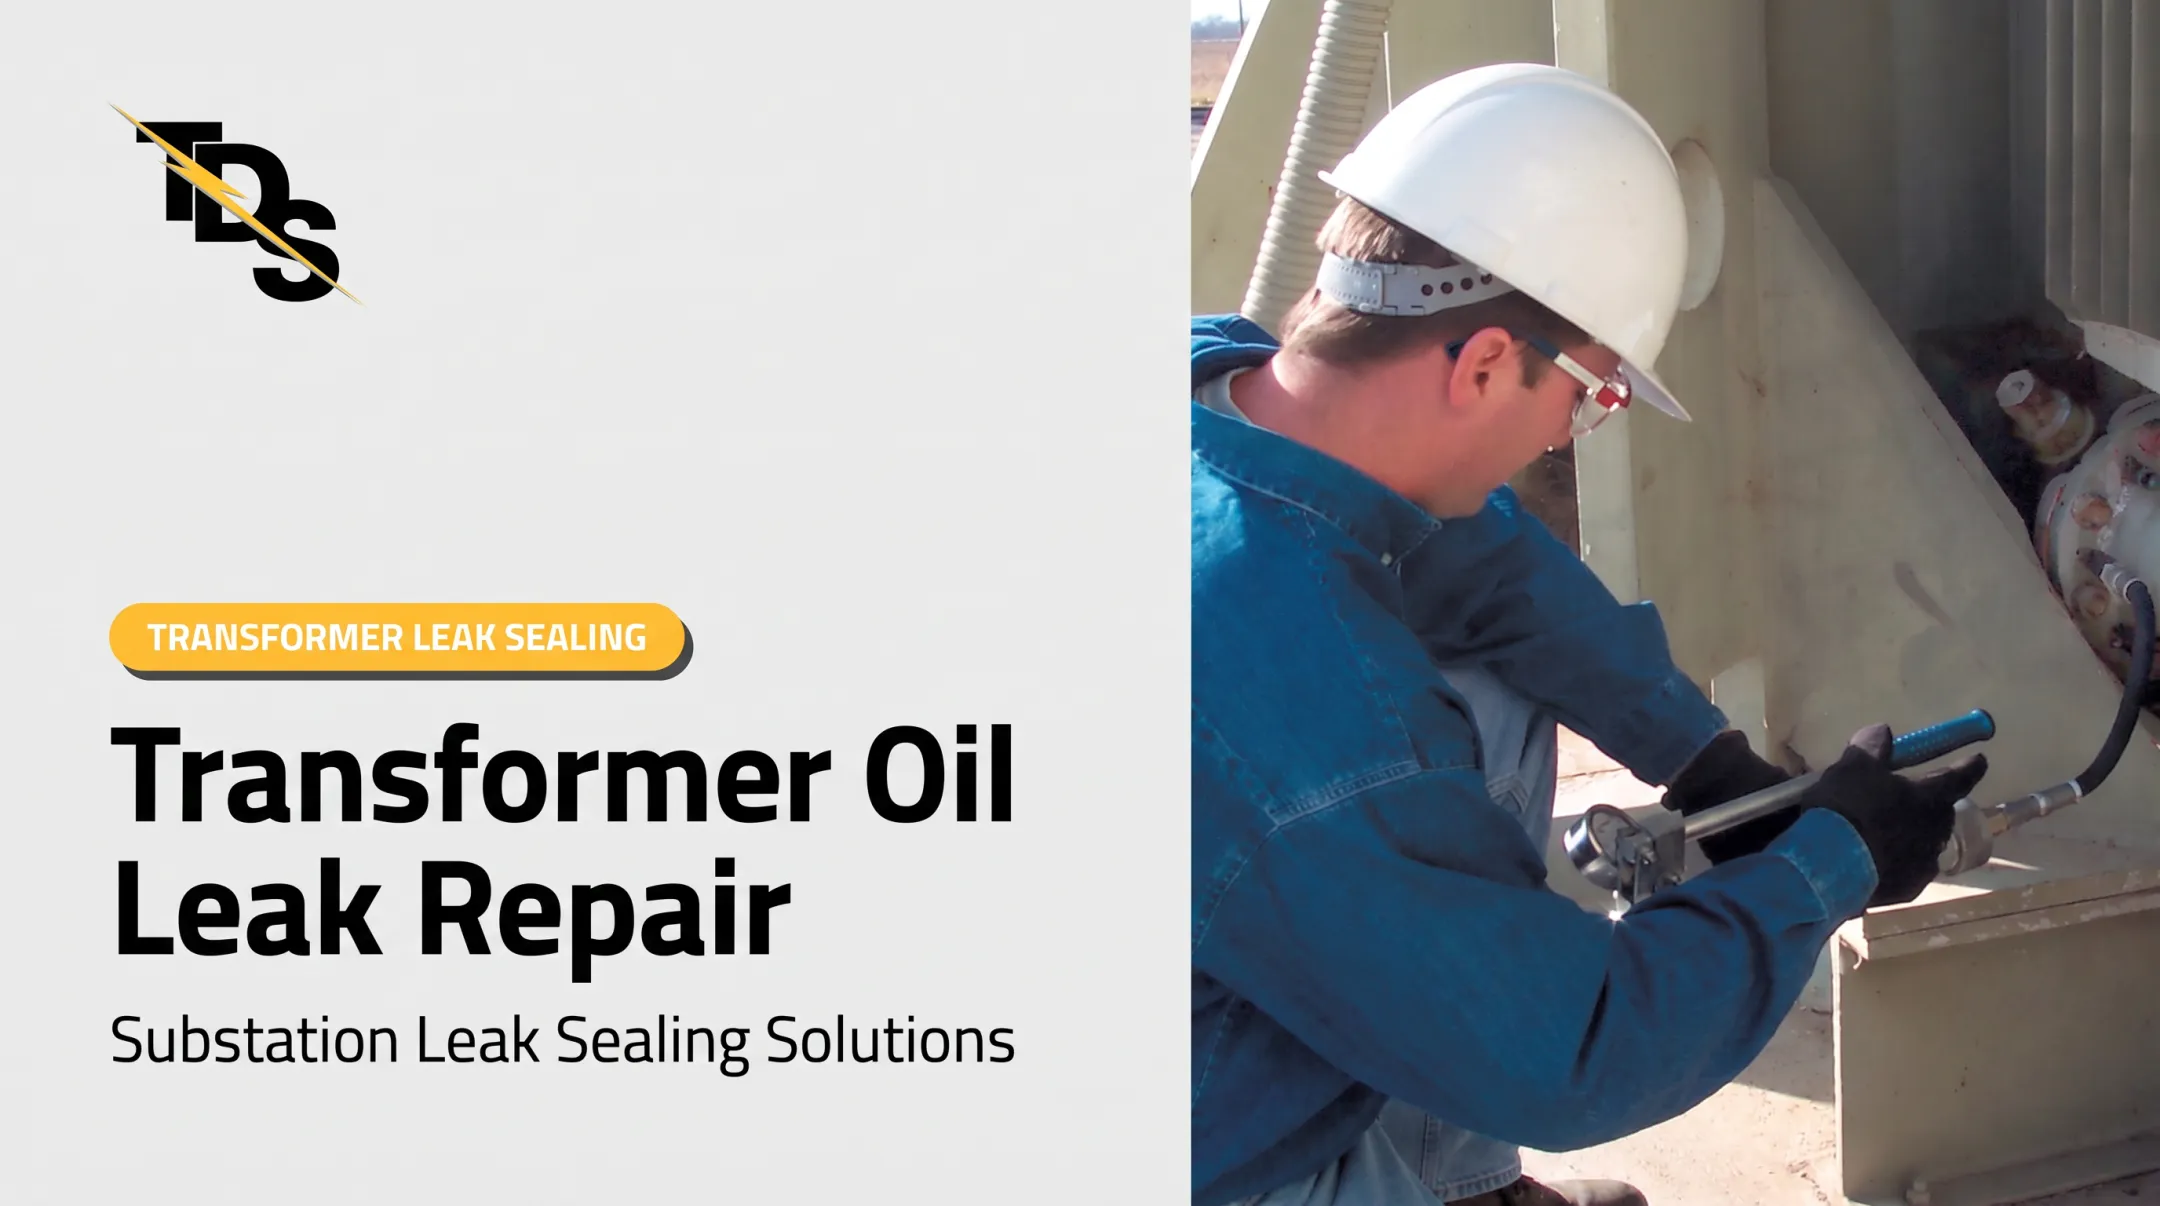
When substation equipment needs specialized leak confirmation and low-pressure sealing, Transmission & Distribution Services (TDS) provides cured-in-place repairs. Those repairs can often avoid traditional disassembly and, after a qualified site assessment, may be completed while apparatus stays energized when conditions allow.
A free equipment survey documents each leak, location, repair method, and price. Completed leak-seal work carries a four-year warranty.
Common Errors and Safety Best Practices
Common Errors in Checking Transformer Oil Leakage
- Calling any stain an active leak without cleaning and rechecking, or missing residue from manufacturing, shipping, or past maintenance.
- Applying a generic pressure, hold time, BDV, or level limit without the OEM manual, fluid type, temperature, and current ASTM or IEEE guidance.
- Reading an uncalibrated gauge, comparing readings at different temperatures or loads, or ignoring a blocked breather, conservator issue, or sensor fault.
- Using water, soap, dye, cleaner, or sealant that is incompatible with the oil, gaskets, coatings, or electrical components.
Safety and Best Practices
- Follow the site electrical safety program, job hazard analysis, arc-flash boundaries, lockout/tagout, and OEM instructions.
- Limit energized equipment, pressure, nitrogen, and isolation work to qualified personnel only.
- Wear task-appropriate PPE, keep a stable work platform, control slip hazards, and keep ignition sources away from oil.
- Use spill trays, absorbents, and secondary containment to keep oil out of soil and drains.
- Record transformer ID, date, temperature, load, pressure, level, method, photos, results, and corrective action.
- Manage recovered oil and used absorbents under applicable U.S. federal and state waste rules.
Conclusion
A reliable leak test starts with a safe baseline inspection, a clean-and-recheck routine, and the pressure, indicator, or lab-supported method that fits the transformer design.
Stable readings and a dry recheck support continued monitoring. Active oil movement, falling level or pressure, structural damage, or spill risk calls for prompt containment, qualified diagnosis, and repair.
Frequently Asked Questions
How to stop oil leakage in transformer?
Make the equipment safe, contain the oil, identify the source, and follow the OEM-approved repair method. Don't tighten, pressurize, seal, or refill without qualified authorization.
What happens if a transformer is leaking oil?
Cooling and insulation margin drop, and moisture can enter and damage equipment. Fire and environmental risk follow. Assess level, leak rate, condition, and containment immediately.
What is the minimum acceptable BDV for transformer oil?
No universal value fits every transformer or fluid. Check the current ASTM or IEEE method, OEM requirements, voltage class, sample quality, and qualified lab interpretation.
How do you test a transformer for an oil leak?
Clean and reinspect visually, use approved pressure and bubble testing where permitted, and review level or pressure trends. Qualified personnel should select and perform the method.
Can a transformer oil leak be tested while the transformer is energized?
Limited non-contact observation may be possible under an approved energized-work procedure. Pressure adjustment, cleaning, contact with components, and repair generally require the specified safe state and qualified electrical staff.
How can you tell whether transformer oil on the tank is a new leak or old residue?
Photograph and clean the area, place a safe witness material if appropriate, then recheck under comparable conditions. Look for fresh wetness, droplets, oil movement, gauge changes, or level loss.