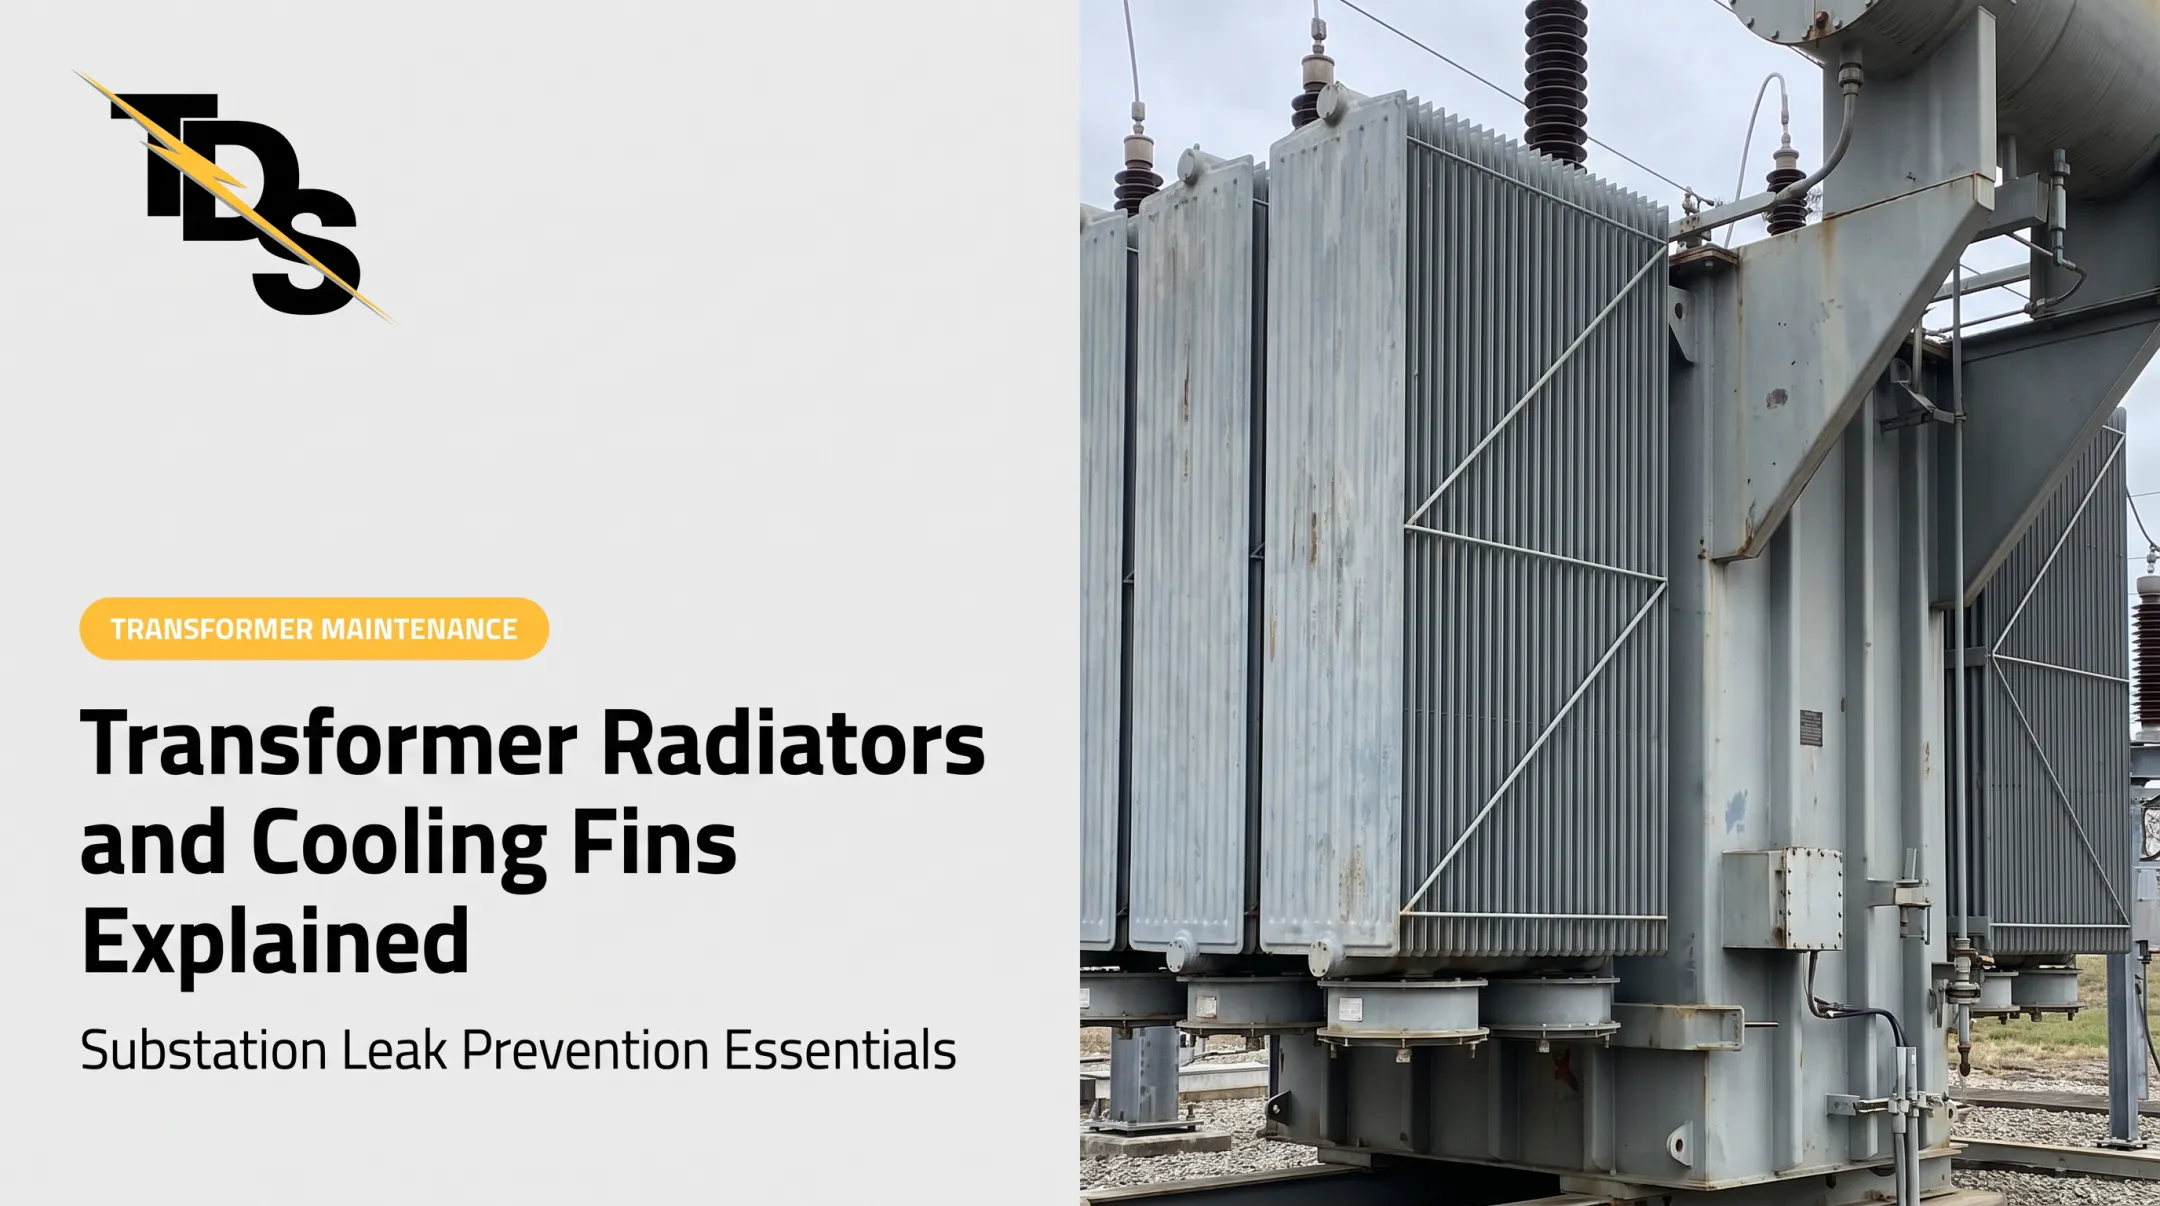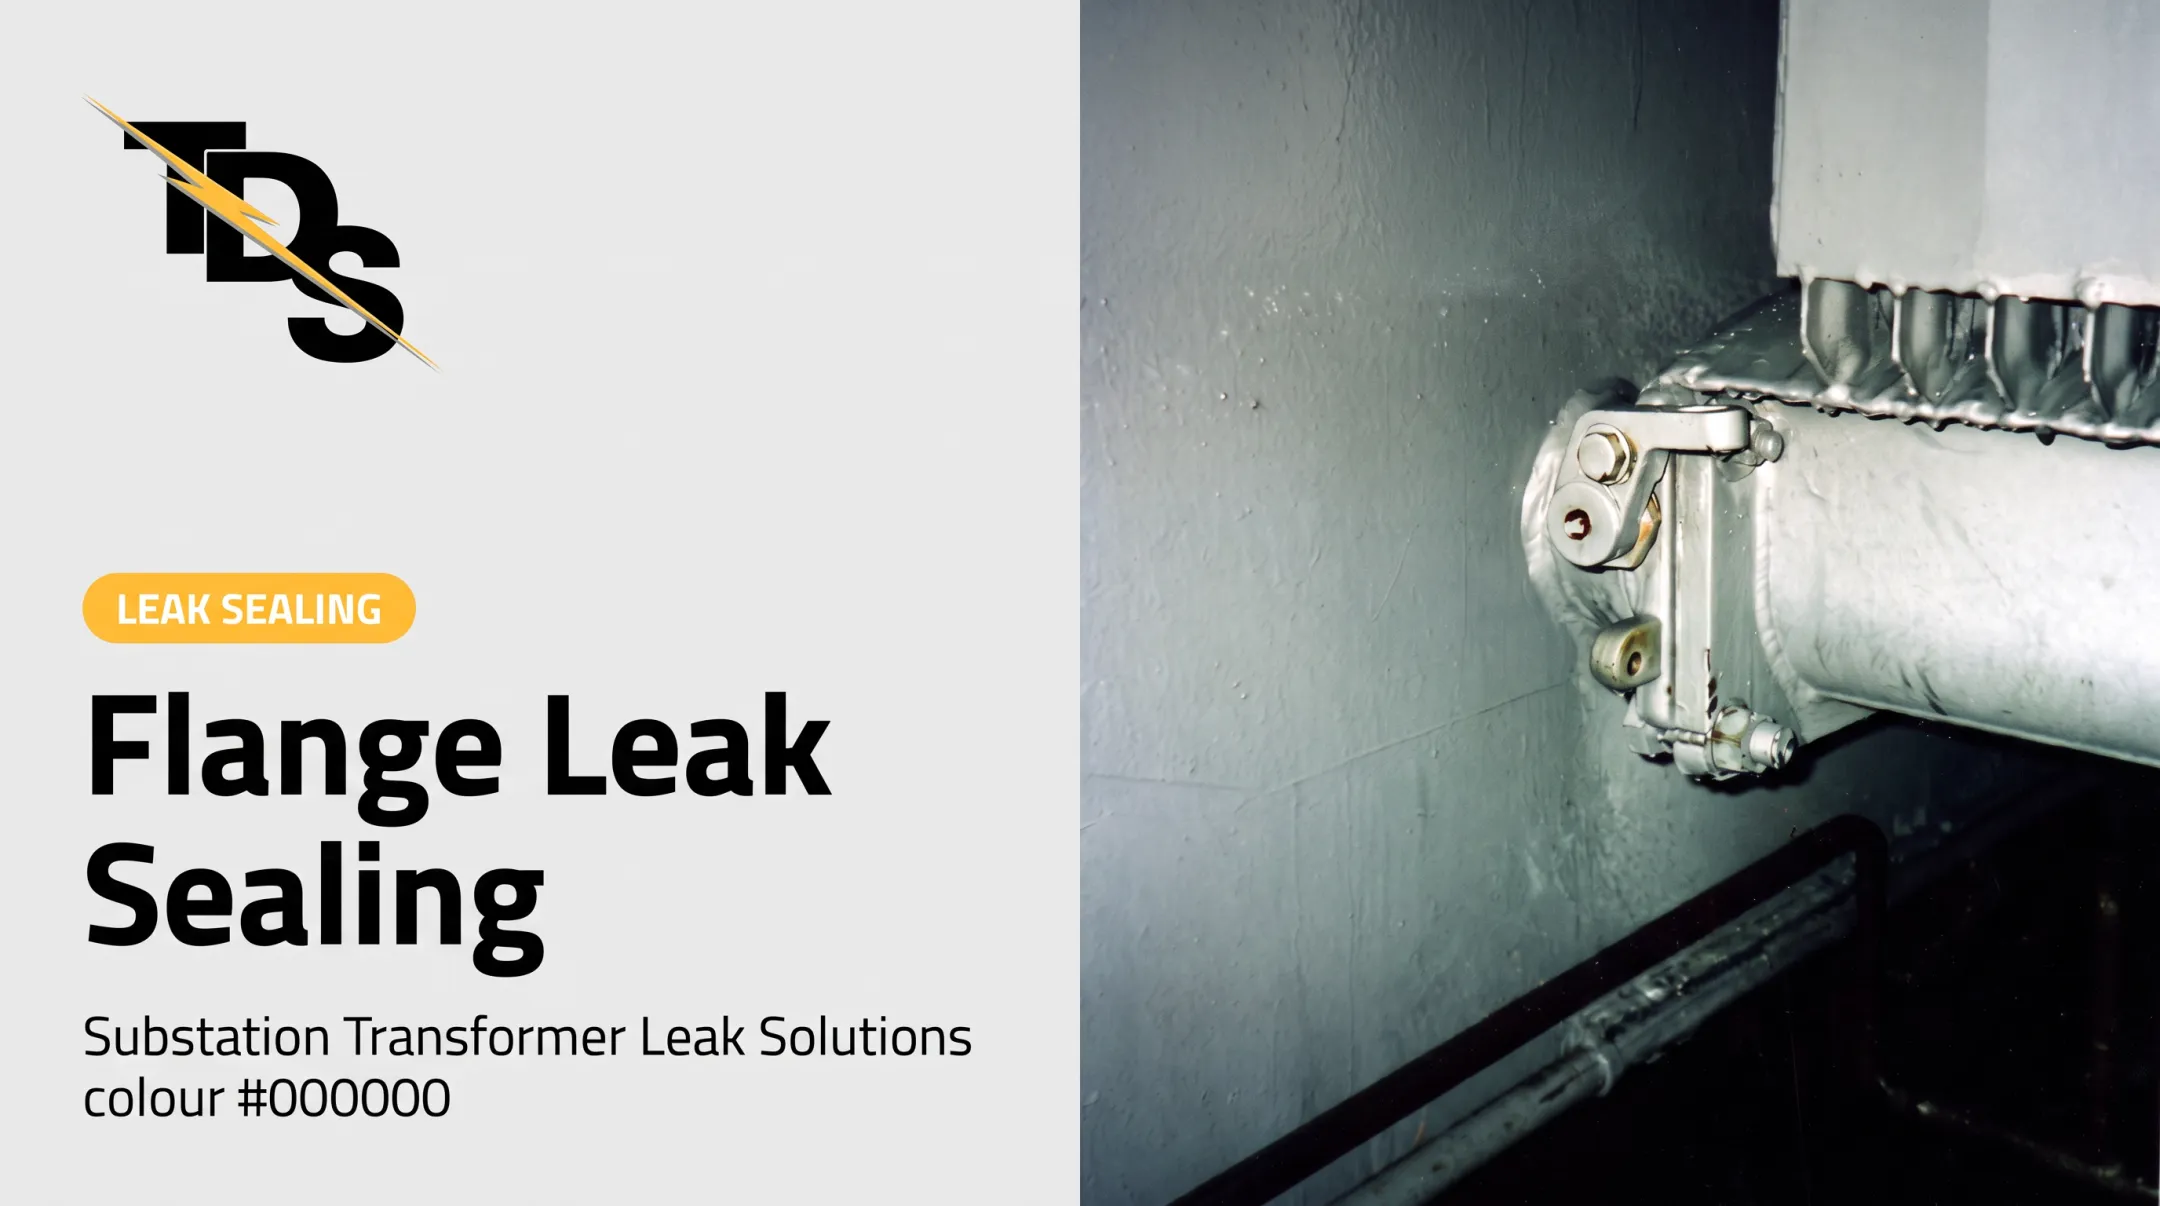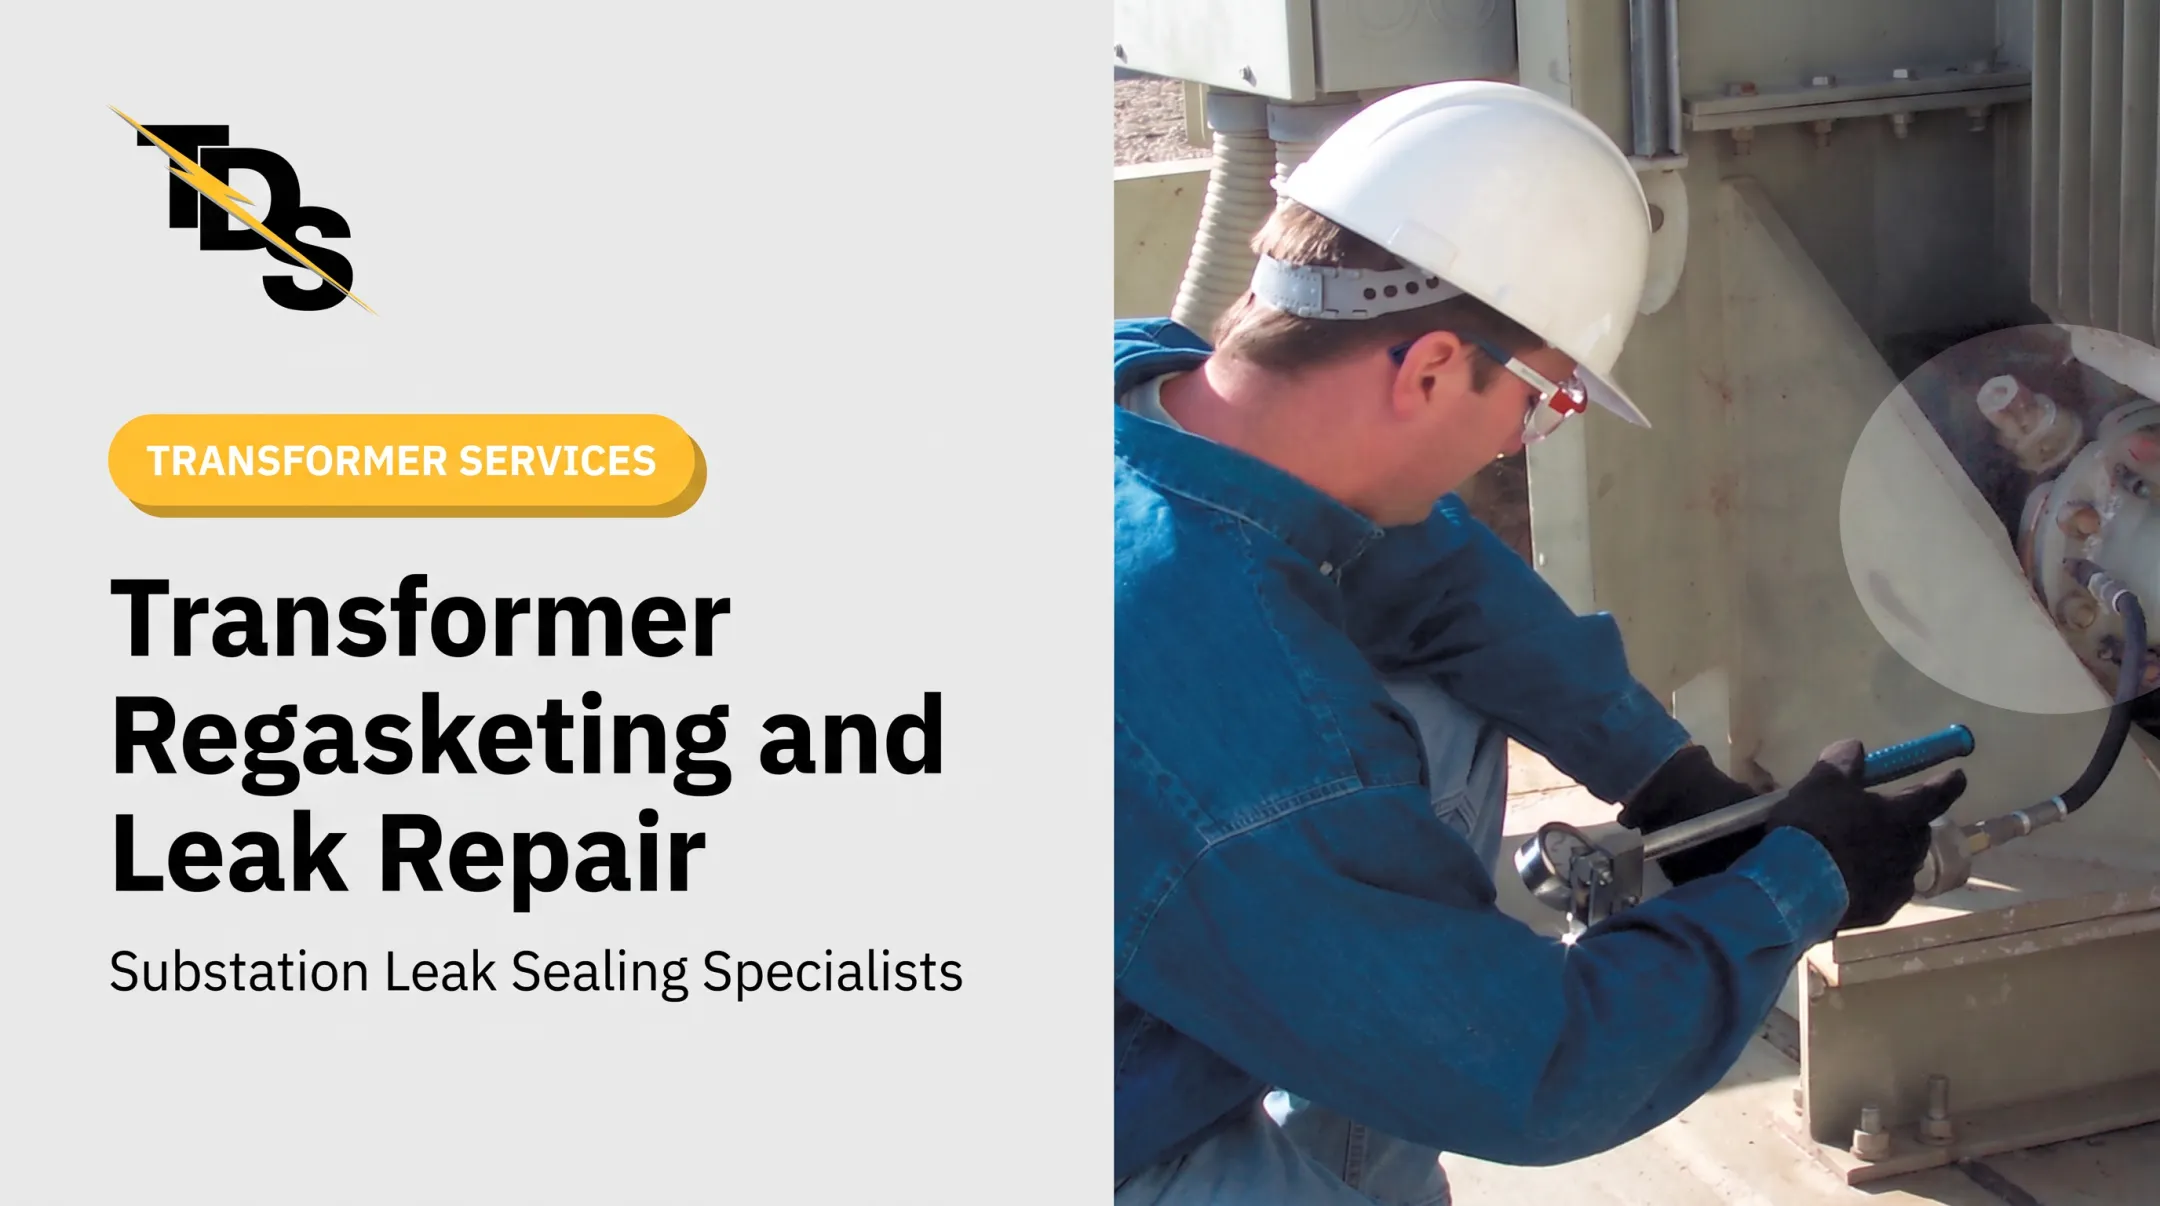

This article covers dresser-type couplings (unthreaded sleeve-and-gasket connections, often called slip-joint couplings) in transformer cooler piping, not general plumbing or petroleum equipment. We walk through identifying the coupling, separating a true leak from residue or a neighboring leak, finding the cause, and choosing a repair that fits OEM requirements and equipment condition.
Key Takeaways
- The oil you see may come from a nearby flange, valve, weld, cooler tube, or threaded fitting.
- Tightening bolts before confirming design, gasket condition, alignment, and torque requirements can make the leak worse.
- Conventional gasket replacement may need isolation and an outage; a qualified specialist may offer a lower-disruption seal.
- All work must account for electrical hazards, hot or pressurized oil, spill containment, and OEM procedures.
What a Dresser Coupling Does on a Transformer Cooler
What a dresser-type coupling is
A dresser-type coupling joins two pipe ends without threads. Dresser describes its Style 38 as a gasketed, sleeve-type design: a middle ring, two follower rings, two resilient gaskets, and bolts. Tightening the bolts compresses the gaskets against the pipe and middle ring.
Terminology varies. "Dresser coupling," "dresser-type coupling," and "slip joint" get used differently across manufacturers and industries. Check the equipment drawings and coupling nameplate before assuming anything.
Where it sits in the cooler system
Couplings can appear in the oil path between the tank, radiator bank, heat exchanger, valves, or cooler header. The joint has to hold oil while absorbing installation tolerances and, depending on design, limited movement.
Dresser's published Style 38 data lists longitudinal movement of 1/8 to 3/8 inch depending on size, and notes a single coupling does not accommodate lateral offset. Those are product limits, not transformer piping criteria.

Couplings, unions, and flanges
- Dresser-type coupling: no threading or beveling, tolerant of small fit differences, limited movement.
- Flanged joint: rigid and widely used at radiators and valves; Dresser's separate Style 131 dismantling joint is a different product for adjustable flanged runs.
- Threaded union: common on small-bore lines, with different alignment demands.
Branded couplings are not automatically interchangeable. Krausz's HYMAX, for example, is a separate product with a patented two-stage gasket and its own pressure, deflection, and temperature tables. Compatibility depends on pipe dimensions, pressure, temperature, fluid, materials, and manufacturer approval.
What a leak at the coupling can signal
Not every wet coupling is leaking at the coupling. Distinguish:
- Seepage: a damp film with no drops.
- Active drip: oil forming and falling.
- Tracking: oil running along the pipe from a higher source.
- Collection point: the coupling is simply the lowest spot.
That distinction matters for oil loss, contamination control, cooler performance, and environmental records. Repeated leaks can also point to a broader alignment or mechanical problem.
Why Dresser Couplings Leak and How to Confirm the Source
Common causes
- Gasket aging: the USBR transformer guide links gasket set (hardening and lost resilience) to age and temperature extremes, along with wrong gasket material or size and improper torque.
- Assembly errors: uneven tightening, wrong hardware, too little or too much compression, or ignoring the torque sequence.
- Strain and movement: misalignment, unsupported piping, vibration, and thermal expansion and contraction. USBR notes leaks can appear after cooling as parts shrink.
- Material mismatch: nitrile is common in transformer service, but verify the gasket compound against OEM and coupling documentation.
- Hardware damage: corrosion, pitting, distorted sleeves, damaged pipe ends, or a repair history. Here a simple gasket adjustment rarely holds.
For Dresser couplings in the 6- and 8-inch range found on many large transformer cooling systems, Transmission & Distribution Services (TDS) notes that extra tightening may not stop the leak. Replacing worn gaskets then means draining the cooling-system oil.

Confirming the leak location
- Clean the area with an approved method so residue does not mask the leak path.
- Inspect the full coupling circumference for wetness, staining, or active seepage.
- Trace oil upward to its highest wet point to locate the true source.
- Check nearby valves, flanges, welds, cooler tubes, and drain points that can mimic a coupling leak.
- Apply a leak-detector powder if needed. Oil darkens it and pinpoints the source.
Visual inspection alone is often inadequate, which is why TDS starts by identifying the exact leaking component.
Before choosing a repair, document:
- Coupling type and pipe sizes
- Hardware condition and photographs
- Oil temperature and level
- Operating conditions and previous repairs
- Relevant transformer and cooler drawings
Electrical and mechanical safety screen
Involve qualified substation personnel and follow site procedures for:
- Switching and lockout/tagout
- Arc-flash controls and PPE
- Hot-oil precautions and spill containment
OSHA 29 CFR 1910.269 covers maintenance on power transformation equipment, including work near exposed energized parts.
An energized inspection or repair is not automatically acceptable. It needs a formal risk assessment, safe access, suitable equipment, and confirmation that the method is approved for that apparatus.
Repair Options and Escalation Criteria
Immediate response and temporary controls
- Protect personnel and the environment.
- Contain or collect oil where appropriate.
- Mark the leak boundary.
- Notify the asset or environmental team per site procedure.
Containment and monitoring are not repairs. Do not blindly tighten bolts on an energized unit or while the design and torque requirements are unverified.
Conventional coupling or gasket repair
The usual path follows a controlled sequence:
- Isolate the equipment and manage the oil.
- Disassemble under the approved procedure.
- Inspect pipe ends and sealing surfaces.
- Fit the correct compatible gasket or components.
- Align and torque, restore oil, and test.
Follow the transformer, cooler, and coupling manufacturers' values for torque, dimensions, gasket material, pressure limits, and testing. Dresser's own installation data calls for centering the middle ring, keeping the specified pipe gap, and tightening uniformly, but gives no universal torque for transformer piping.
When replacement or outage work is safer
Escalate when you see:
- Cracked or distorted components
- Severe corrosion or damaged pipe ends
- Persistent movement
- Repeated leakage after proper reassembly
- Inaccessible sealing surfaces
- Signs the cooler connection is structurally compromised
If the leak is a symptom of a larger mechanical or transformer problem, expect an outage, coupling replacement, pipe realignment, header repair, or engineering review.
Low-pressure specialist leak sealing
When a qualified specialist confirms compatibility with the coupling, oil, leak location, and equipment condition, a cured-in-place repair is worth evaluating. TDS's Dresser coupling method works like this:
- A two-piece clamp bolts around the coupling.
- Two gasket seals on the clamp's inside diameter contain the sealant during injection.
- Sealant is injected, and the clamp stays in place.
- No oil draining is required in the stated method.
- Typical duration is four to eight hours, and the repair can be made with the transformer energized when conditions allow.
TDS also offers a free equipment survey and a stated four-year leak-seal warranty. Confirm suitability, energized-work decisions, and warranty scope for the specific repair.
The USBR guide describes epoxy-based in-service repairs generally, but it is not a sleeve-coupling procedure or blanket approval for energized work.
Choosing among the repair paths
Weigh these factors before you choose a path:
- Leak severity and confirmed source
- Coupling and pipe condition
- Oil temperature and pressure
- Access and outage availability
- Environmental risk and repair history
- OEM requirements
- Cost of removing equipment from service
Ask any provider:
- How will you confirm the leak?
- How will you protect the transformer and oil?
- How do you address pipe strain or misalignment?
- How is the repair verified and documented?
- What happens if the leak returns?
Preventing Repeat Cooler-Coupling Leaks
Set a baseline. Record coupling type, dimensions, gasket or seal material, hardware condition, pipe supports, alignment, oil level, and photographs of the normal appearance.
Inspect routinely. USBR recommends an infrared scan and physical inspection of radiators and tanks after one month in service and yearly thereafter. Look for:
- Fresh oil or migrating residue
- Corrosion
- Loose or damaged hardware
- Cooler movement or failing supports
- Abnormal vibration
- Changes after seasonal swings or maintenance
Document every repair. Log the method, materials, torque or assembly records, oil handling, leak-test results, and a follow-up inspection date. Spill documentation matters too: EPA's SPCC rule, 40 CFR Part 112, applies to qualifying facilities, and inspectors may ask whether leaks are logged and an action plan exists.

TDS surveys photograph each leak and list repair method, cost, and outage needs, which helps build that record.
Frequently Asked Questions
What is the purpose of a dresser coupling?
It joins two unthreaded pipe sections using sleeves and sealing elements. In cooler piping it keeps oil contained while tolerating small fit differences. Verify the exact design with the manufacturer.
Should I use a union or coupling?
It depends on serviceability, movement, alignment, pressure, oil compatibility, and space. Follow the transformer or cooler manufacturer's approved design rather than a universal rule.
What are the standard dimensions of Dresser couplings?
They vary by style, nominal pipe size, outside diameter, pressure rating, and manufacturer. Check the nameplate, drawings, and current manufacturer specifications.
Is a Hymax a dresser coupling?
No. Hymax is a Krausz brand with its own gasket design and ratings. Similar appearance does not establish interchangeability.
What does a dresser coupling look like?
A cylindrical sleeve body sits over two pipe ends, with end rings, rubber gaskets, and external bolts. Cooler designs vary, so compare against your drawings.
What is another name for a dresser coupling?
"Dresser-type coupling" and "slip-joint coupling" are common. Confirm the terminology in your equipment documentation.