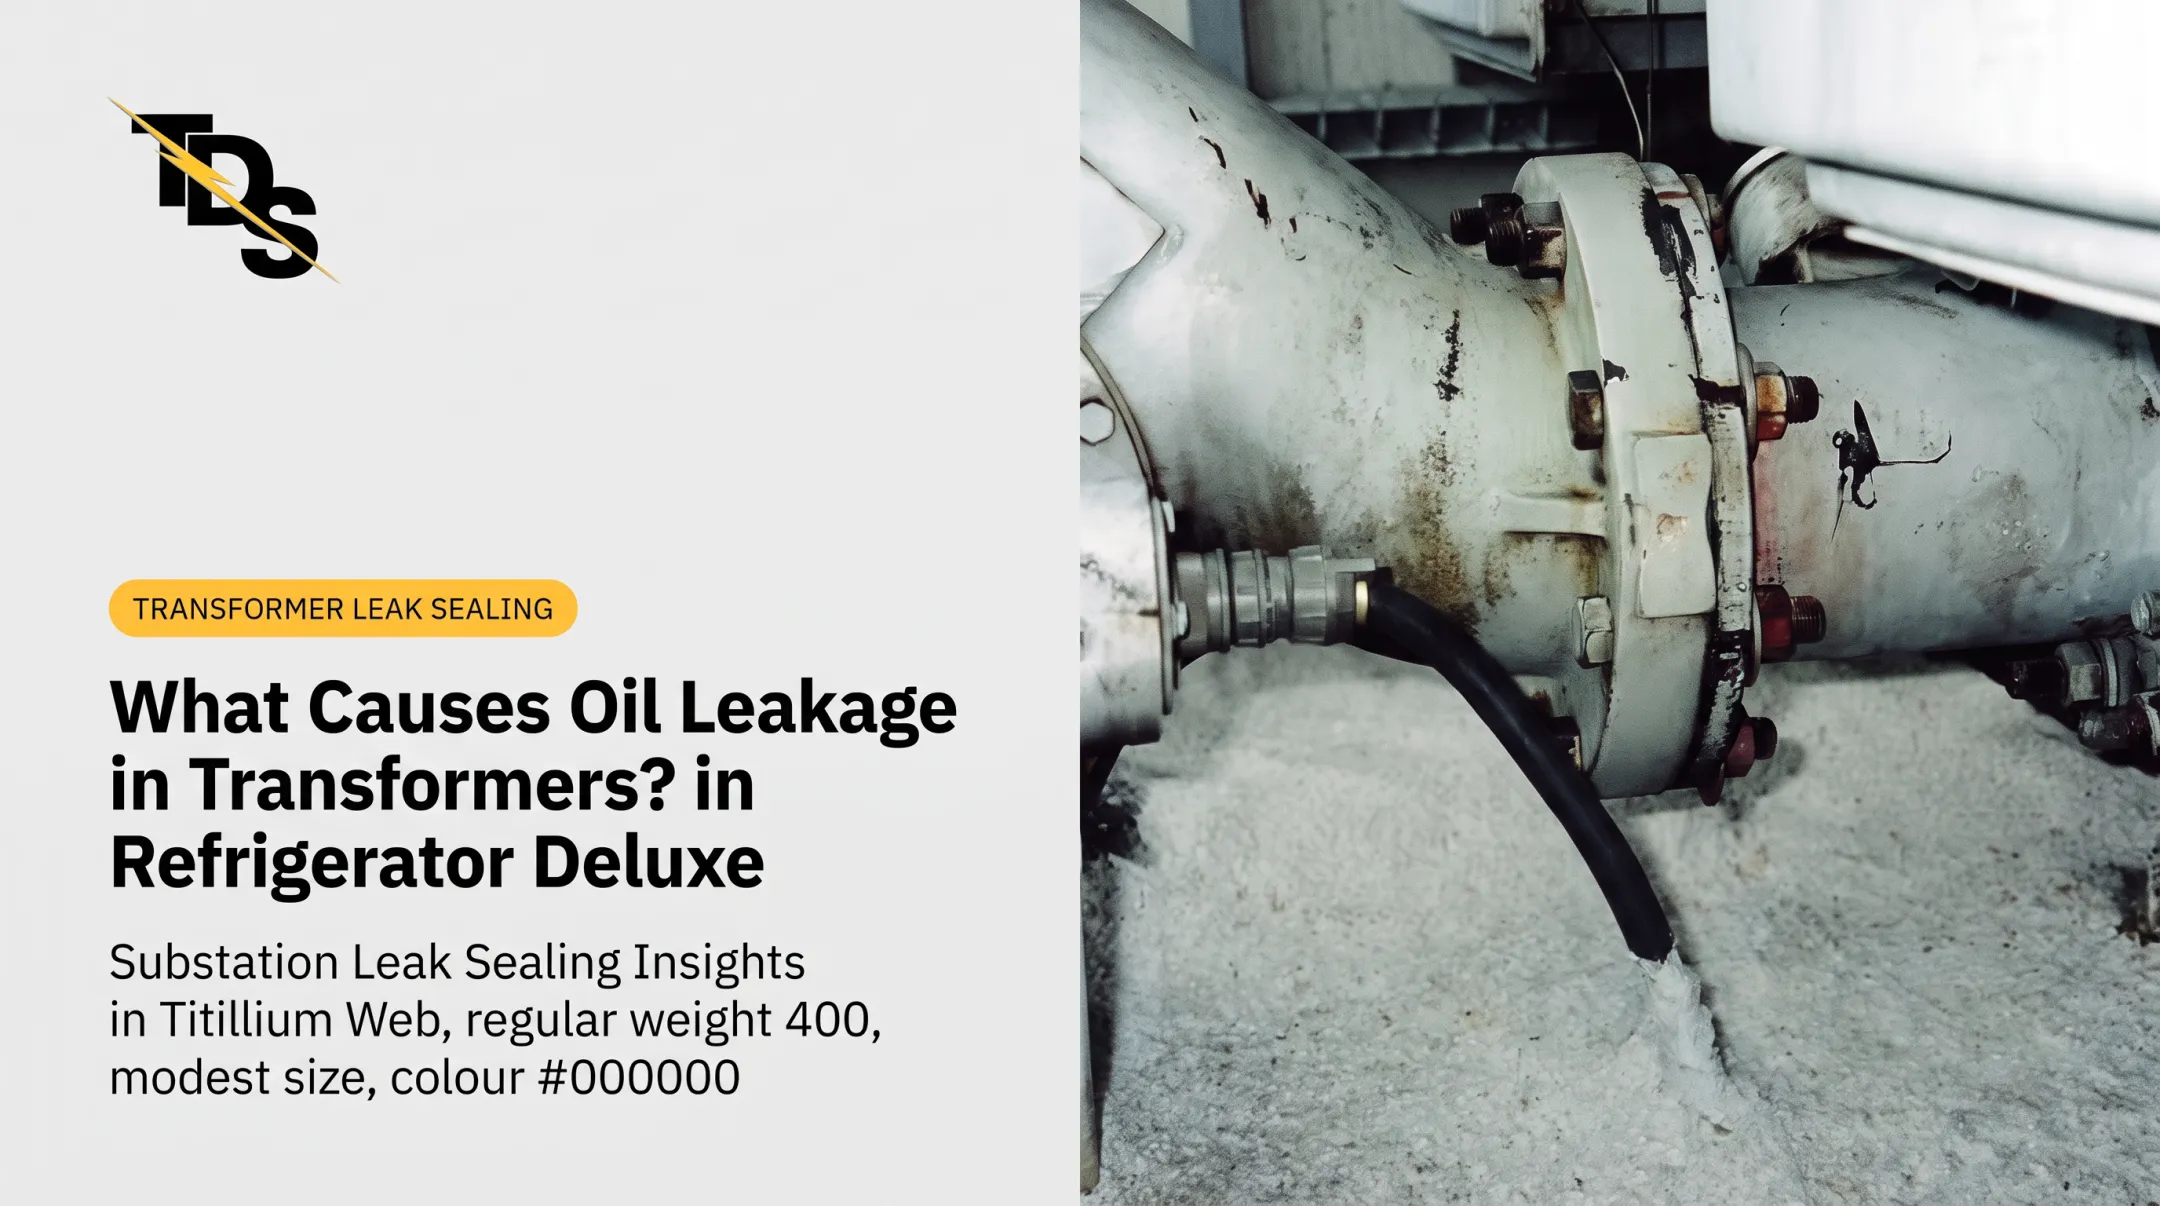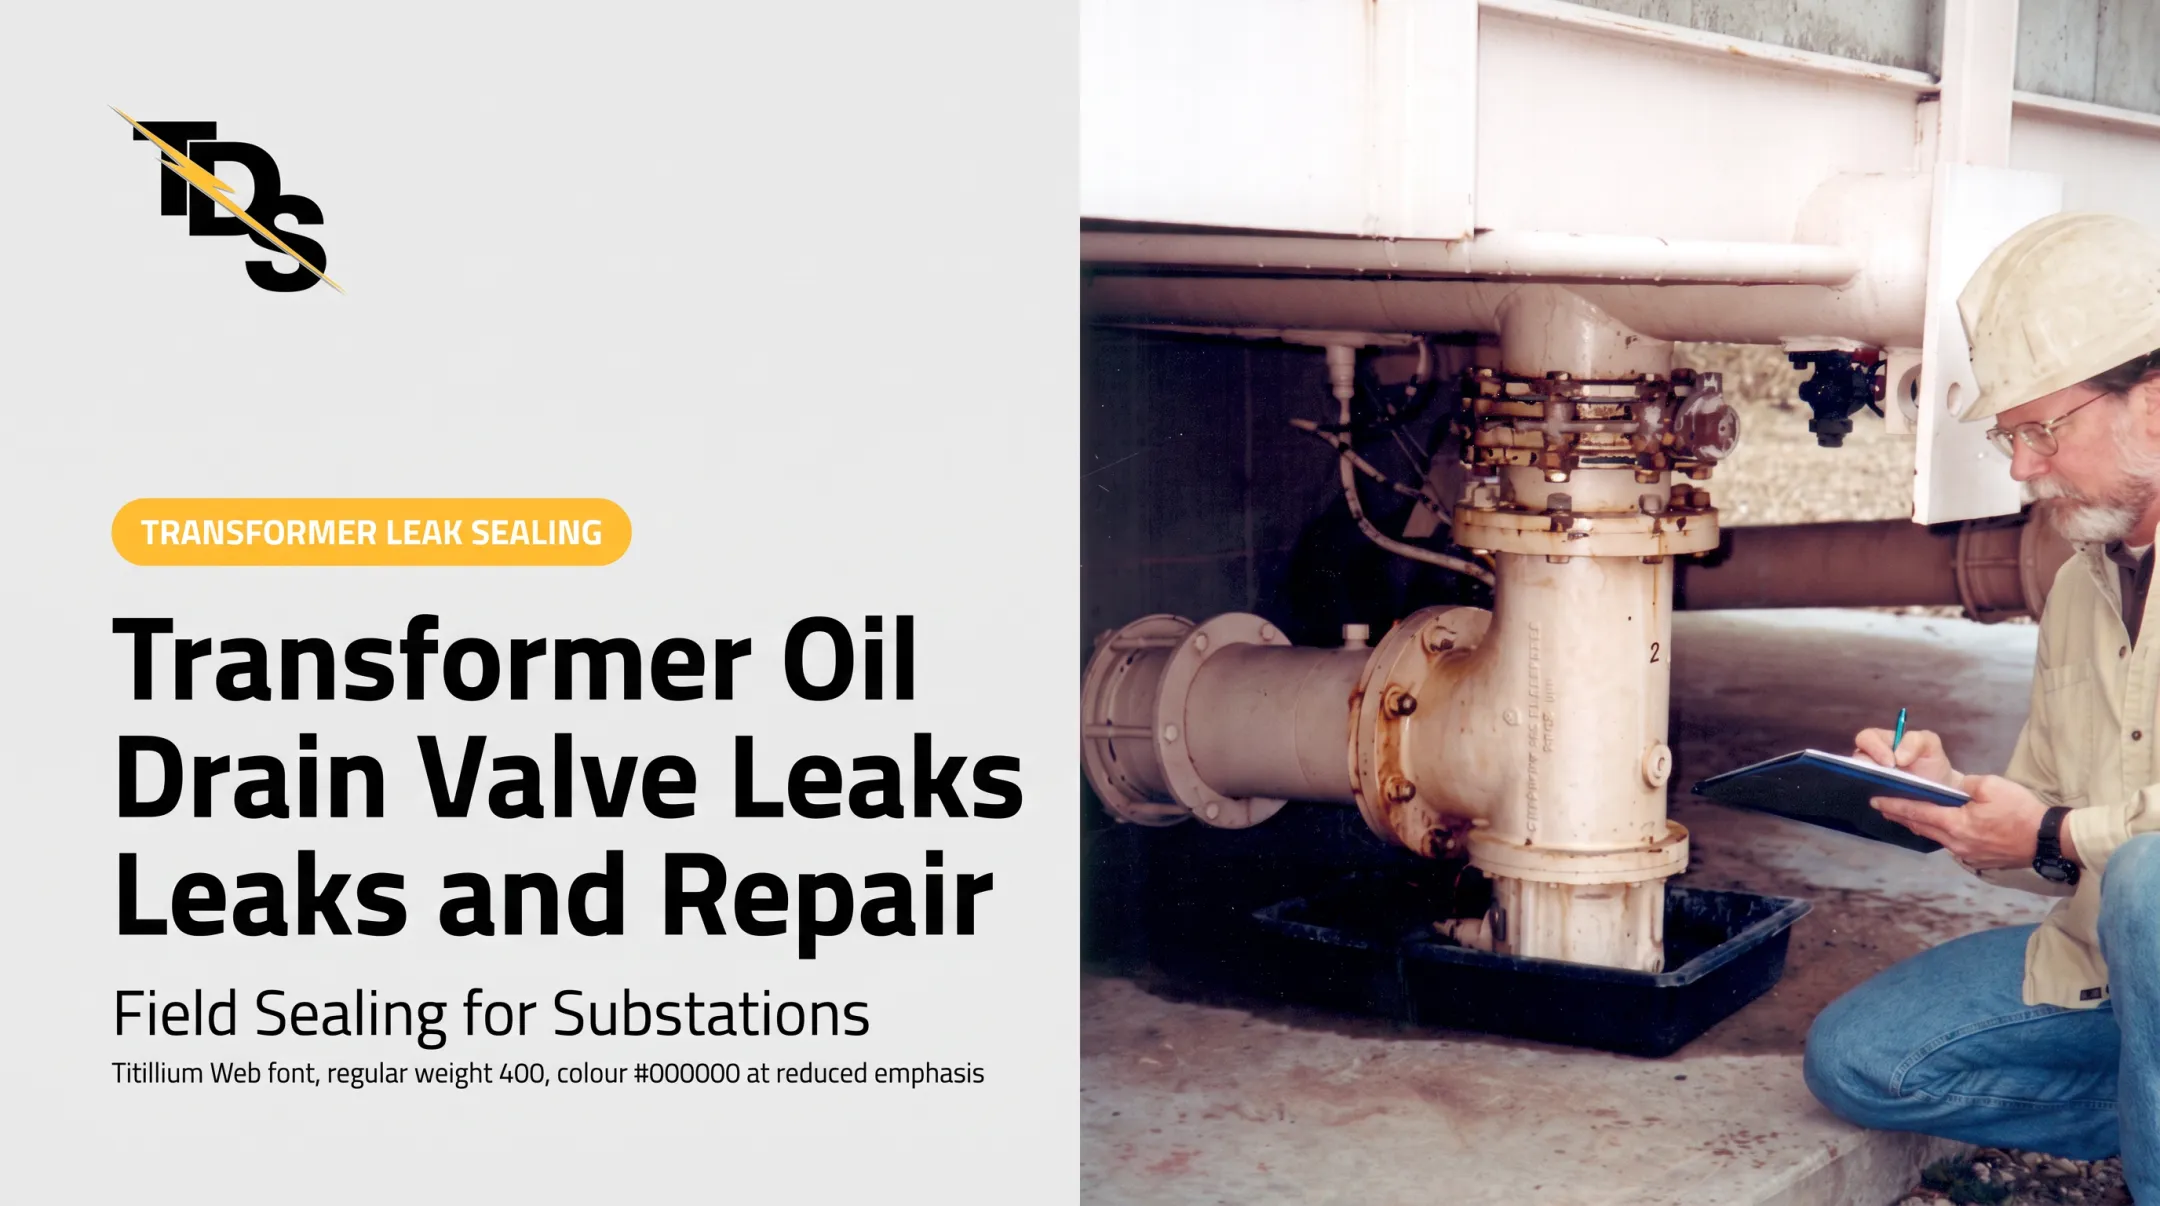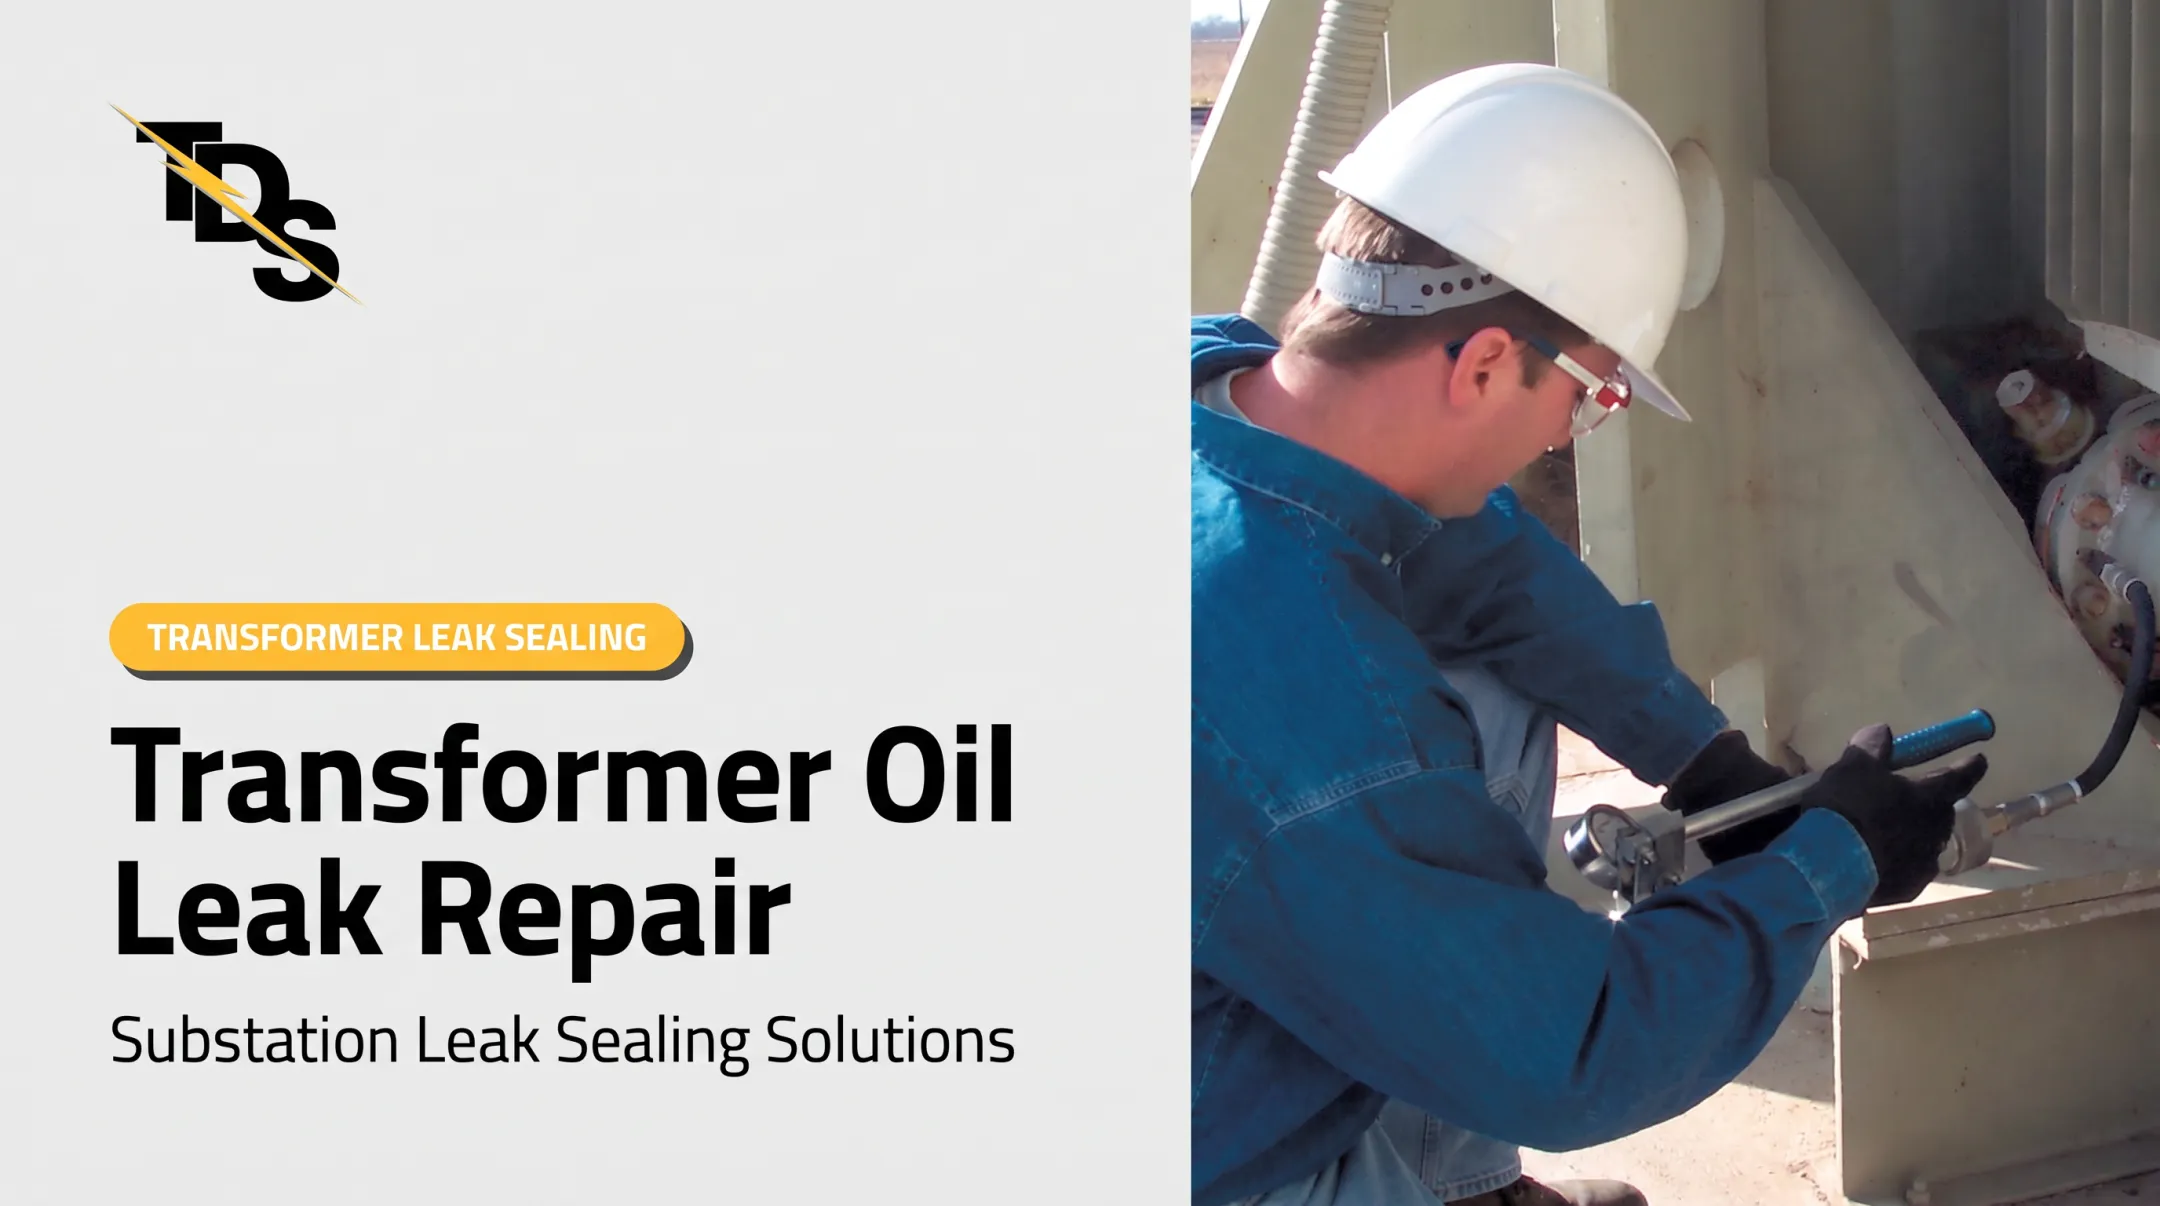

This guide is for US utility, substation, generation, and electrical maintenance teams. It covers common causes, safe severity assessment, containment, repair selection, and when replacement is the more responsible call.
Key Takeaways
- Treat an active leak on energized equipment as a safety and environmental incident, not routine cleanup.
- Gaskets, bolted joints, bushings, radiators, welds, and corrosion cause most leaks.
- Clean, locate, and document before choosing a repair.
- Assign isolation, containment, oil handling, and return to service only to qualified electrical and environmental personnel.
What Causes Pad-Mount Transformer Oil Leaks?
Most leaks start at a joint, not in the tank wall. Knowing the likely sources saves you from repairing the wrong component.
Aging gaskets, seals, and bolted interfaces
Leaks at bolted interfaces usually trace back to one of these issues:
- Improper torque
- Wrong gasket material or size
- Poor surface preparation
- Gasket set from age or temperature extremes
Repeated thermal cycling hardens and cracks gaskets over time. Covers, bushings, switches, gauges, and fill plugs are all bolted interfaces.
Original gaskets can reach end of life, and extra bolt tightening rarely stops a failed flange gasket. Defective gasket material or poor installation can also cause early failure.
Oil also migrates. Wet oil at a low point may have run down from a higher fitting, so clean and trace upward before touching anything.
Tank welds, corrosion, and material defects
Poor welds, pinholes, cracks, and rust on steel tanks are documented leak sources, according to a transformer supplier's guide. Moisture, salt, chemicals, and harsh outdoor exposure speed the damage at seams, lids, bases, and radiator connections.
Check manufacturer limits before any welding, grinding, drilling, or sealant work. Howard's pad-mount manual permits welding a pinhole or seam only on a de-energized unit and does not recommend welding radiators because the material is thin.
Bushings, radiators, cable entries, and fittings
These deserve focused inspection:
- Bushings and clamp bolts
- Radiator fins and tubes
- Cable-entry points
- Pressure-relief devices
- Oil gauges, valves, and drain or fill fittings
Vibration, mechanical stress, damaged fittings, and movement during transport or installation create localized leaks. Pressure-relief and bushing gaskets can also let moisture in.
Temperature, pressure, and operating conditions
Oil expands and contracts with load and weather. Overloading and abnormal operation stress seals and make existing leaks easier to see.
Never read a gauge alone. Interpret it against ambient temperature, oil temperature, manufacturer instructions, and equipment history. Eaton's manual, for instance, ties its liquid-level reference to 25 °C and says a pressure/vacuum gauge sitting at zero for an extended period may indicate an air leak. Those figures are model-specific.
Manufacturing, transportation, installation, and external damage
Other causes include:
- Factory defects and residue from filling or shipping
- Vehicle or lifting impacts
- Vandalism, flooding, and storms
- Settlement and poor installation
The key comparison is residue versus a live leak. Residue is dry or tacky and stays put after cleaning. A live leak shows fresh oil that collects, runs, drips, or comes back after the surface is wiped.
How to Identify and Assess a Pad-Mount Transformer Oil Leak
Distinguish residue, seepage, and an active leak
Look for:
- Fresh wet oil, streaking, or drops
- Pooling or stains on the pad
- Oil inside the enclosure
- Oil heading toward soil and drains
Residue can remain after manufacturing, shipping, maintenance, or an earlier repair.
Cleaning and scheduled reinspection show whether new oil is appearing. Only qualified personnel should access or manipulate the equipment.
Trace the source without creating exposure
Inspect visually from a safe position. Start at the highest wet point and follow the oil path through the common leak locations.
Oil on the pad rarely identifies the source. Rain, wash water, vibration, and sloped surfaces move fluid around. Visual inspection alone is often inadequate for pinpointing the exact component.
Crews use leak-detector spray after cleaning. TDS's powder-based Oil Leak Detector darkens where oil emerges, which separates a failed gasket from a neighboring drip. On an 8-bolt flange, darkening at the split line points to the flange gasket.
Review oil level, pressure, and equipment condition
Qualified technicians should compare level, pressure or vacuum readings, temperature, alarms, and history against manufacturer specifications and prior inspections.
Abnormal readings may mean oil loss or a different problem. Don't add oil, gas, or pressure without an approved procedure. Eaton's instructions, for example, treat a low level with a leak differently from a low level without one, and that guidance applies only to that model.
Evaluate environmental and fluid-handling concerns
Document whether oil reached soil, gravel, vegetation, drains, waterways, or public areas. Record photographs, weather, equipment ID, and estimated duration.
Do not judge PCB status by appearance. Under 40 CFR 761.2, mineral-oil equipment of unknown concentration manufactured before July 2, 1979 is treated as PCB-contaminated. Pad-mounted distribution units from before that date are assumed mineral-oil-filled. Follow equipment records, labels, sampling requirements, and EPA procedures.
Decide when to escalate
Stop work, secure the area, and notify the utility or facility control point if you see:
- Rapid flow or a falling oil level
- Smoke, overheating, or arcing
- Damaged tank walls
- Oil near energized components
- Public contact or storm-drain migration
- Any uncertainty about equipment condition
Don't attempt an improvised repair. Bring in qualified electrical and environmental responders.

What to Do When a Pad-Mount Transformer Is Leaking
Make the area and equipment safe first
Warning: Unqualified people must not open, touch, move, pressure-test, clean inside, or repair an energized transformer.
Isolate the site and protect workers and the public:
- Use qualified de-energization or approved energized-work controls
- Apply lockout/tagout where applicable, plus arc-flash procedures
- Follow OSHA's 1910.269 standard for generation, transmission, and distribution work
- Notify the incident-response team
Contain the oil and prevent migration
Trained responders should follow the site spill plan and use compatible absorbents and barriers to keep oil off soil, drains, waterways, traffic paths, and occupied areas.
Confirm reporting, waste, and cleanup duties. EPA says a discharge may be reportable based on a visible sheen or other harmful-quantity criteria, not one universal volume. Treat possible PCB oil and any release beyond the pad as higher-consequence events.
Match the repair to the leak source
- Gaskets and fittings: manufacturer-approved torque correction or component replacement
- Radiators, welds, tanks, bushings, severe corrosion: specialized repair, outage, factory work, or replacement
Qualified personnel must handle oil draining, refilling, degassing, pressure testing, welding, and electrical testing per manufacturer instructions.
Consider professional low-pressure leak sealing
Transmission & Distribution Services (TDS) offers low-pressure leak sealing for oil-filled substation apparatus. A cured-in-place gasket replaces OEM gasket material without traditional disassembly. Technicians survey the equipment and leak, select a method, and seal only the leaking component.
On a 4-bolt flapper valve, TDS says a flange can usually be repaired in about two hours without draining oil. Bottom leaks can often be sealed while energized. Upper leaks may require de-energizing and grounding, depending on proximity to bushings and other live parts.
No method fits every leak, and energized work is never automatic. Confirm suitability for your specific equipment and conditions first.
Verify the repair before returning to service
Require a post-repair inspection and approved leak confirmation. Then check oil level, pressure, electrical condition, protection systems, and containment before re-energizing.

Repair records should list:
- Leak source and materials used
- Personnel or contractor
- Oil handling and test results
- Remaining risks
- Follow-up inspection date
Preventing Recurrence and Choosing Repair vs. Replacement
Build a risk-based inspection program
Schedule recurring checks that cover:
- Visual inspections
- Oil and pressure observations
- Corrosion checks
- Pad and enclosure reviews
- Alarm review
Trend the results according to your asset program and manufacturer guidance.
Manual rounds are cheap but infrequent. Remote or sensor monitoring suits hard-to-reach or high-consequence assets, though calibration, false alarms, communications, and batteries all need maintenance. Published figures on sensor reliability are limited, so validate any system on your own fleet.
Apply US environmental and documentation requirements
Check federal, state, local, utility, and facility rules. Requirements depend on oil type, capacity, release location, and whether oil reaches soil or water.
- SPCC: the small-facility exemption uses 1,320 gallons aggregate aboveground capacity, counting only containers of 55 gallons or more, per 40 CFR Part 112. Qualifying oil-filled operational equipment has a separate alternative to general secondary containment.
- State rules: New York requires reporting qualifying petroleum spills within two hours, while California treats used oil with PCBs at 5 ppm or more differently from ordinary used oil.
Decide whether to repair, monitor, or replace
Weigh these factors:
- Leak location and rate
- Tank and radiator condition
- Recurring failures
- Oil and insulation condition
- Age and parts availability
- Criticality and outage constraints
- Environmental exposure and total cost
Replacement fits when structural damage, extensive corrosion, repeated leakage, or contamination makes a localized fix unlikely to last. Lead times matter: a March 2026 DOE webinar transcript reports distribution transformer lead times rising from 3-6 months in 2019 to 1-2 years or longer in 2024, with later normalization. Plan containment for removal and transport.

Where replacement is months away, a survey-based action plan can contain leaks until the swap or overhaul.
Conclusion
Handle pad-mounted transformer leaks through safe identification, controlled containment, qualified repair, documented testing, and a deliberate repair-versus-replacement decision.
If a localized repair could spare your team a teardown or extended downtime, TDS offers free substation surveys that document each leak, the repair method, itemized cost, and outage requirements. Request a survey or leak-sealing assessment from TDS.
Frequently Asked Questions
How much does a pad mount transformer cost?
Price varies with phase, kVA, voltage, specifications, availability, freight, installation, outage work, and oil handling. One NYSERDA cost schedule lists installed costs from $36,870 (225 kVA) to $84,105 (1,500 kVA), but request an equipment-specific quote.
What happens when a pad-mounted transformer leaks?
Oil loss can reduce insulation and cooling, causing moisture contamination, insulation degradation, flashover, or failure. It also risks soil or water contamination and service interruption. Secure, contain, report, and have the unit professionally assessed.
Is it safe to live next to a pad-mounted transformer?
A properly installed and maintained unit is governed by utility, manufacturer, and code requirements. Never approach, open, climb, touch, or investigate a leaking or damaged one. Contact the responsible utility with site-specific concerns.
How close can a pad-mounted transformer be to a house?
No single distance applies. AEP Texas specifies 10 ft at the front and 3 ft at other sides for certain units, while SRP lists different distances by opening and wall type. Check your utility's standards, NEC 450.27, and local fire requirements.